Trunking.io — Account Setup
The purpose of this article is to provide instructions on how to set up an account in Trunking.io and activate the inbound and outbound services.
Creating a Trunking.io Account
To begin, find the Trunking.io application on the 2600Hz platform.
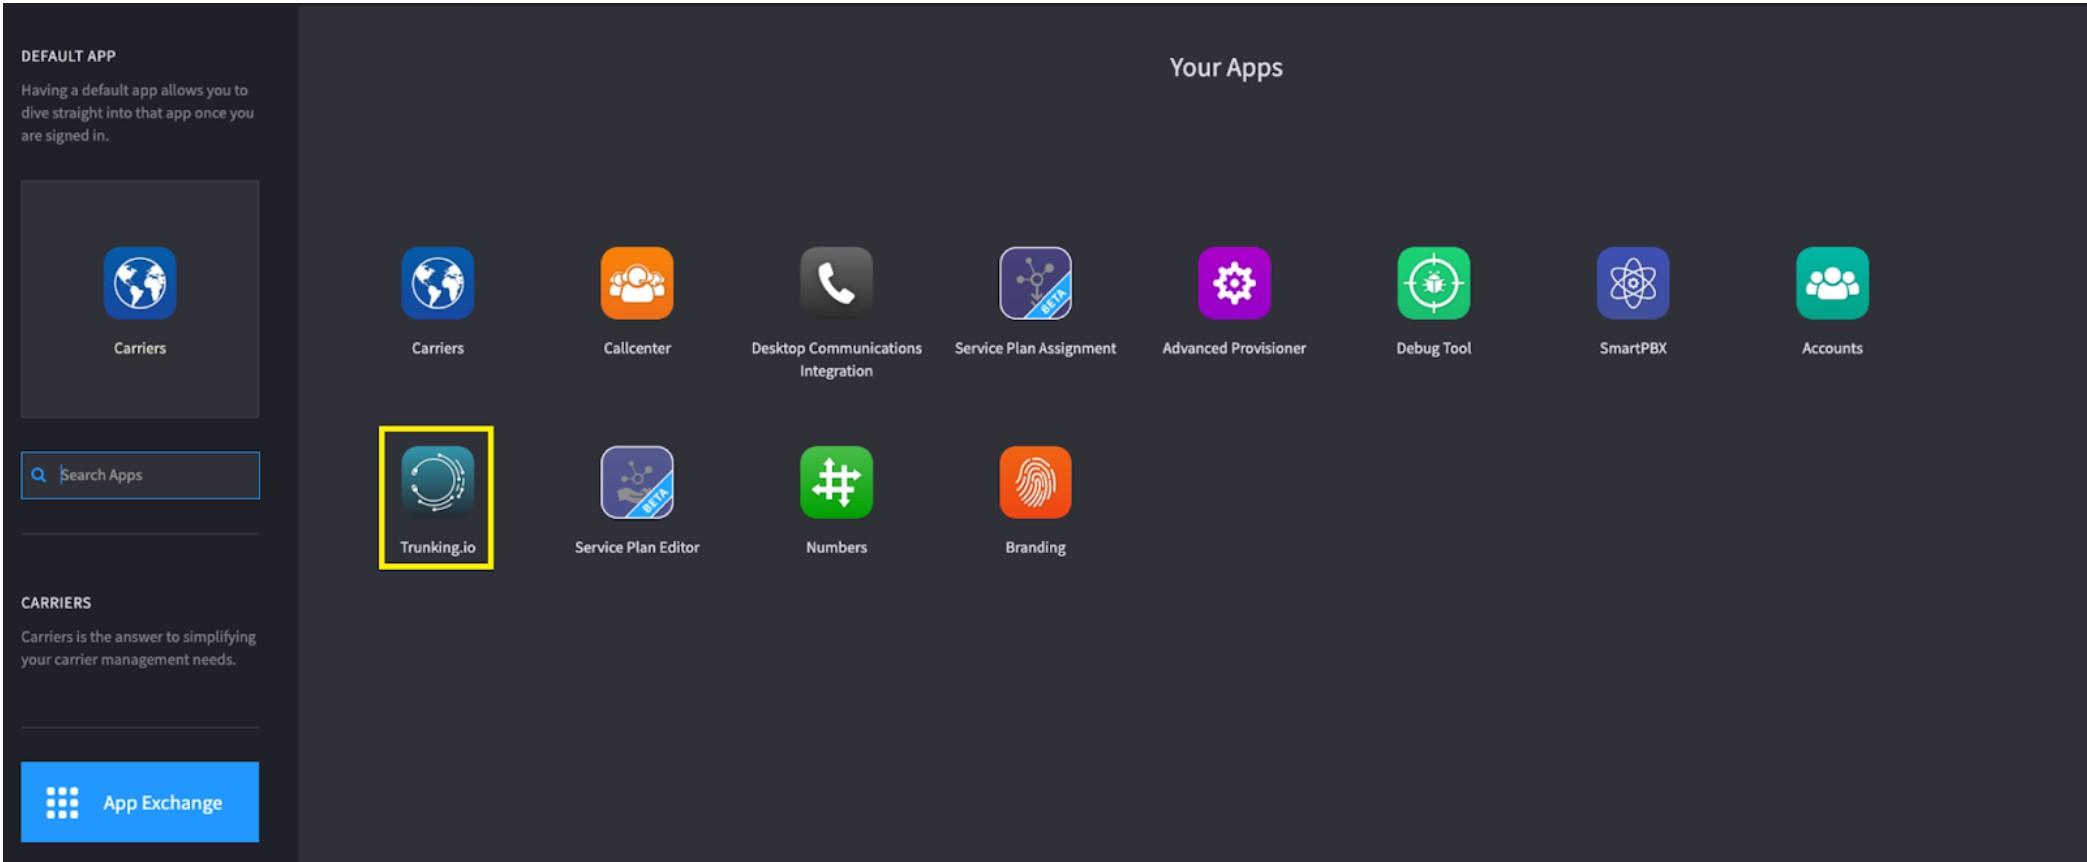
Launching the Trunking.io app from 2600Hz portal automatically links the Reseller 2600Hz and Trunking.io accounts.
Resellers who wish to create their accounts directly in the Trunking.io portal, instead of using the Trunking.io app within the 2600Hz portal, should contact trunking-ops@ooma.com to have their 2600Hz Reseller and Trunking.io accounts linked.
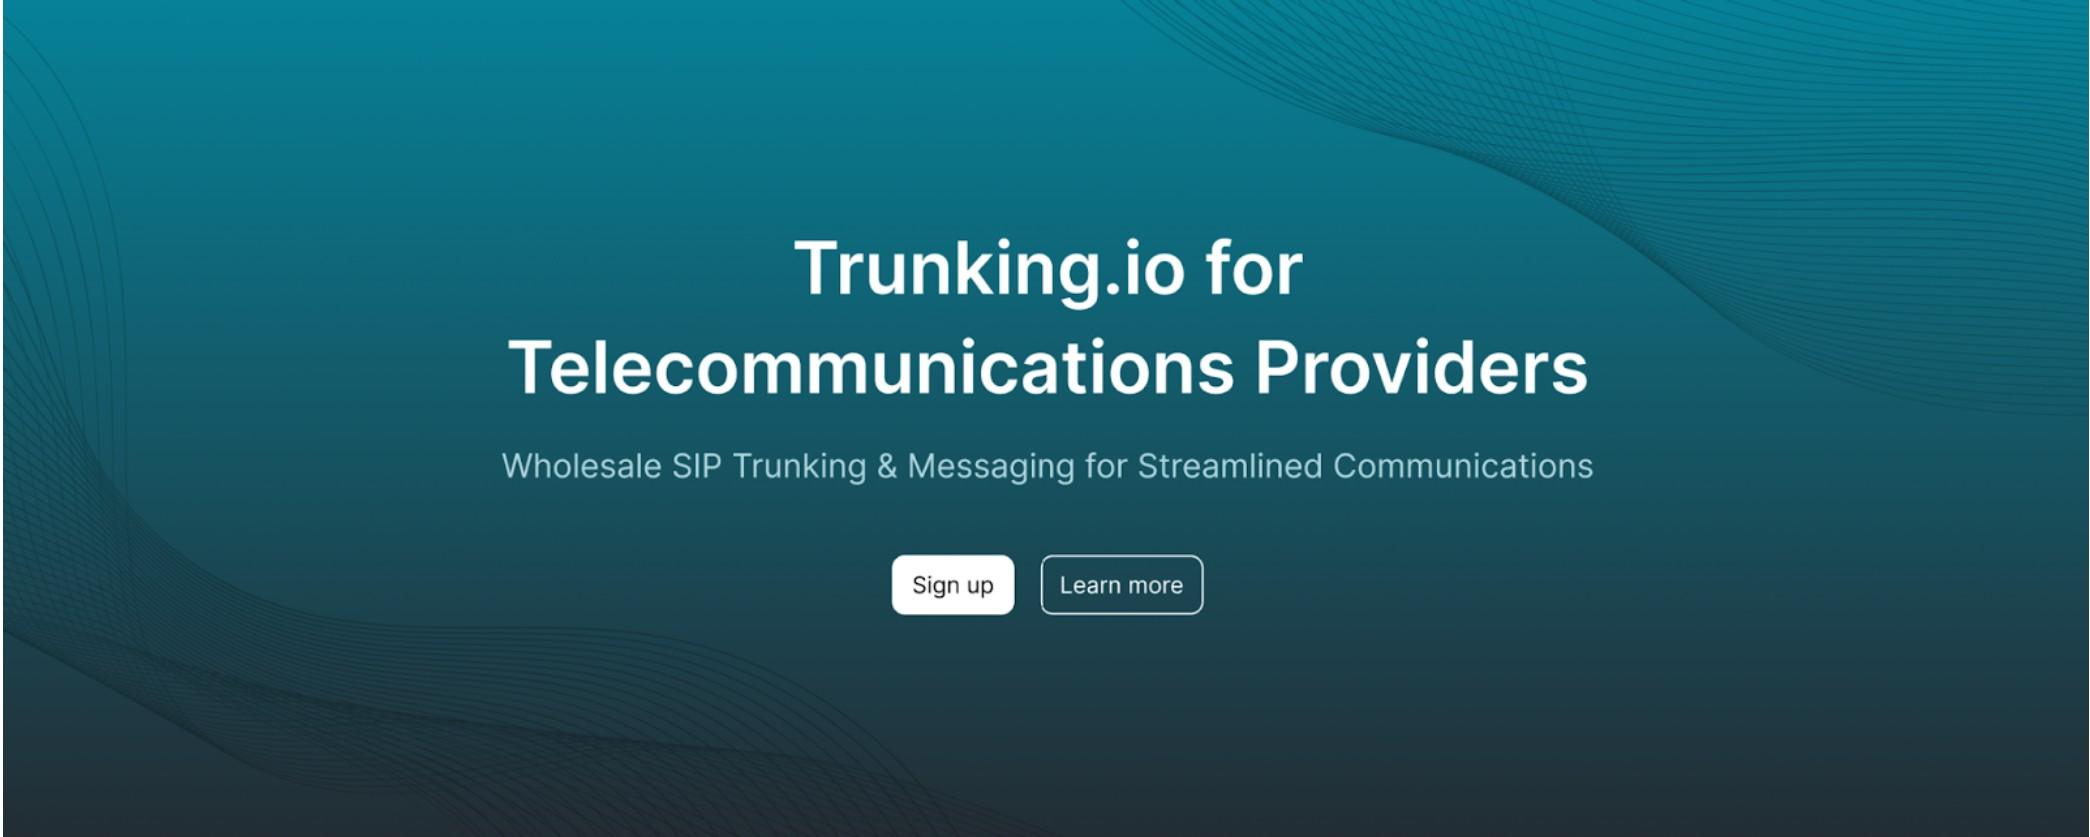
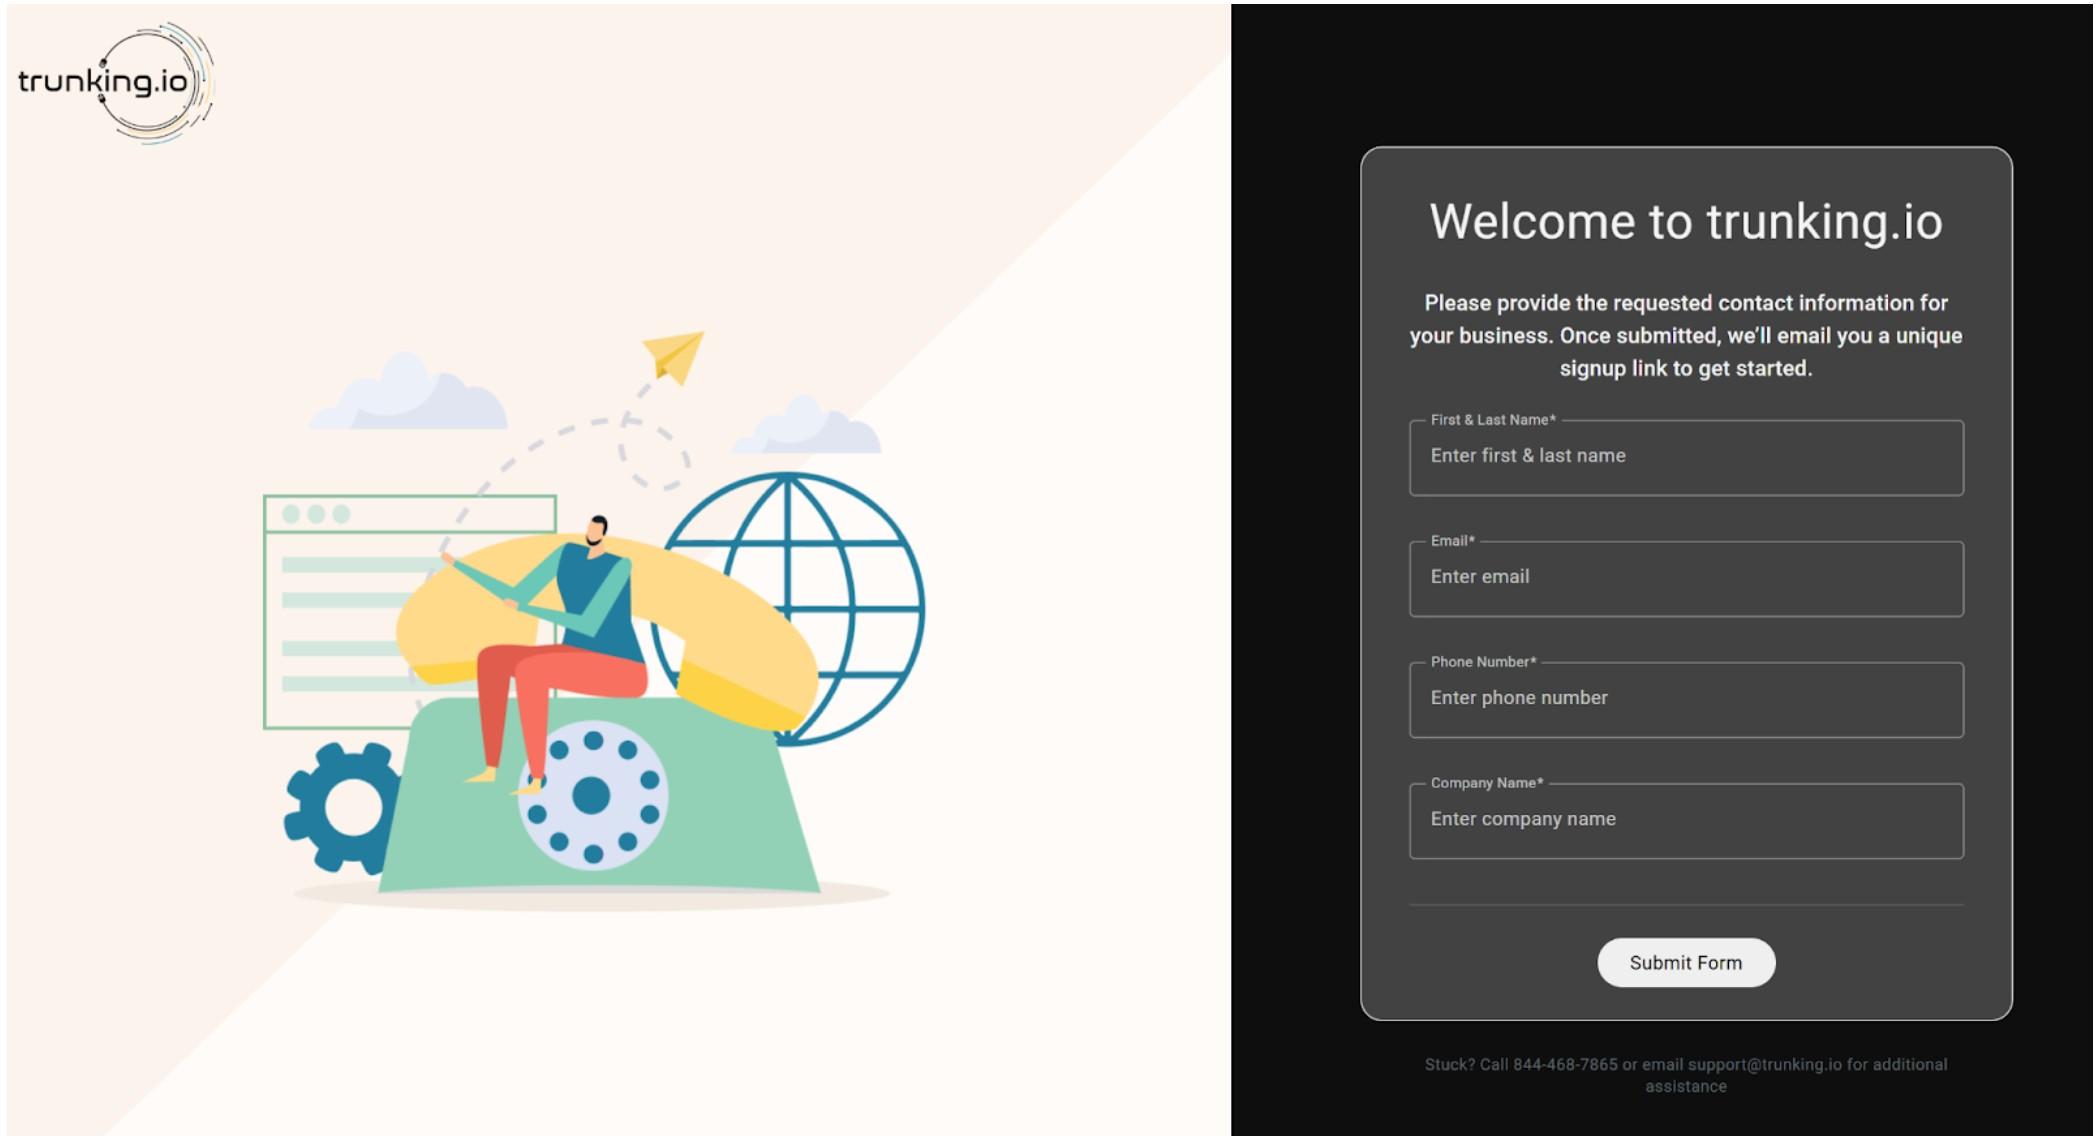
Click the “Sign up” button, and you will then be redirected to the registration page, where you should enter your first and last name, email, phone number, and company name.
After clicking the “Submit Form” button, you will receive an email at the address you provided.
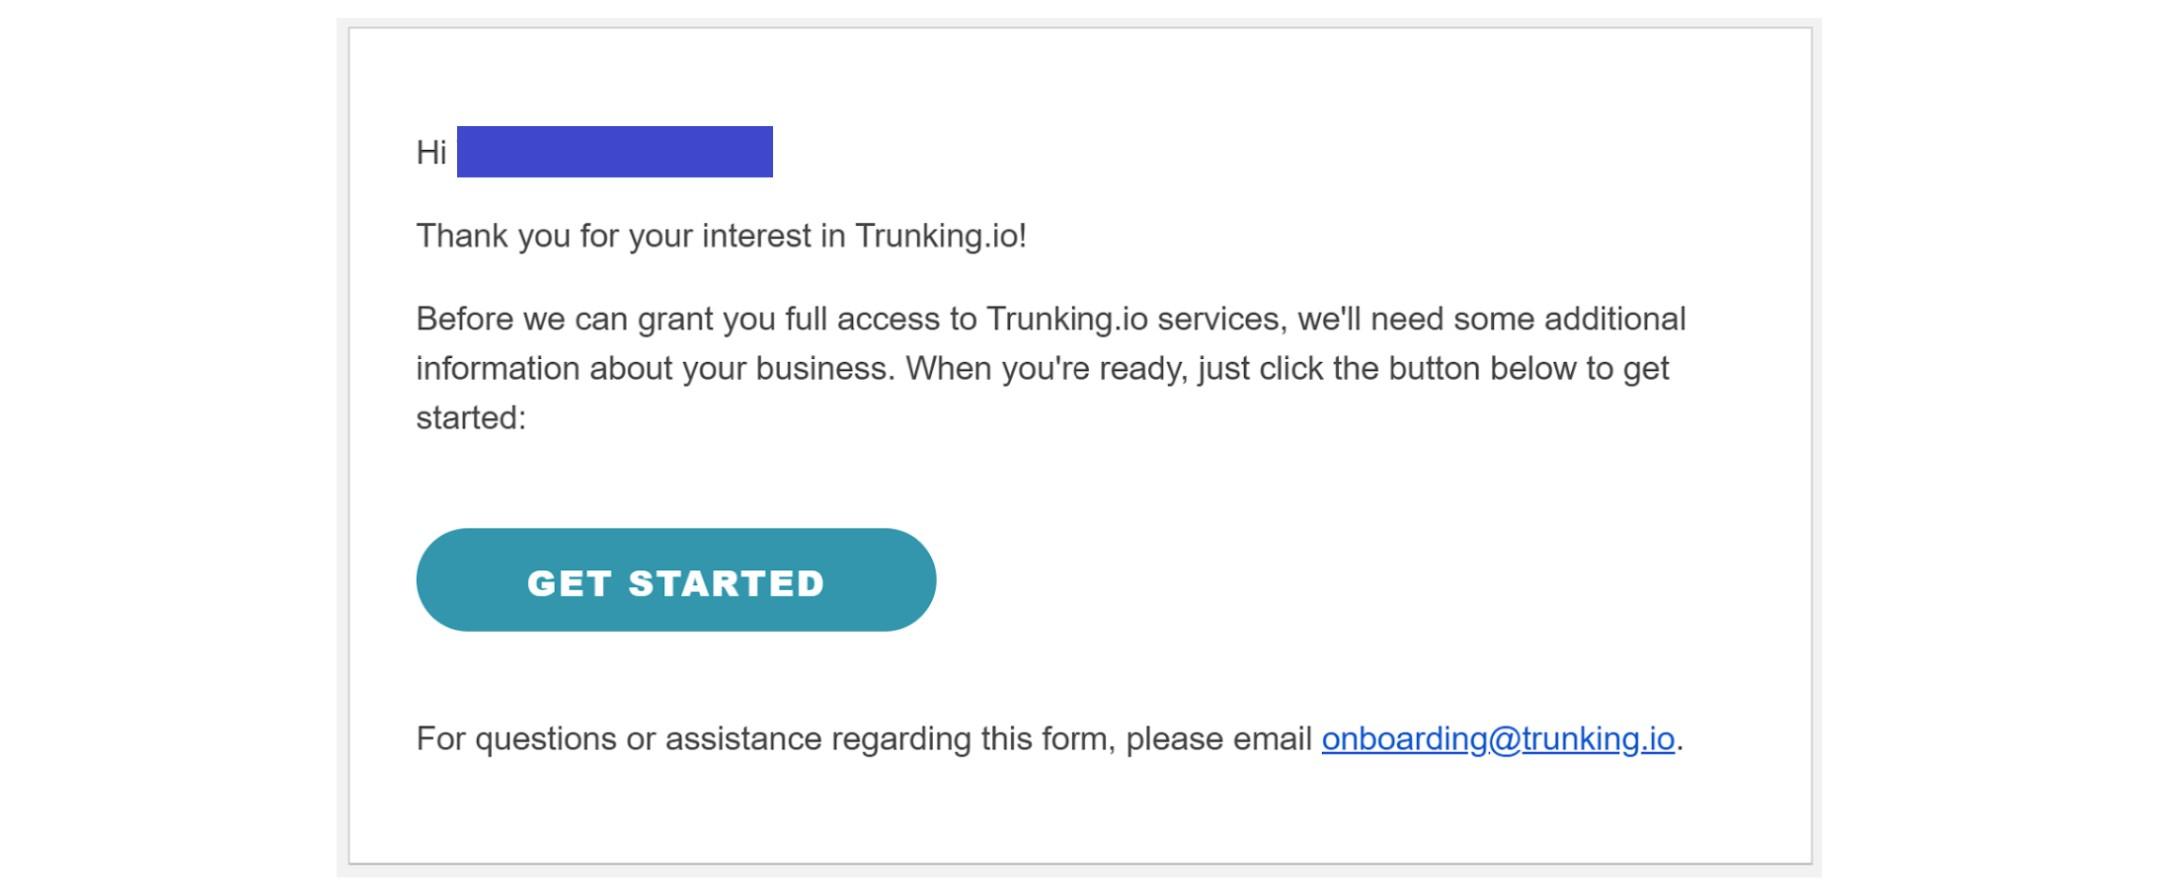
This email contains a “Get Started” button which, when clicked, will open a browser page where you can complete the extended sign-up form.
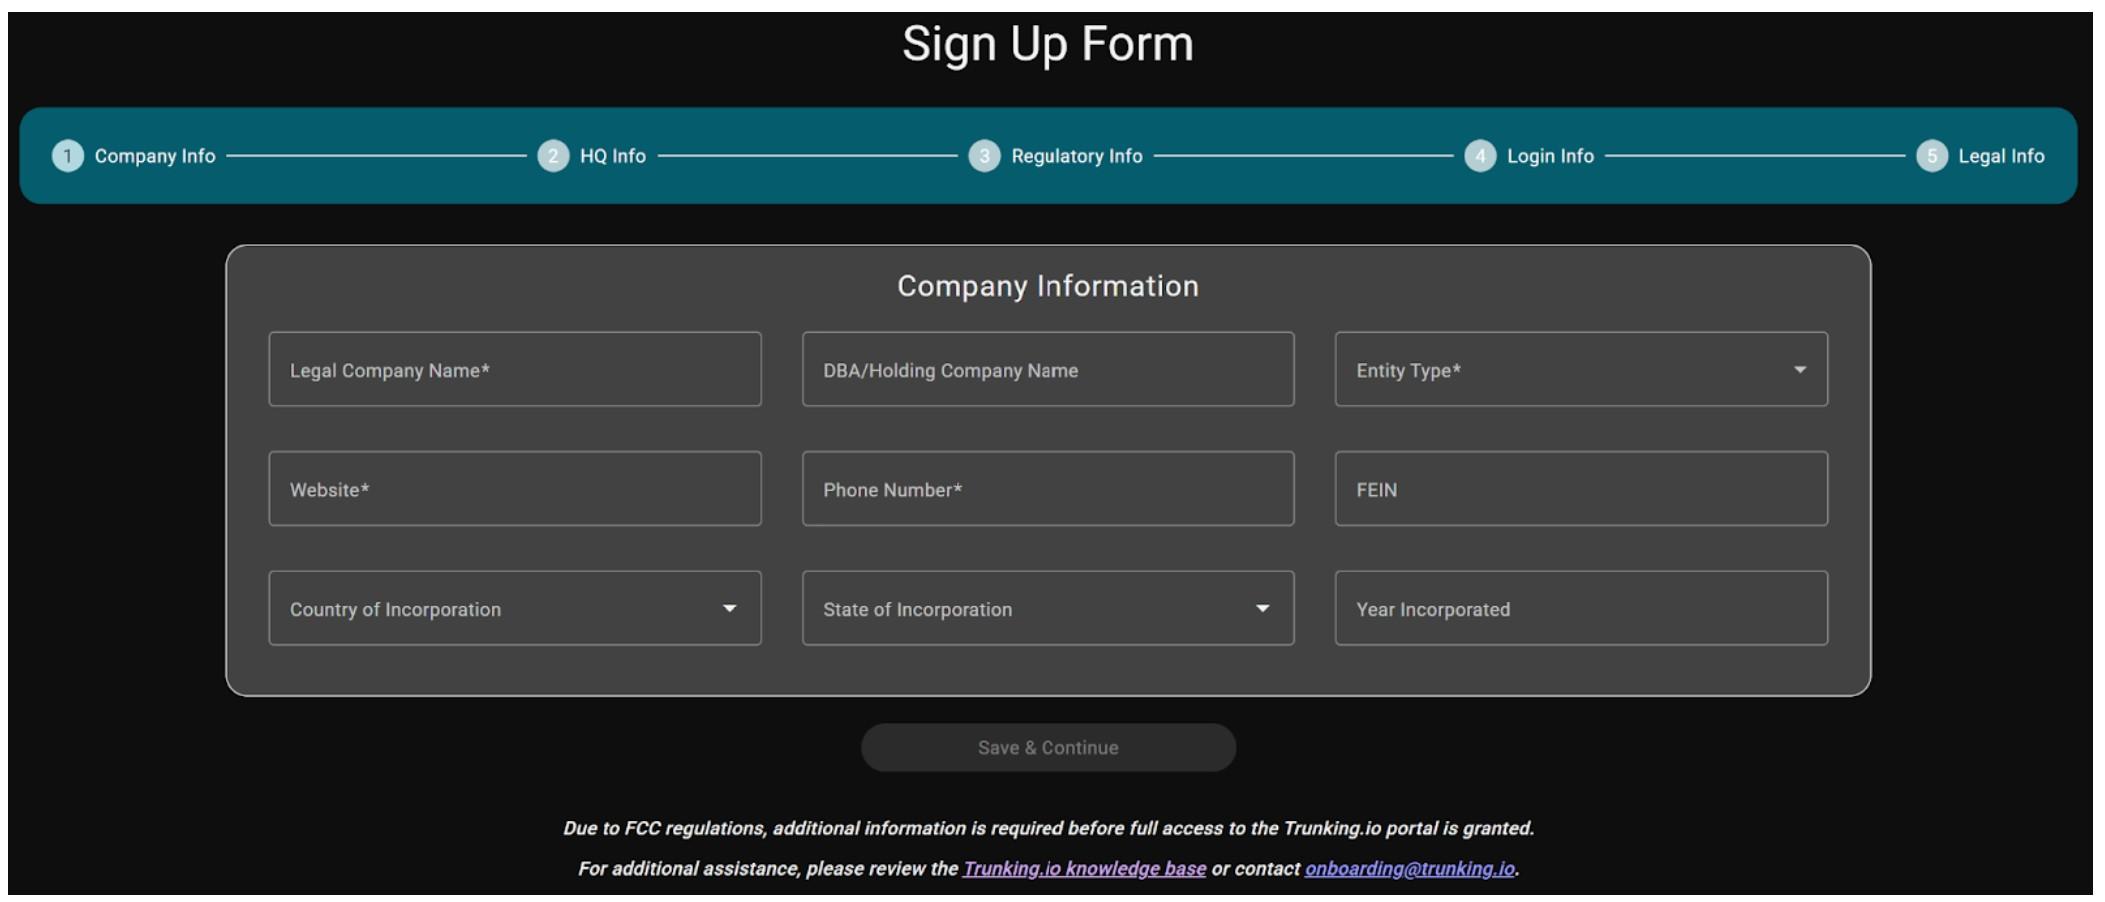
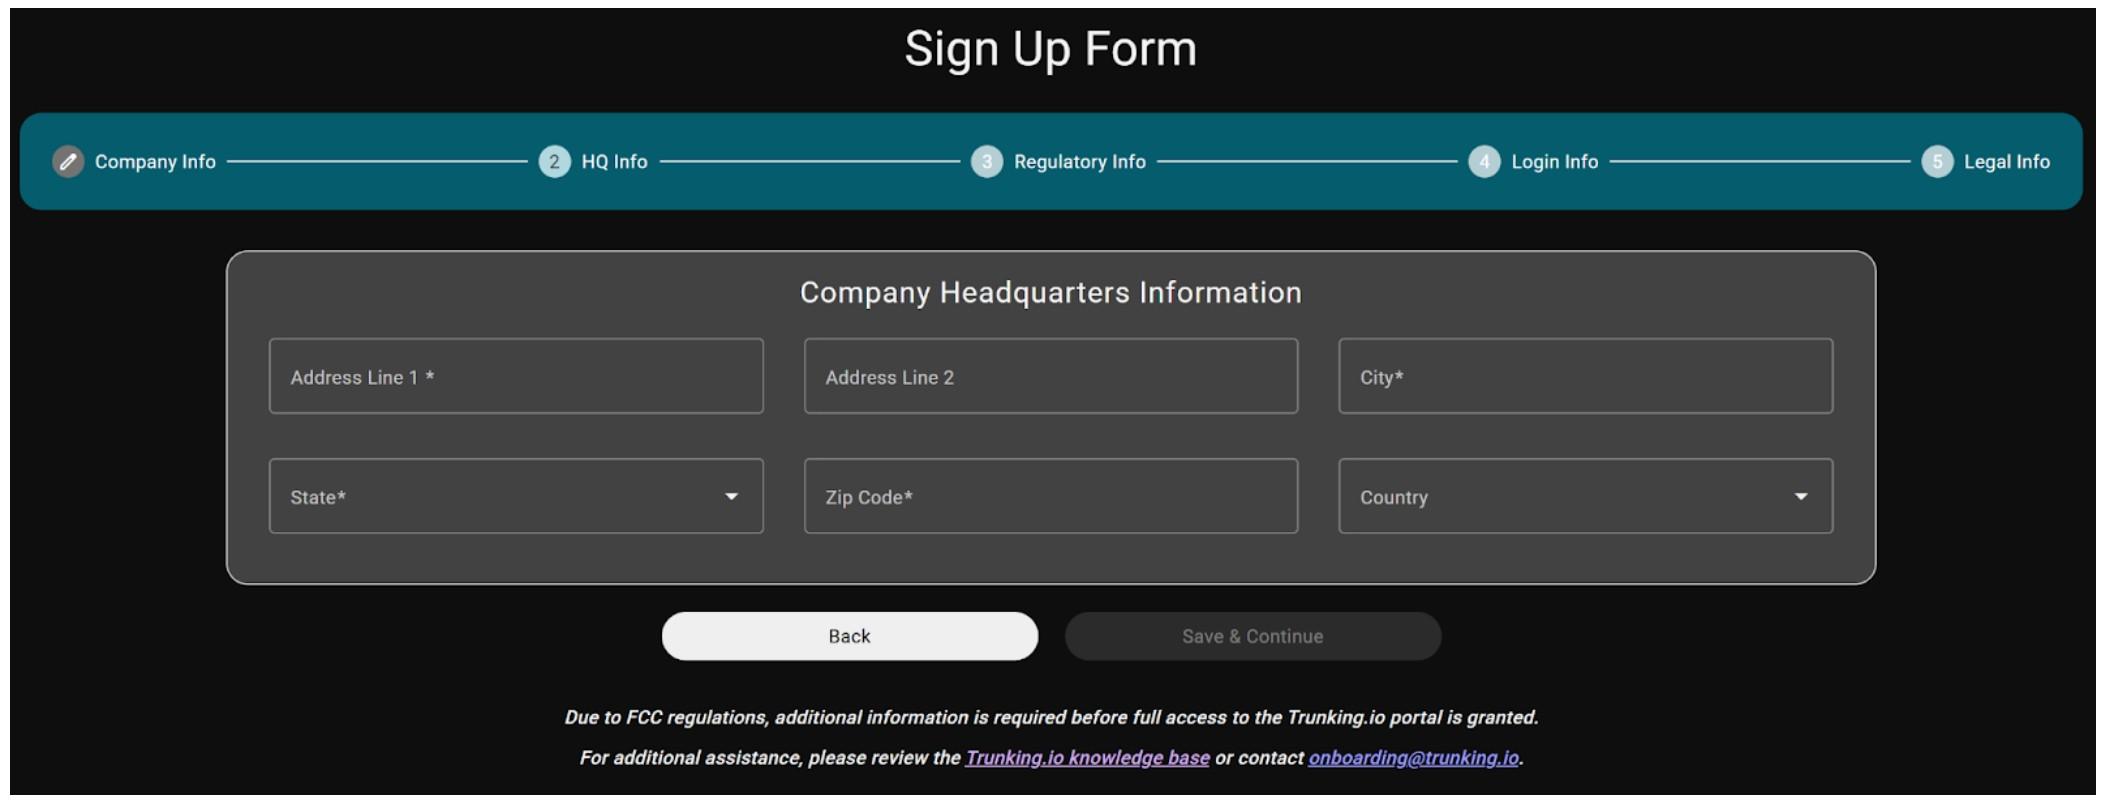
The extended sign-up form in the wizard spans several pages:
- Company Info: this page includes fields for company details such as legal company name, entity type, website, phone number, and other related information.
- HQ Info: here, you provide information about the company’s headquarters.
-
Regulatory Info: on this page, you specify the company type (e.g., voice service provider, private user, or government user) and indicate whether the HQ address is a virtual office.
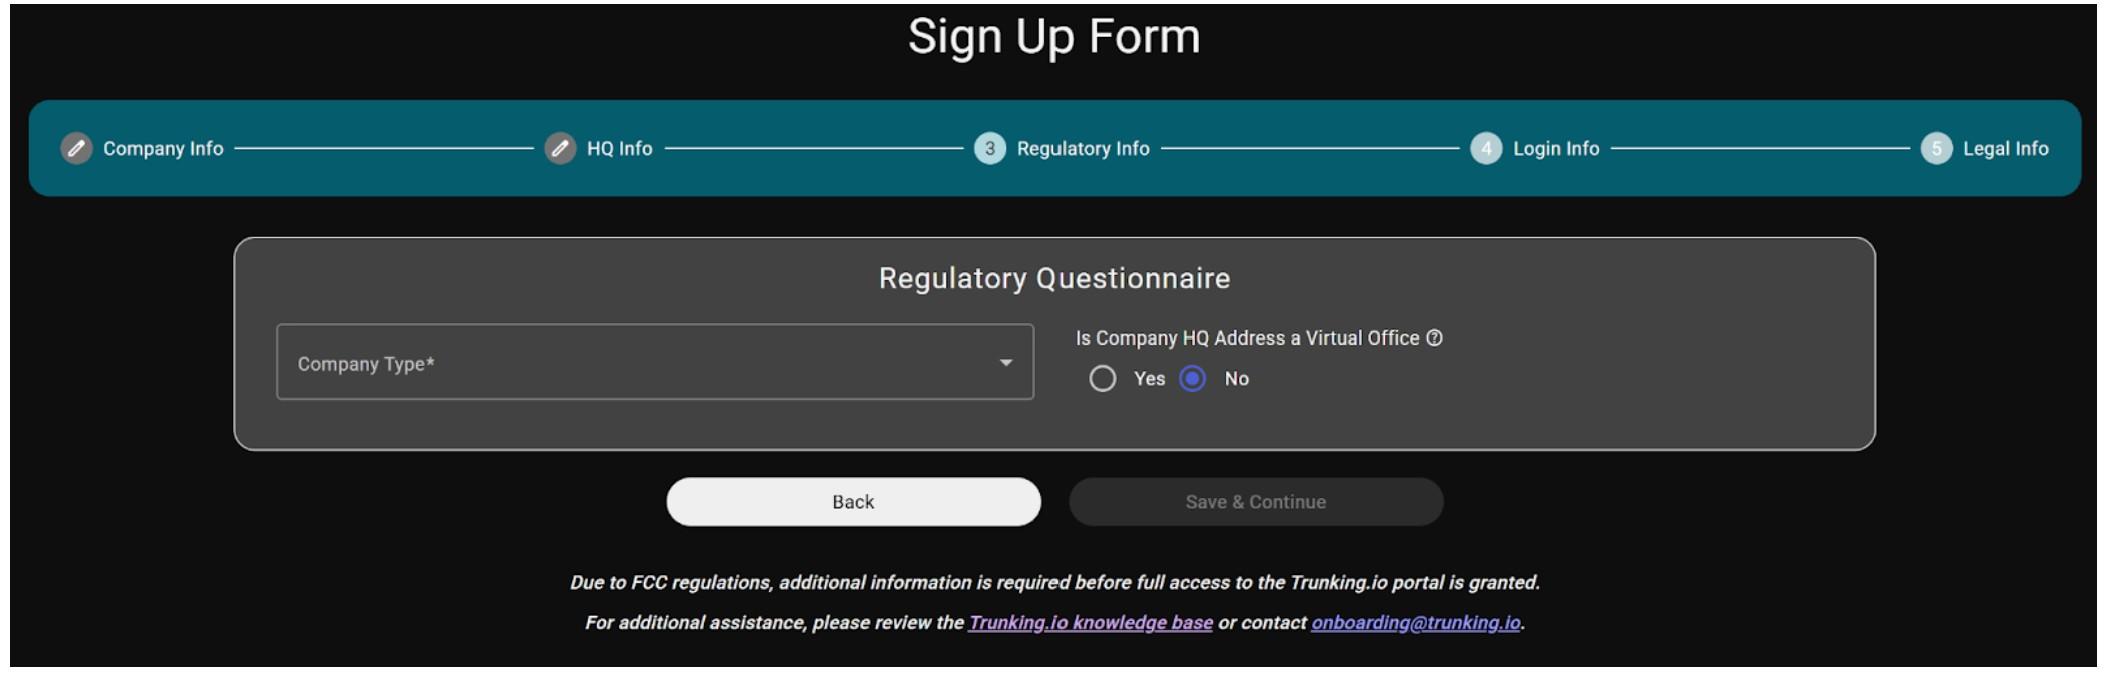
There’re three options of the Company Type that you can select from:

Depending on your selections, additional fields may appear requesting details such as FCC registration number, network traffic data, company CID, and whether the company has implemented the STIR/SHAKEN framework.
If a reseller does not provide telecom services to other parties, they should proceed with the registration as an End User. Those who do resell telecom services are classified as Voice Service Providers and must provide additional information, including STIR/SHAKEN details.
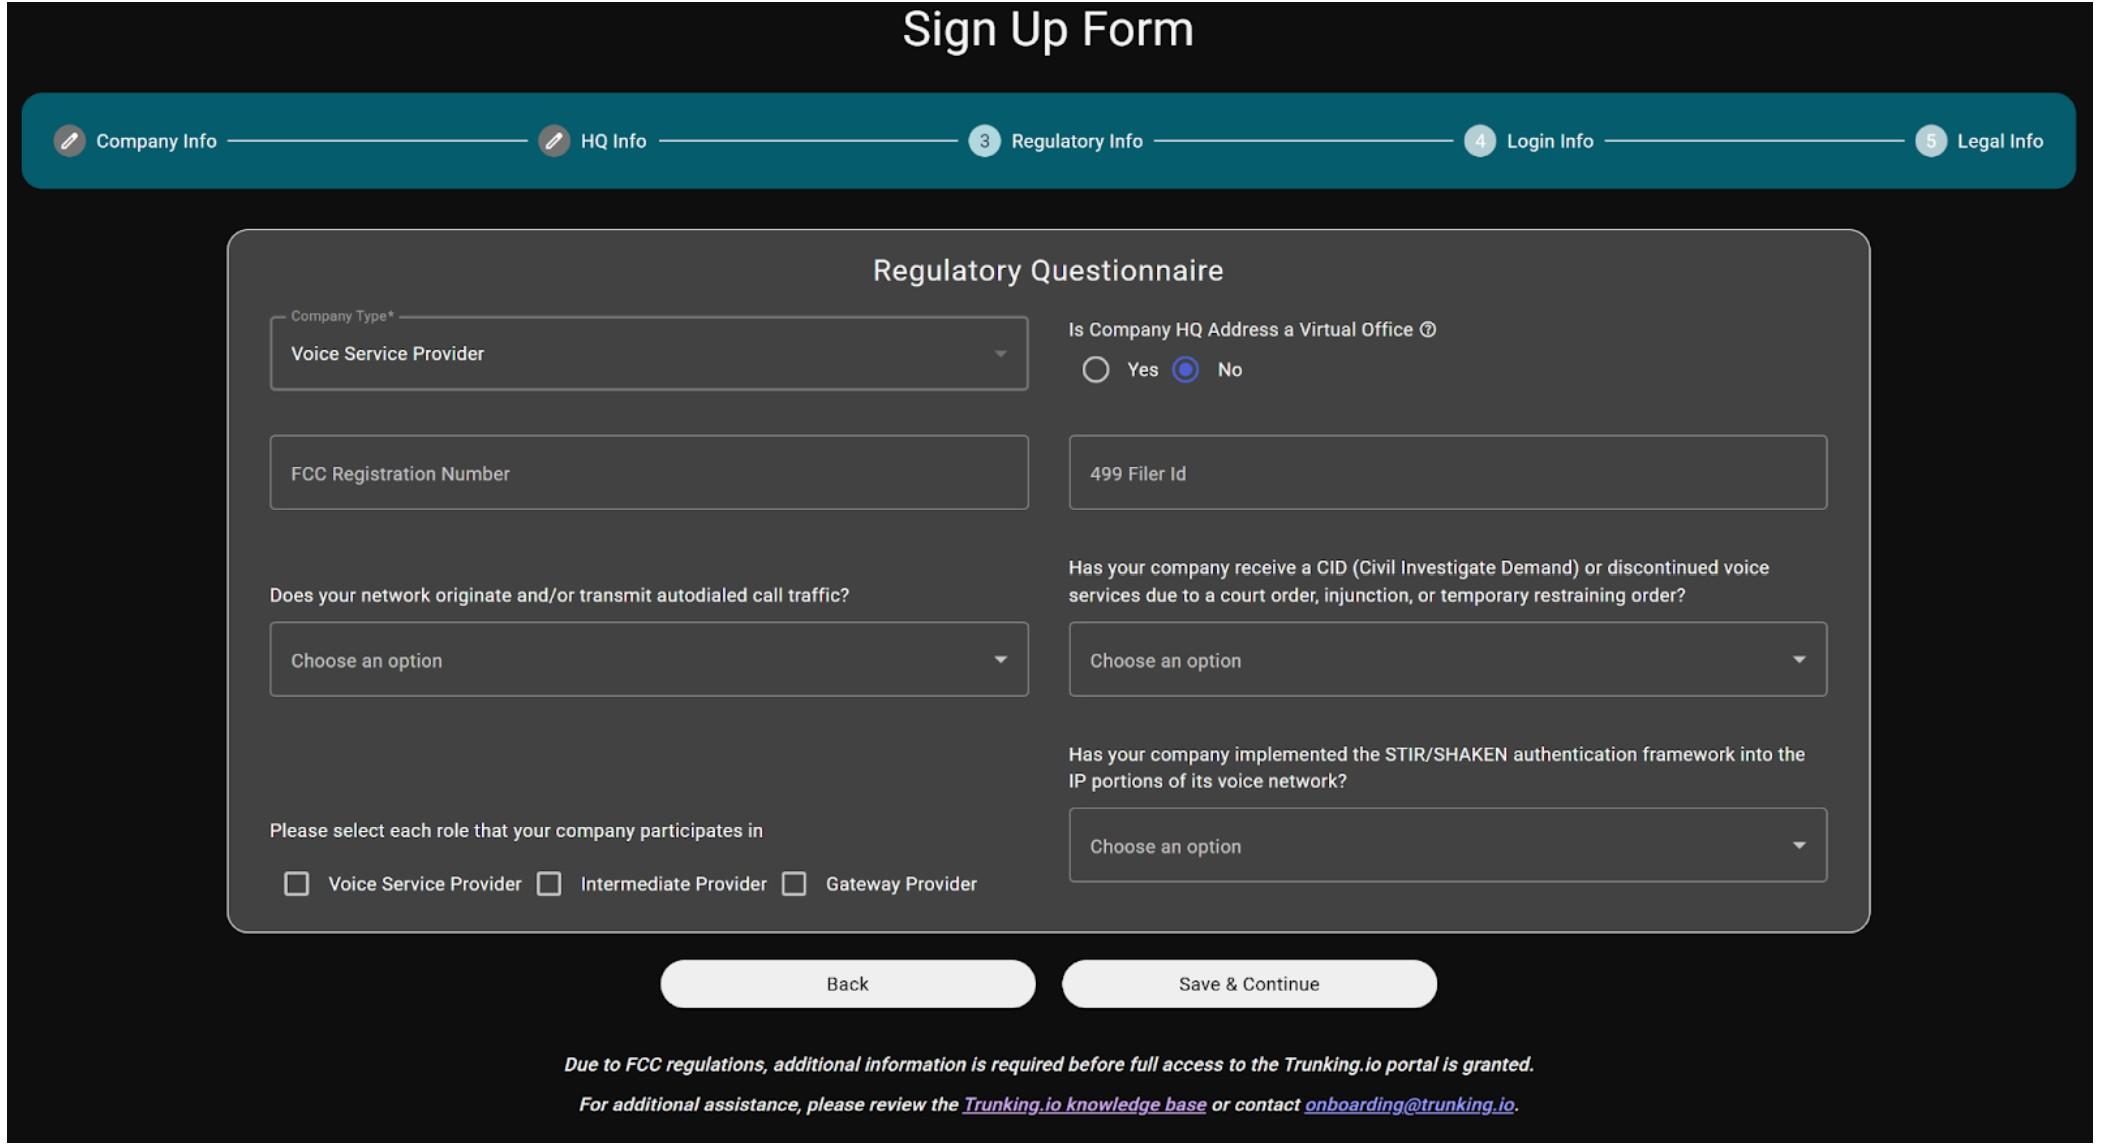
As you can see on this page, there is a field labeled “Has your company implemented the STIR/SHAKEN authentication framework into the IP portions of the voice network?” Select “No” at this stage of the registration process. Even if you already have a STIR/SHAKEN certificate, this feature cannot be enabled until your company is fully registered and verified.
-
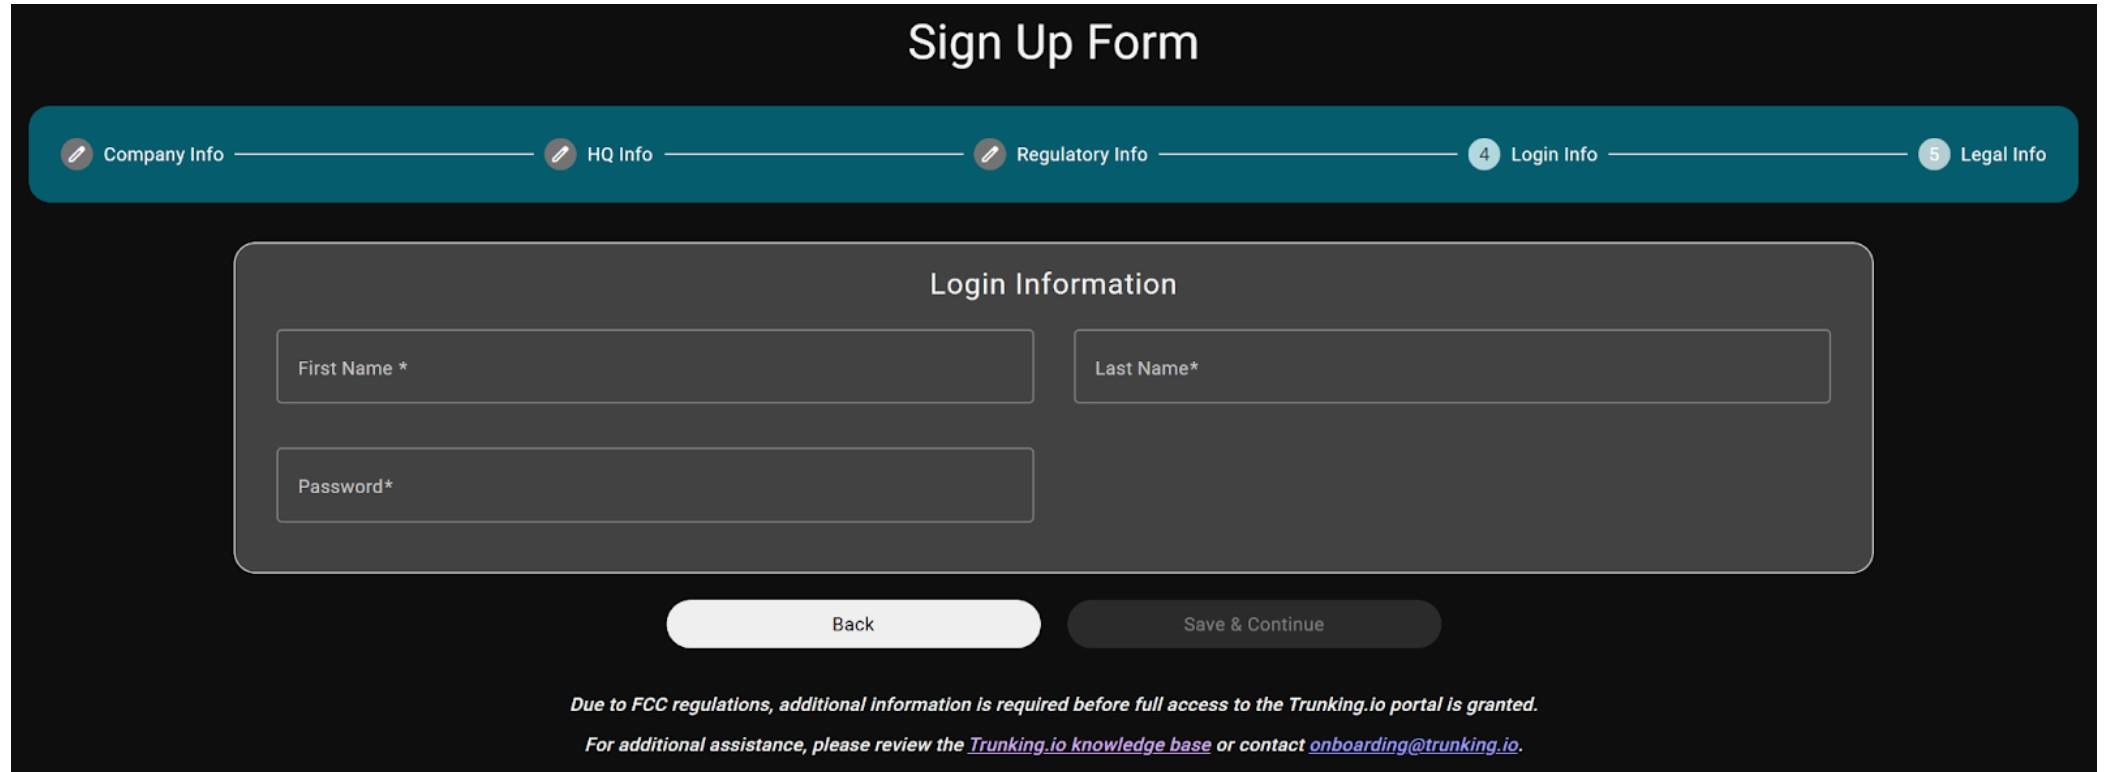
Login Information: enter your first name, last name, and password on this page.
-
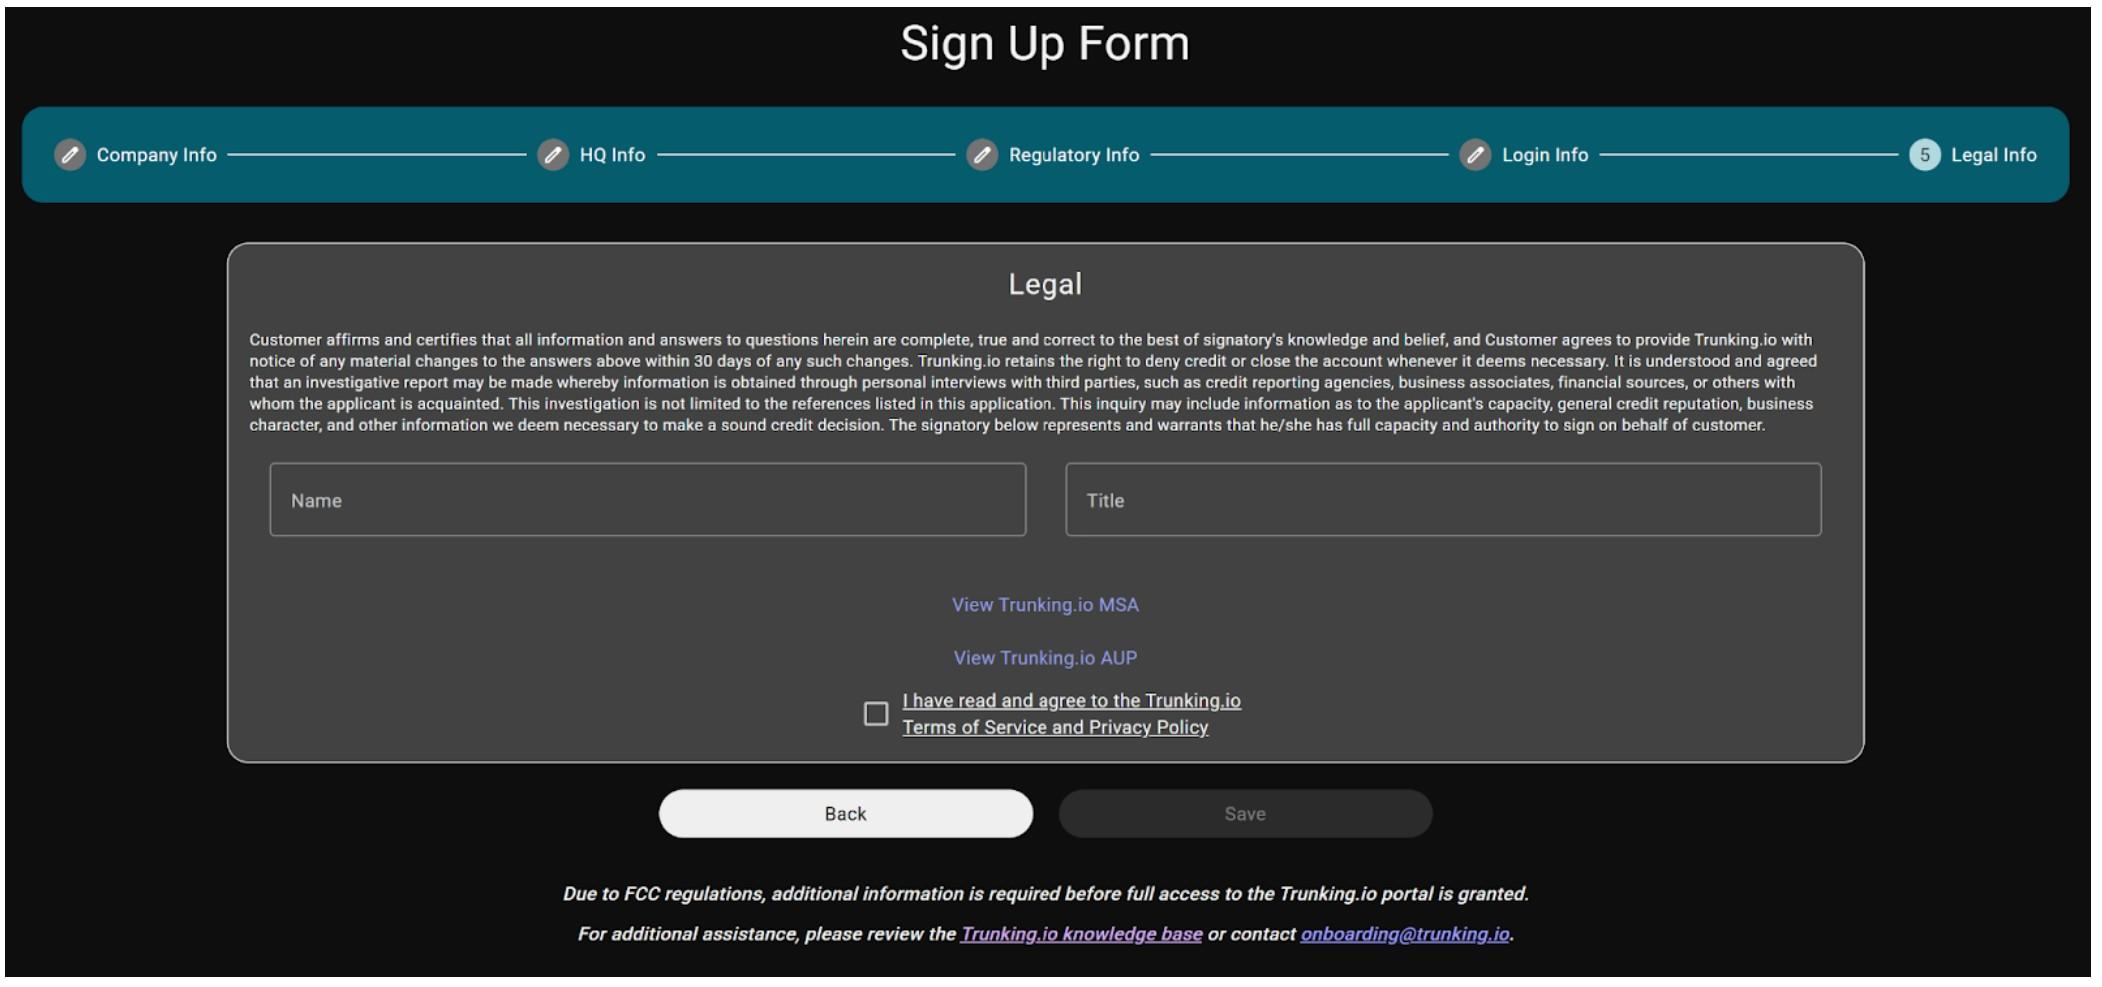
Legal Page: finally, review the Trunking.io Terms of Service and Privacy Policy carefully, as it outlines the legal obligations and responsibilities of both Trunking.io and your company. If you agree with the terms, please finalize the registration by entering your name and title to complete the legal agreement.
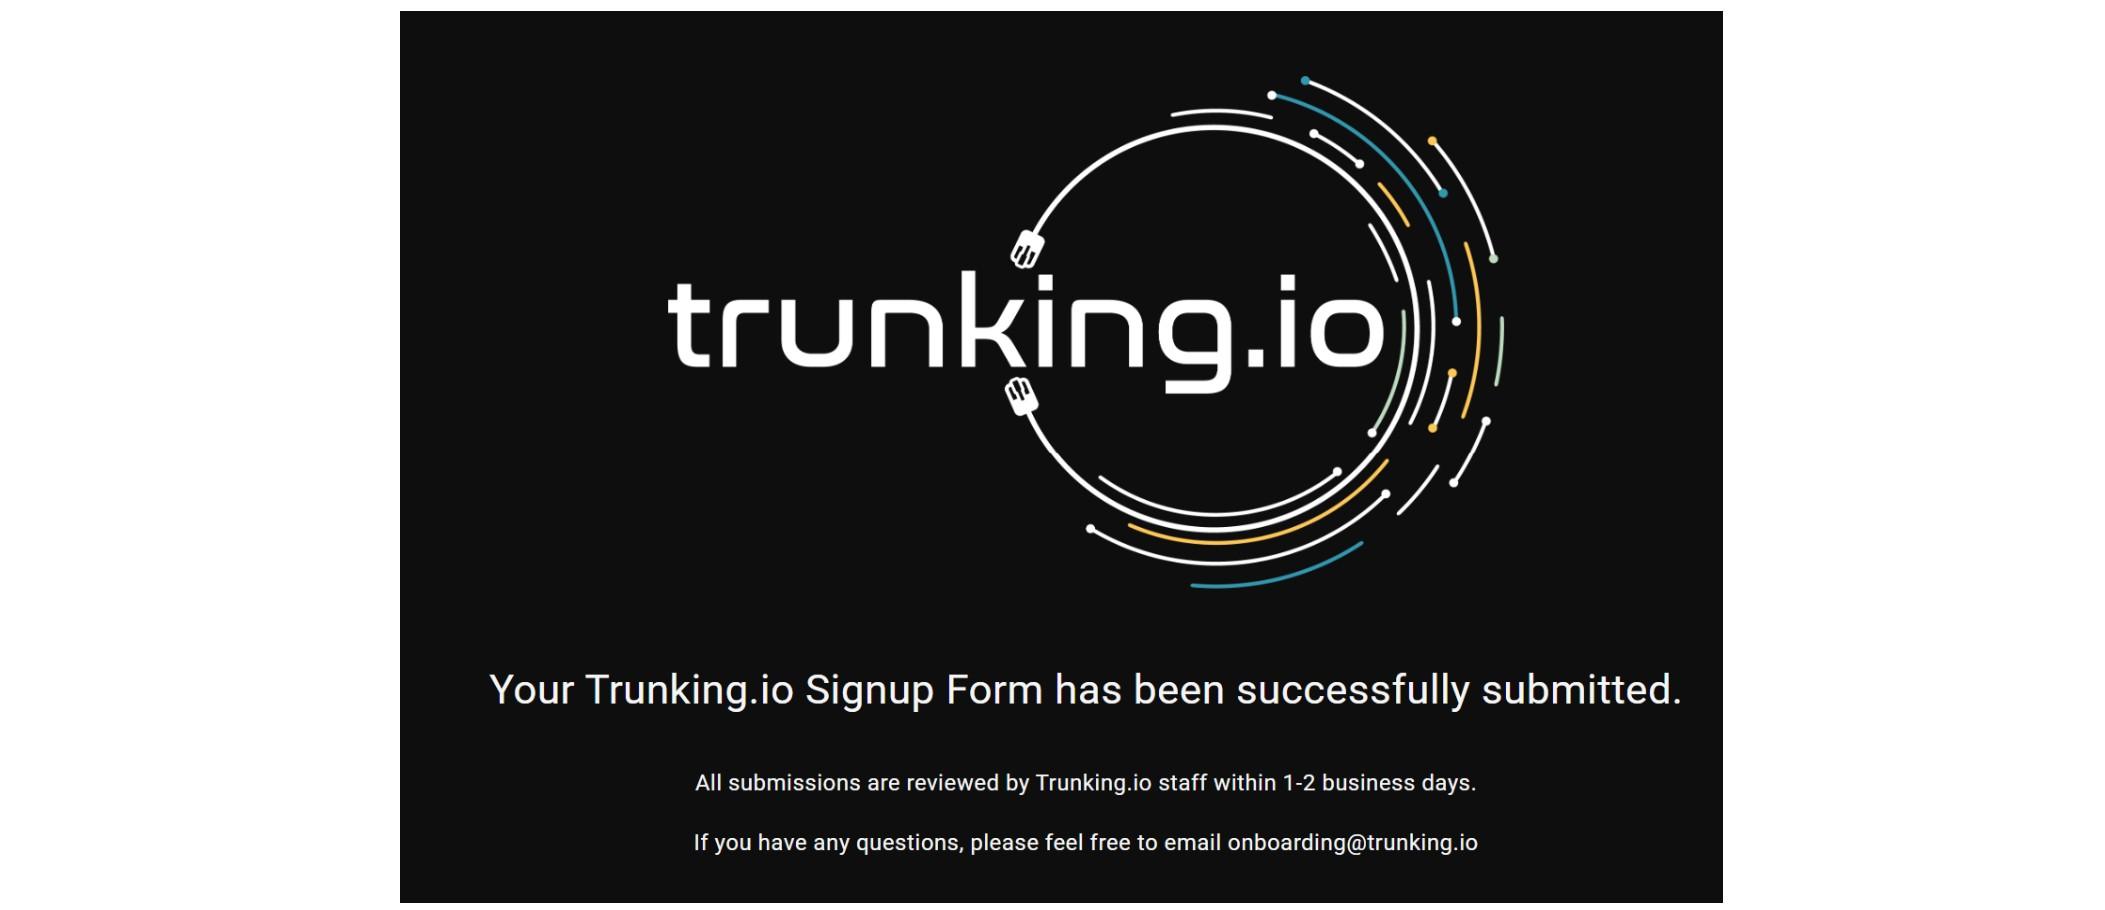
After clicking the “Save” button, you will see a message confirming that your sign-up form has been successfully submitted.
Once your application has been submitted, a Trunking.io representative will review your information and activate your account. This steps usually takes 1-2 business days. You will receive a welcome email when the account is approved.
At this point, you will be able to use your login credentials to access the system. Note that at this point, Trunking.io is not yet used for placing or receiving calls.
After the cutover, we’ll notify you by email, and you can test again — this time by calling a customer’s IVR number to confirm everything is working properly.
Activation In Progress
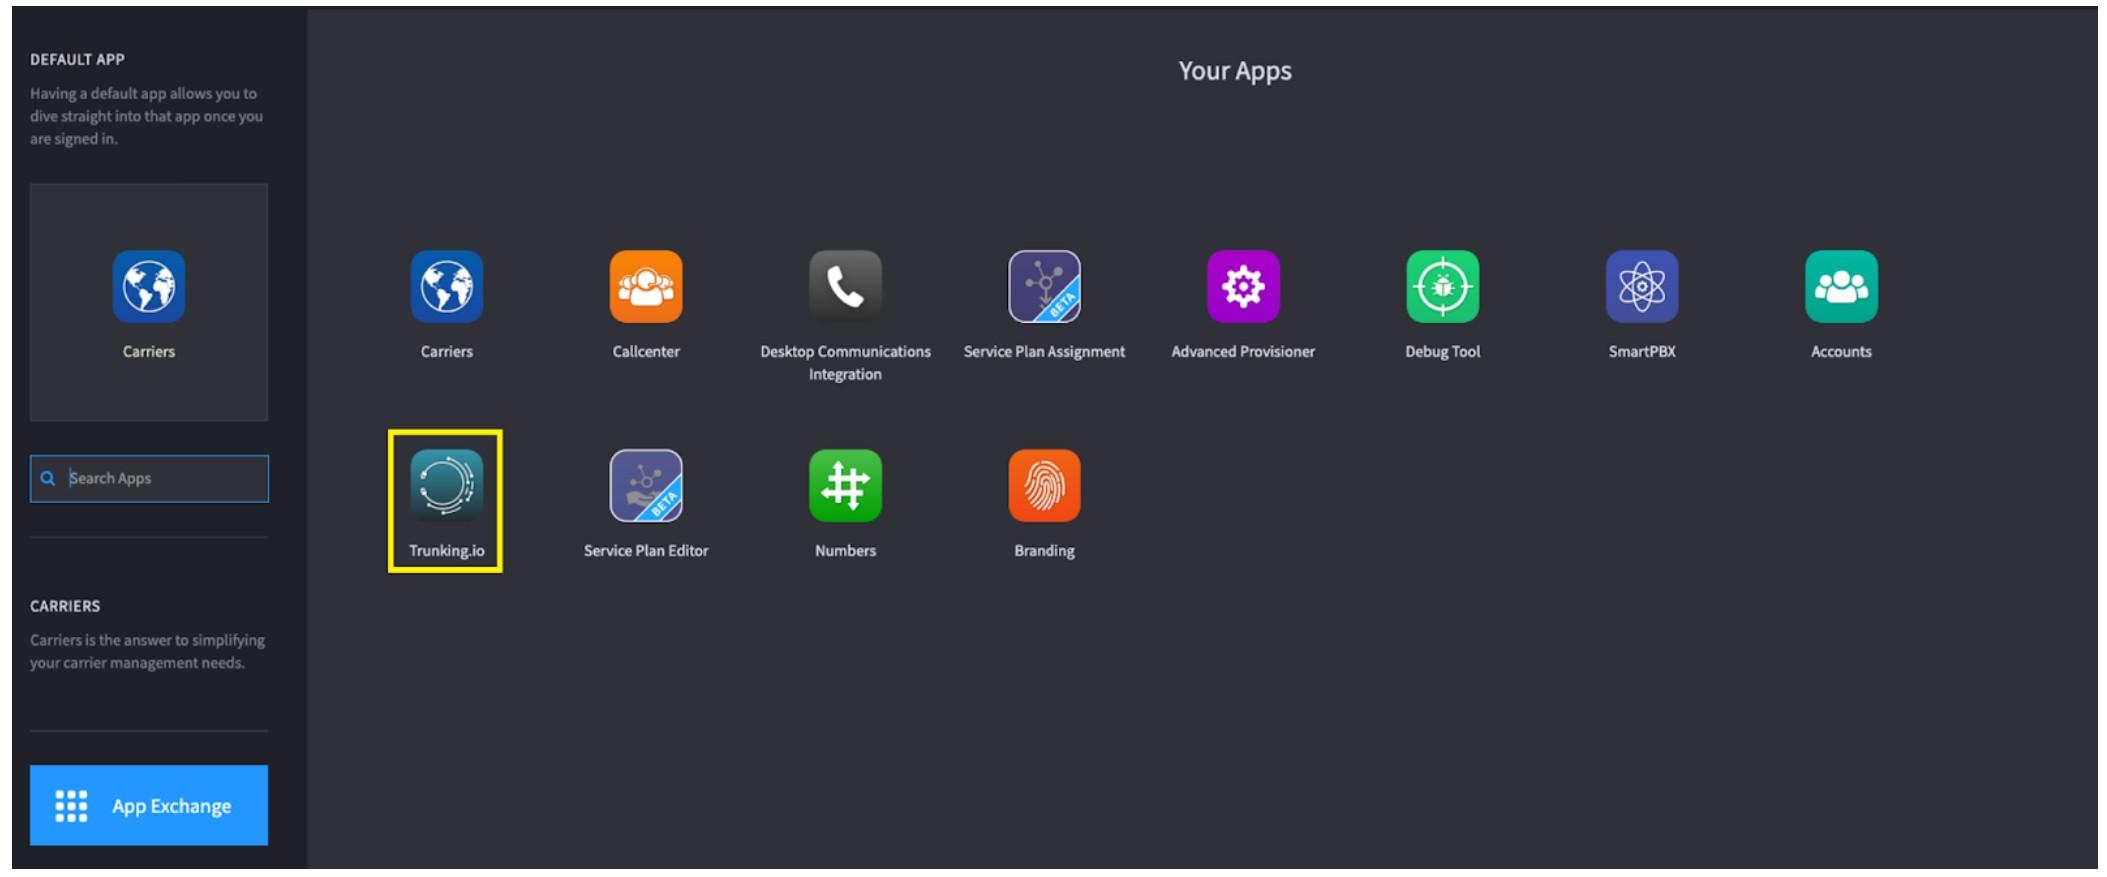
To log in, locate Trunking.io app in the 2600Hz Admin portal. Click it to enter the Trunking.io portal.
Then, click the “Login” button to open the login form, enter your credentials, and click the “Sign In” button.

To complete your sign-up, you’ll need a STIR/SHAKEN certificate if you are a reseller. You do not need a STIR/SHAKEN certificate if you are an end-user and do not resell telecom services. If you need a tutorial on how to get a STIR/SHAKEN certificate, please check out our video tutorials.
After logging in, you will encounter another wizard requesting additional details about your business. This wizard consists of seven pages:
-
Introduction: provides an overview of the wizard.

-
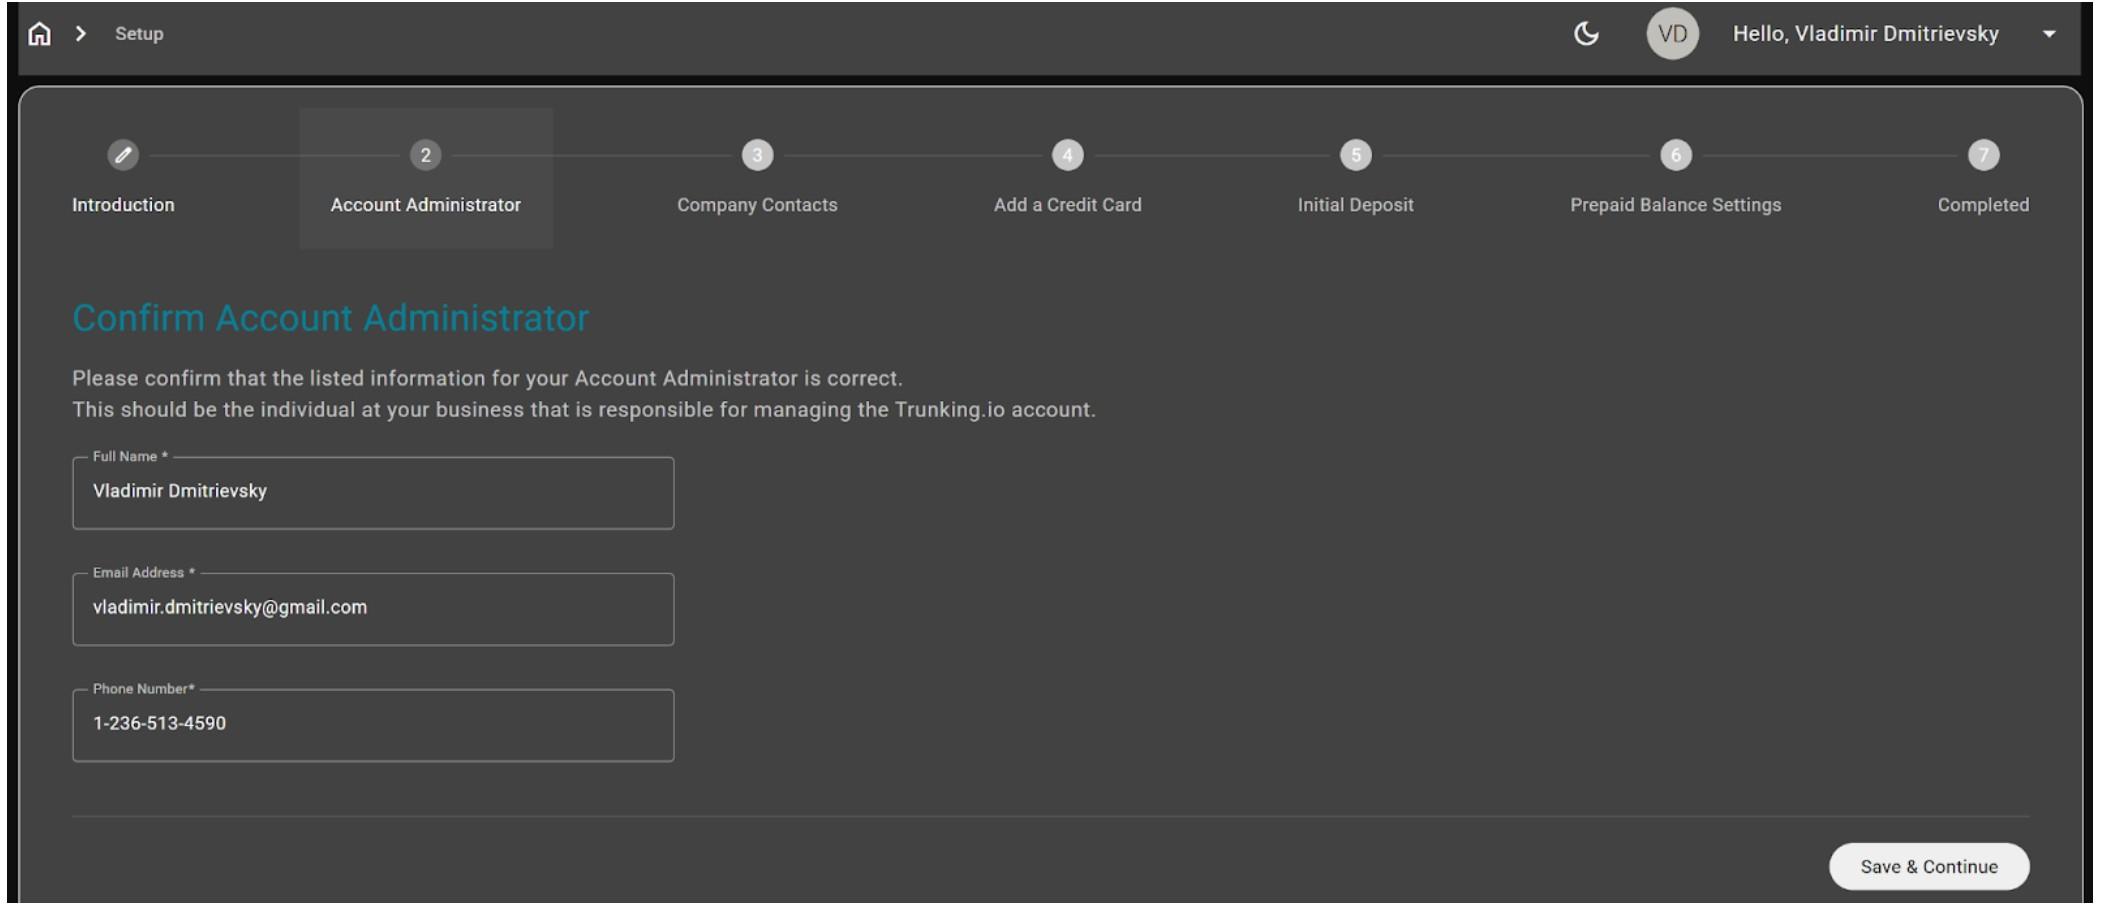
Account Administration: enter the full name, email address, and phone number of the admin assigned to this account.
-
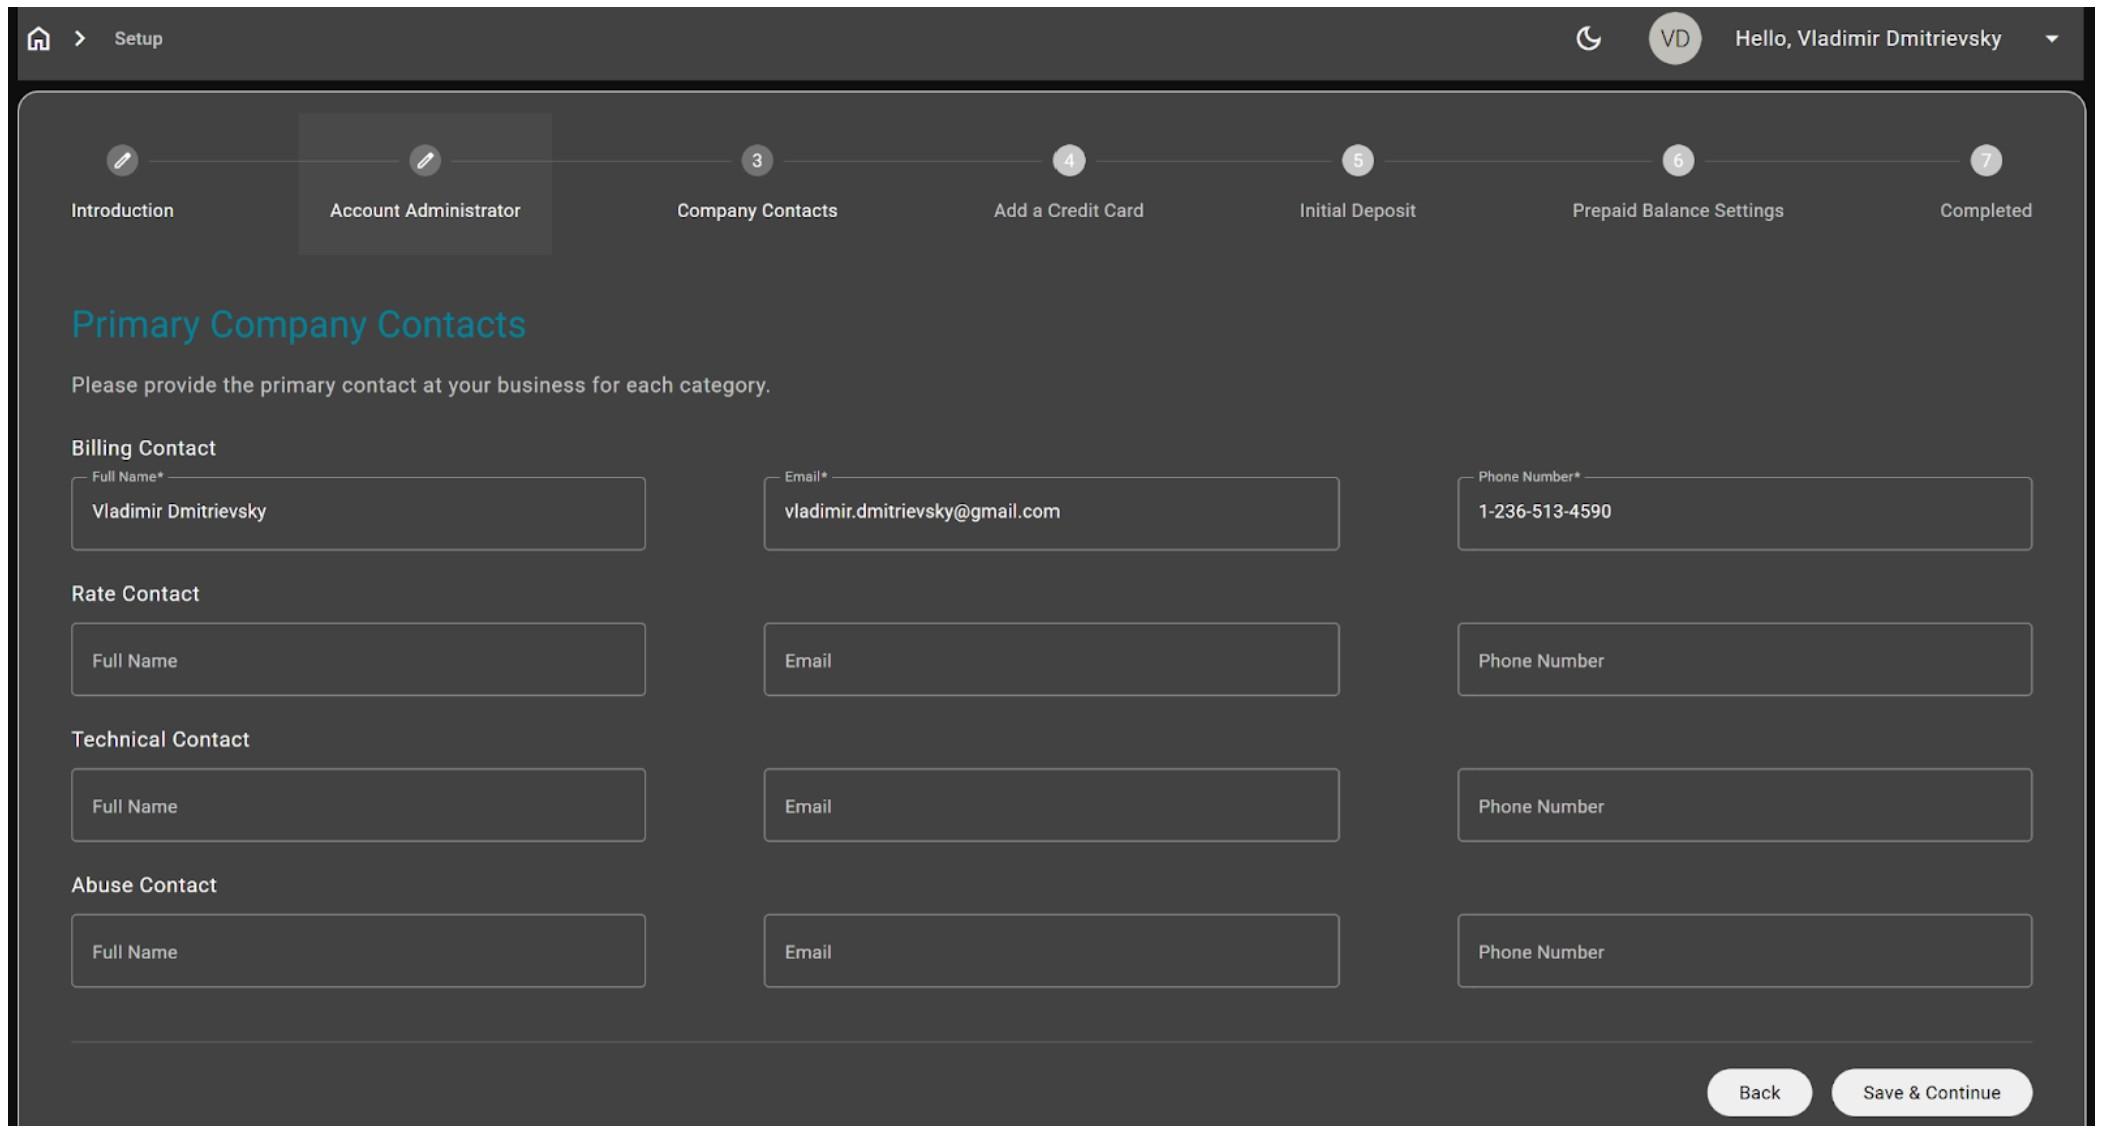
Company Contacts: provide the billing contact, a designated person from your company.
-
Credit Card Information: enter the credit card details that will be charged according to Trunking.io’s billing policy.
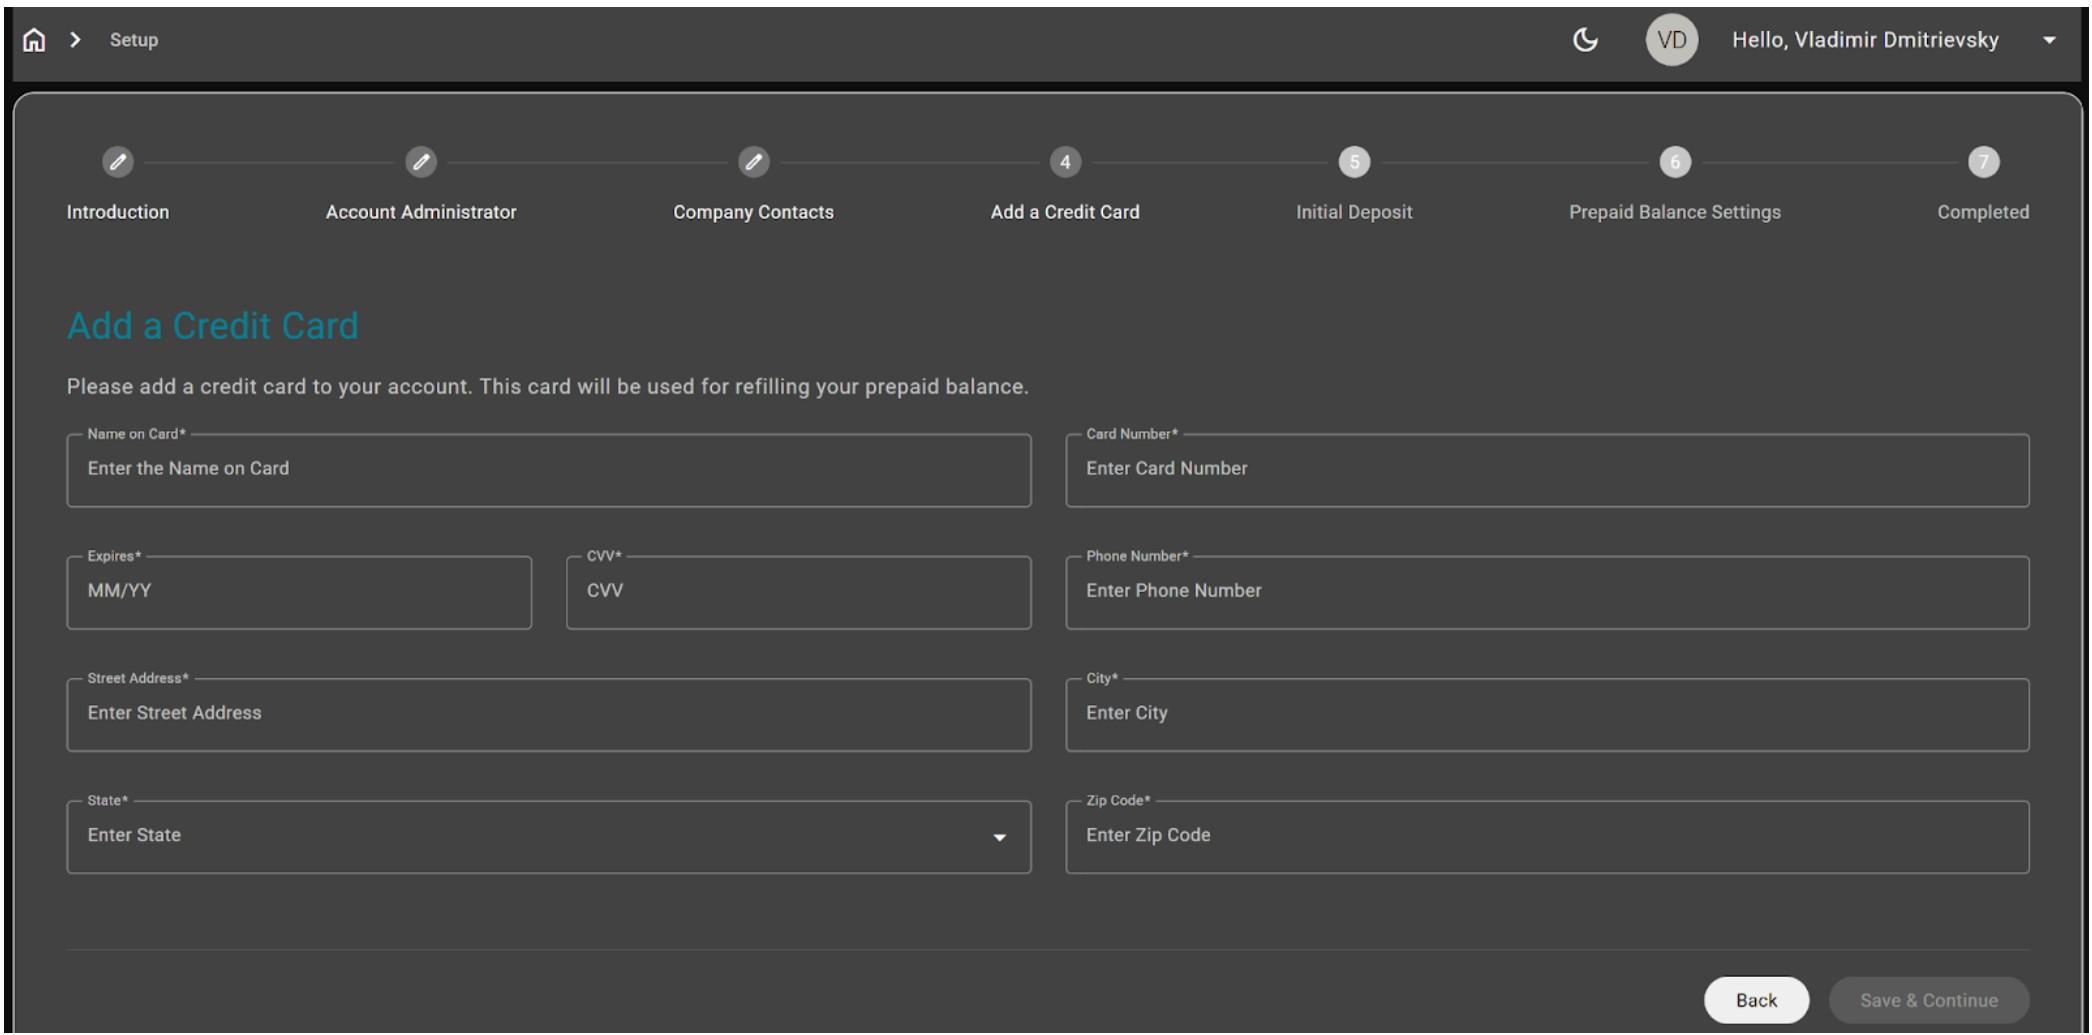
Please note that Trunking.io does not support ACH-based billing. If your business requires Net 30 payment terms, please submit a request using this form.
-
All the following pages are related to the credit card setup.
Once all the aforementioned steps are completed, the last page of the wizard will show a notification confirming that the setup was successful.
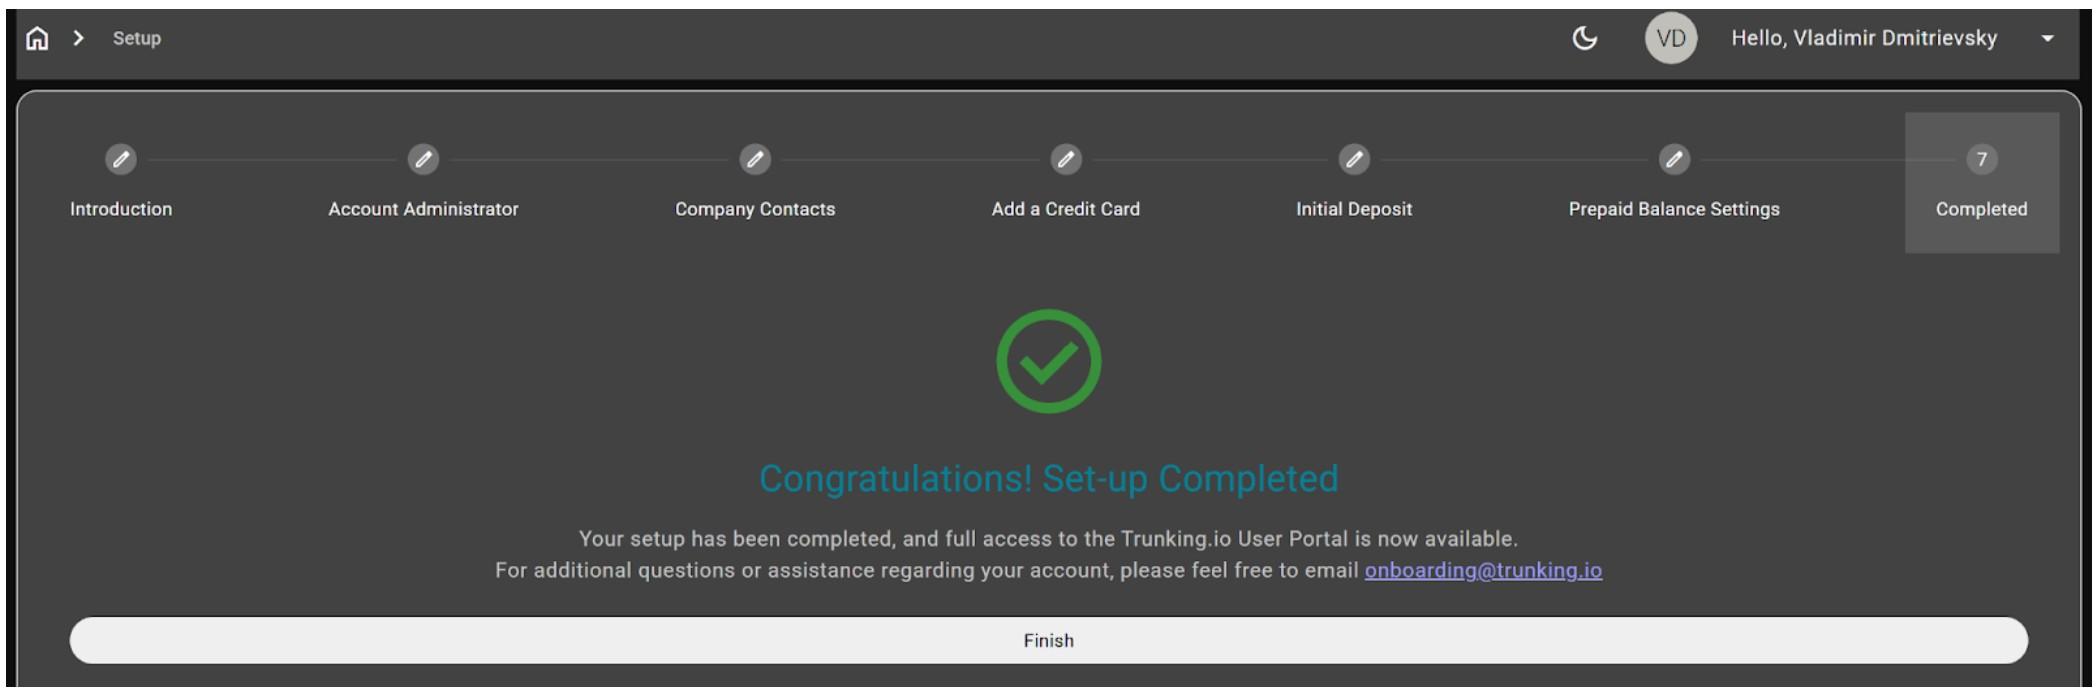
You will then have full access to the Trunking.io portal.
Any time you need to access Trunking.io, go to the Trunking.i o app in the Monster UI and click the “Enter TIO” button.
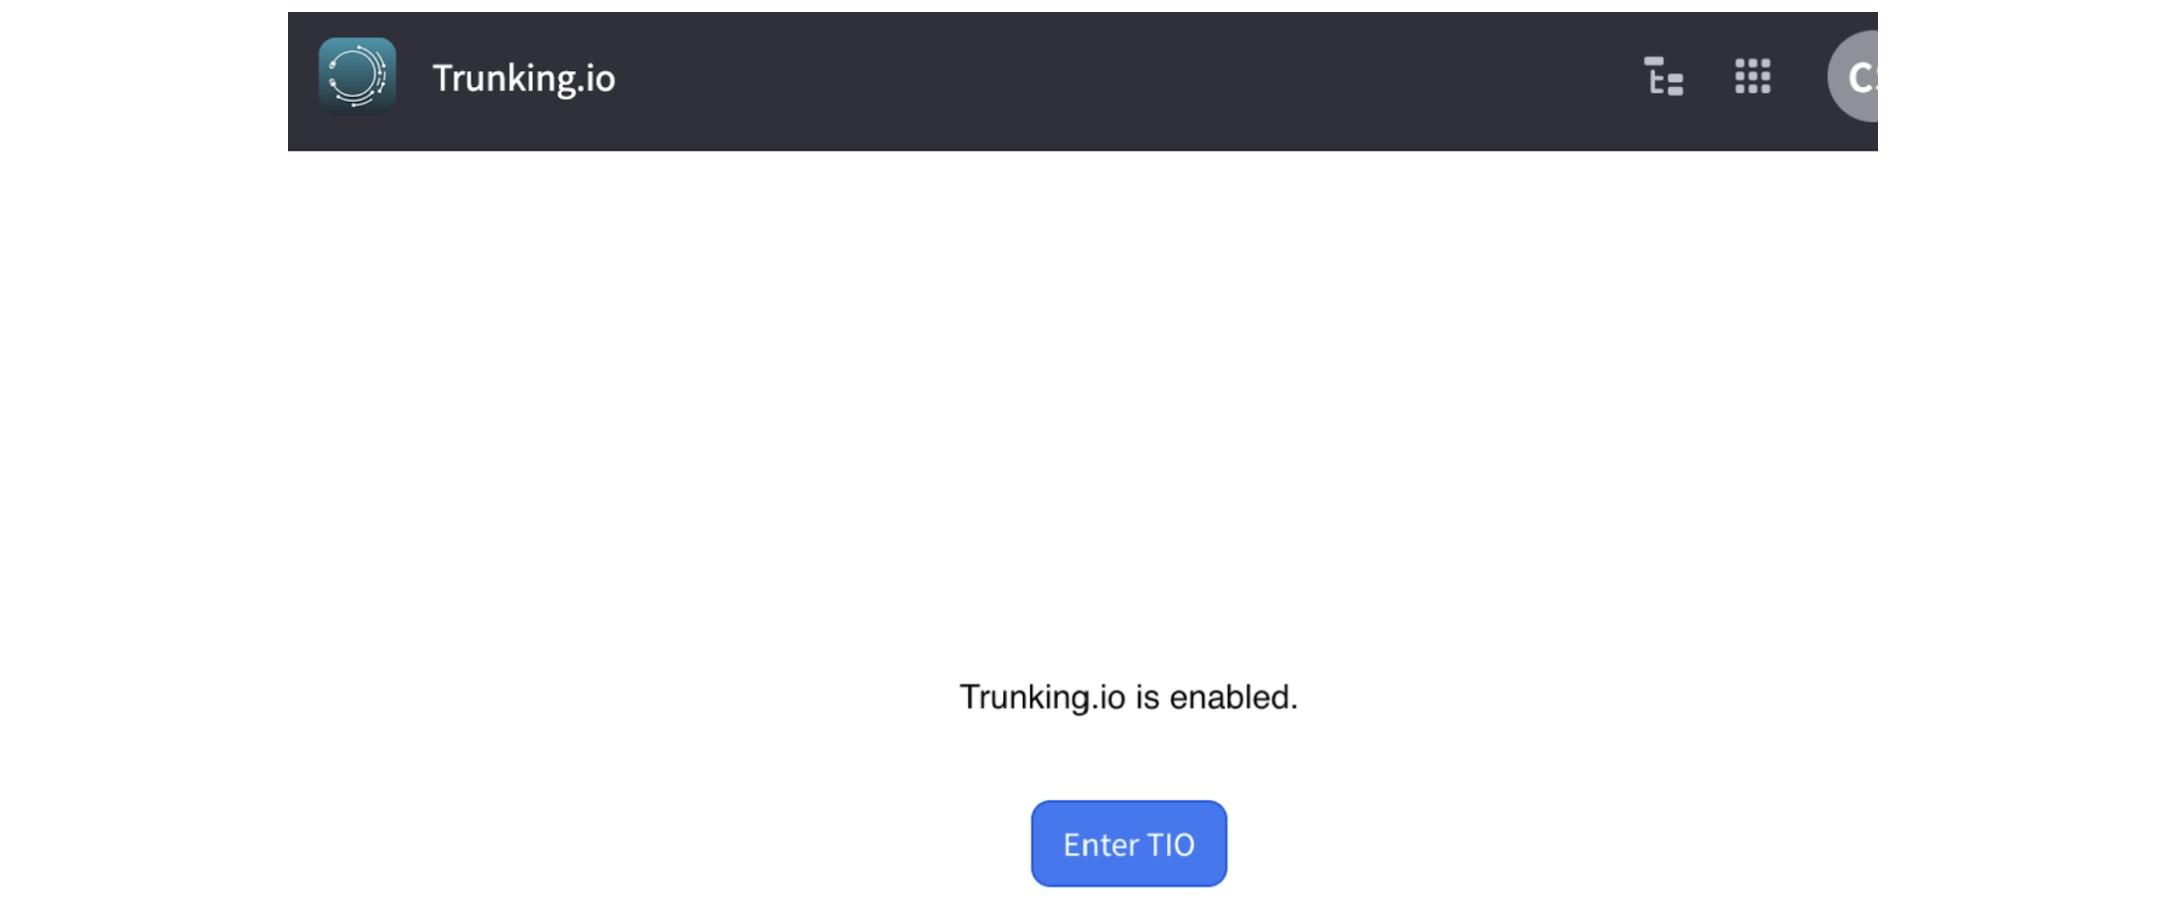
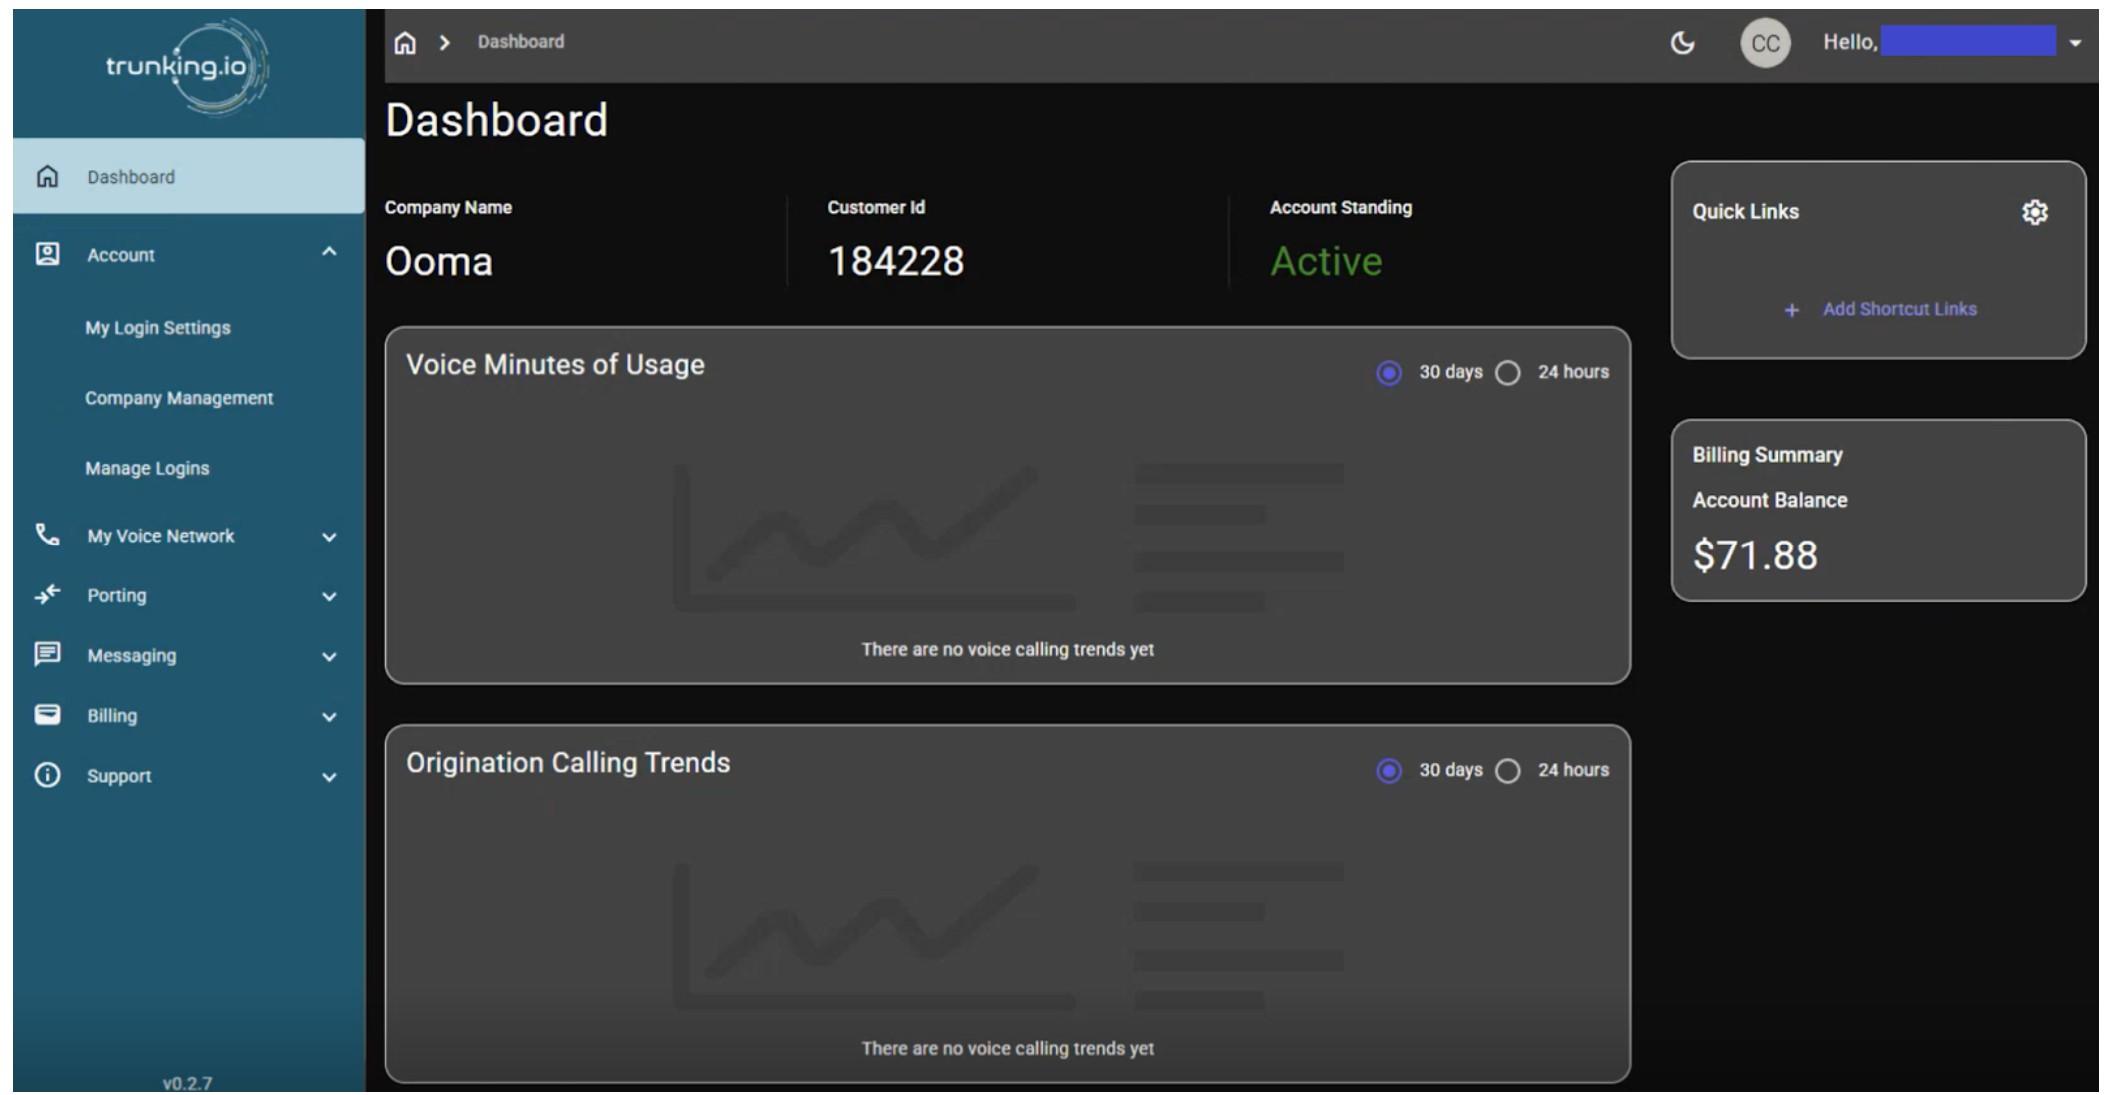
This will reopen the Trunking.io portal and take you directly to the Trunking.io dashboard.
Please note you cannot directly login to Trunking.io and always must be done using 2600Hz Trunking.io integration app.
Once your account is verified, your outbound service will be automatically activated, and billing for outbound calling will transition to the Trunking.io platform and cease on the 2600Hz platform automatically. You’ll still have an additional step to follow to move your inbound calling to the Trunking.io platform — we’ll email you when we’re ready for that step. For now, just hang tight!
Resellers and their customers should purchase numbers through the 2600Hz platform, rather than directly in Trunking.io.
Uploading a STIR/SHAKEN Certificate
To use the STIR/SHAKEN framework for your calls, you need to upload your certificate to Trunking.io. Since this topic is quite extensive, please refer to the dedicated article for detailed instructions.
Once your service is activated, you’ll receive an email notification. At that time, your outbound calls will be switched over, but inbound calls will not be affected.
Inbound Service Activation
Once your outbound calling service is officially activated, it’s time for the final step — scheduling your inbound service activation. Please use this link to book your migration with our specialists.
Once the transfer is complete, all billing will be handled through Trunking.io, and billing for minutes, DIDs, E911, and SMS via 2600Hz will automatically stop.
Of course, you’d want to verify that everything is working correctly after the cutover. To test outbound, connect a phone and dial +1-920-666-1392 to check for an A attestation. To test inbound, simply call one of your customer’s IVRs.
Once both your outbound and inbound services are activated, your setup is officially complete — you’re ready to make and receive calls with confidence. Your SMS setup is still the same as it was before, and you can continue managing phone numbers, E911, and purchasing new numbers in the 2600Hz Admin portal as before.
And remember, we’re always here to help, even if there were mistakes during the account setup process. If you have any questions or run into issues, feel free to reach out to our support team via this link.