Trunking.io — Using the 2600Hz Platform with Trunking.io for Number Management
The purpose of this article is to provide a general overview of Trunking.io Self-Service Portal.
Once you sign up and your account is approved, your 2600Hz accounts will be automatically linked and configured to use Trunking.io as the carrier. In this article, we’ll cover how to use the 2600Hz platform with Trunking.io, focusing on the following topics:
- Accessing Trunking.io via the Admin Portal
- Purchasing Numbers
- Caller-ID Settings
- Texting Settings
Accessing Trunking.io via Admin Portal
Please note that the Monster UI portal is the only way to access the Trunking.io app.
Whenever you need to access Trunking.io, open the Monster UI portal, click the “Apps” button to view the applications available for your account, and select Trunking.io from the list.

Once the Trunking.io app opens, click the “Enter TIO” button.
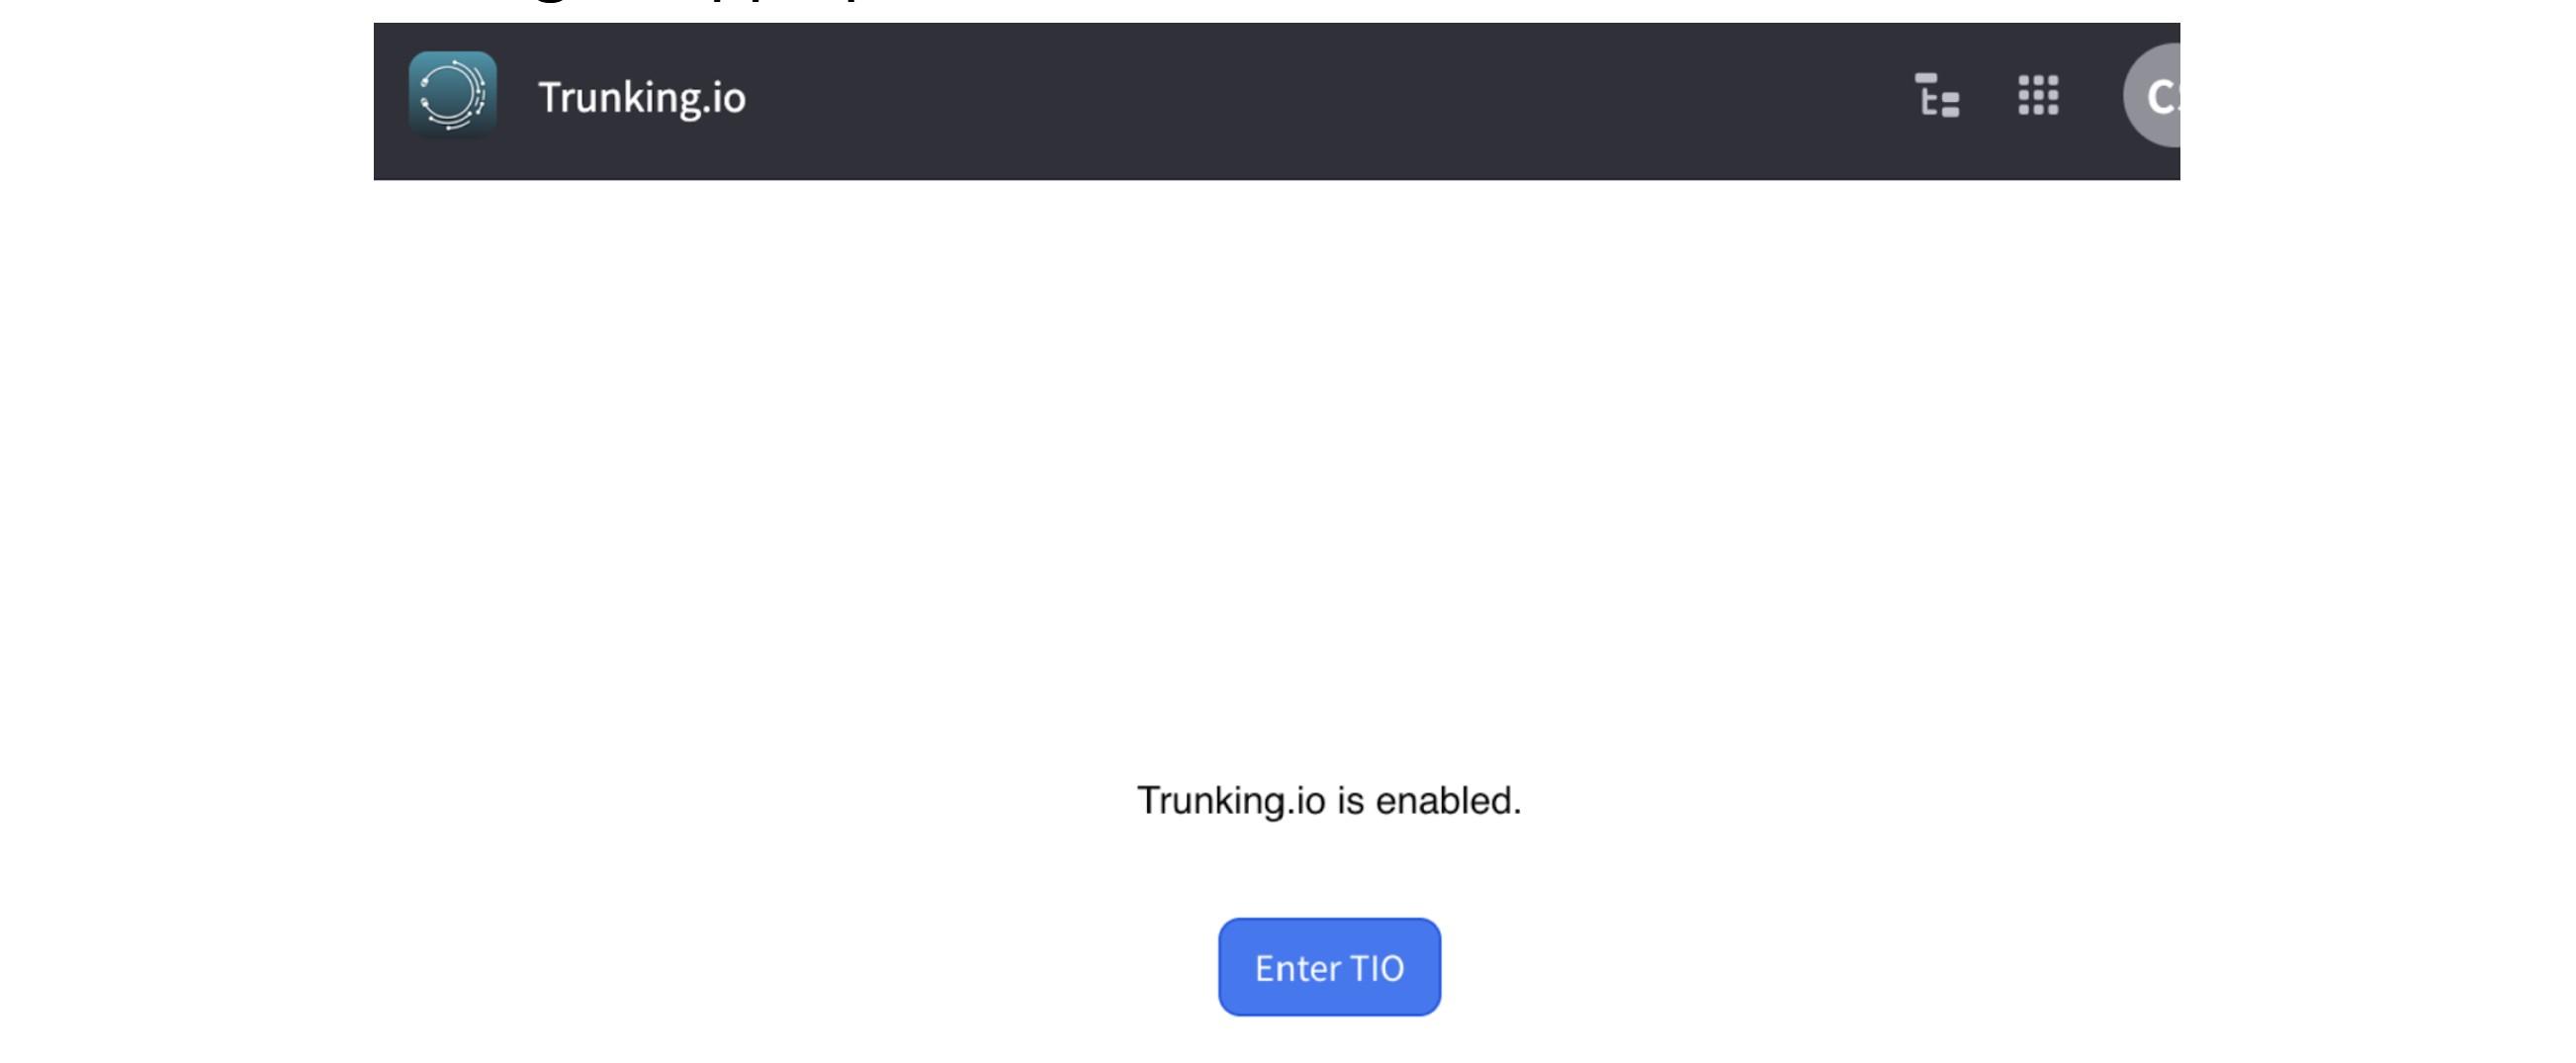
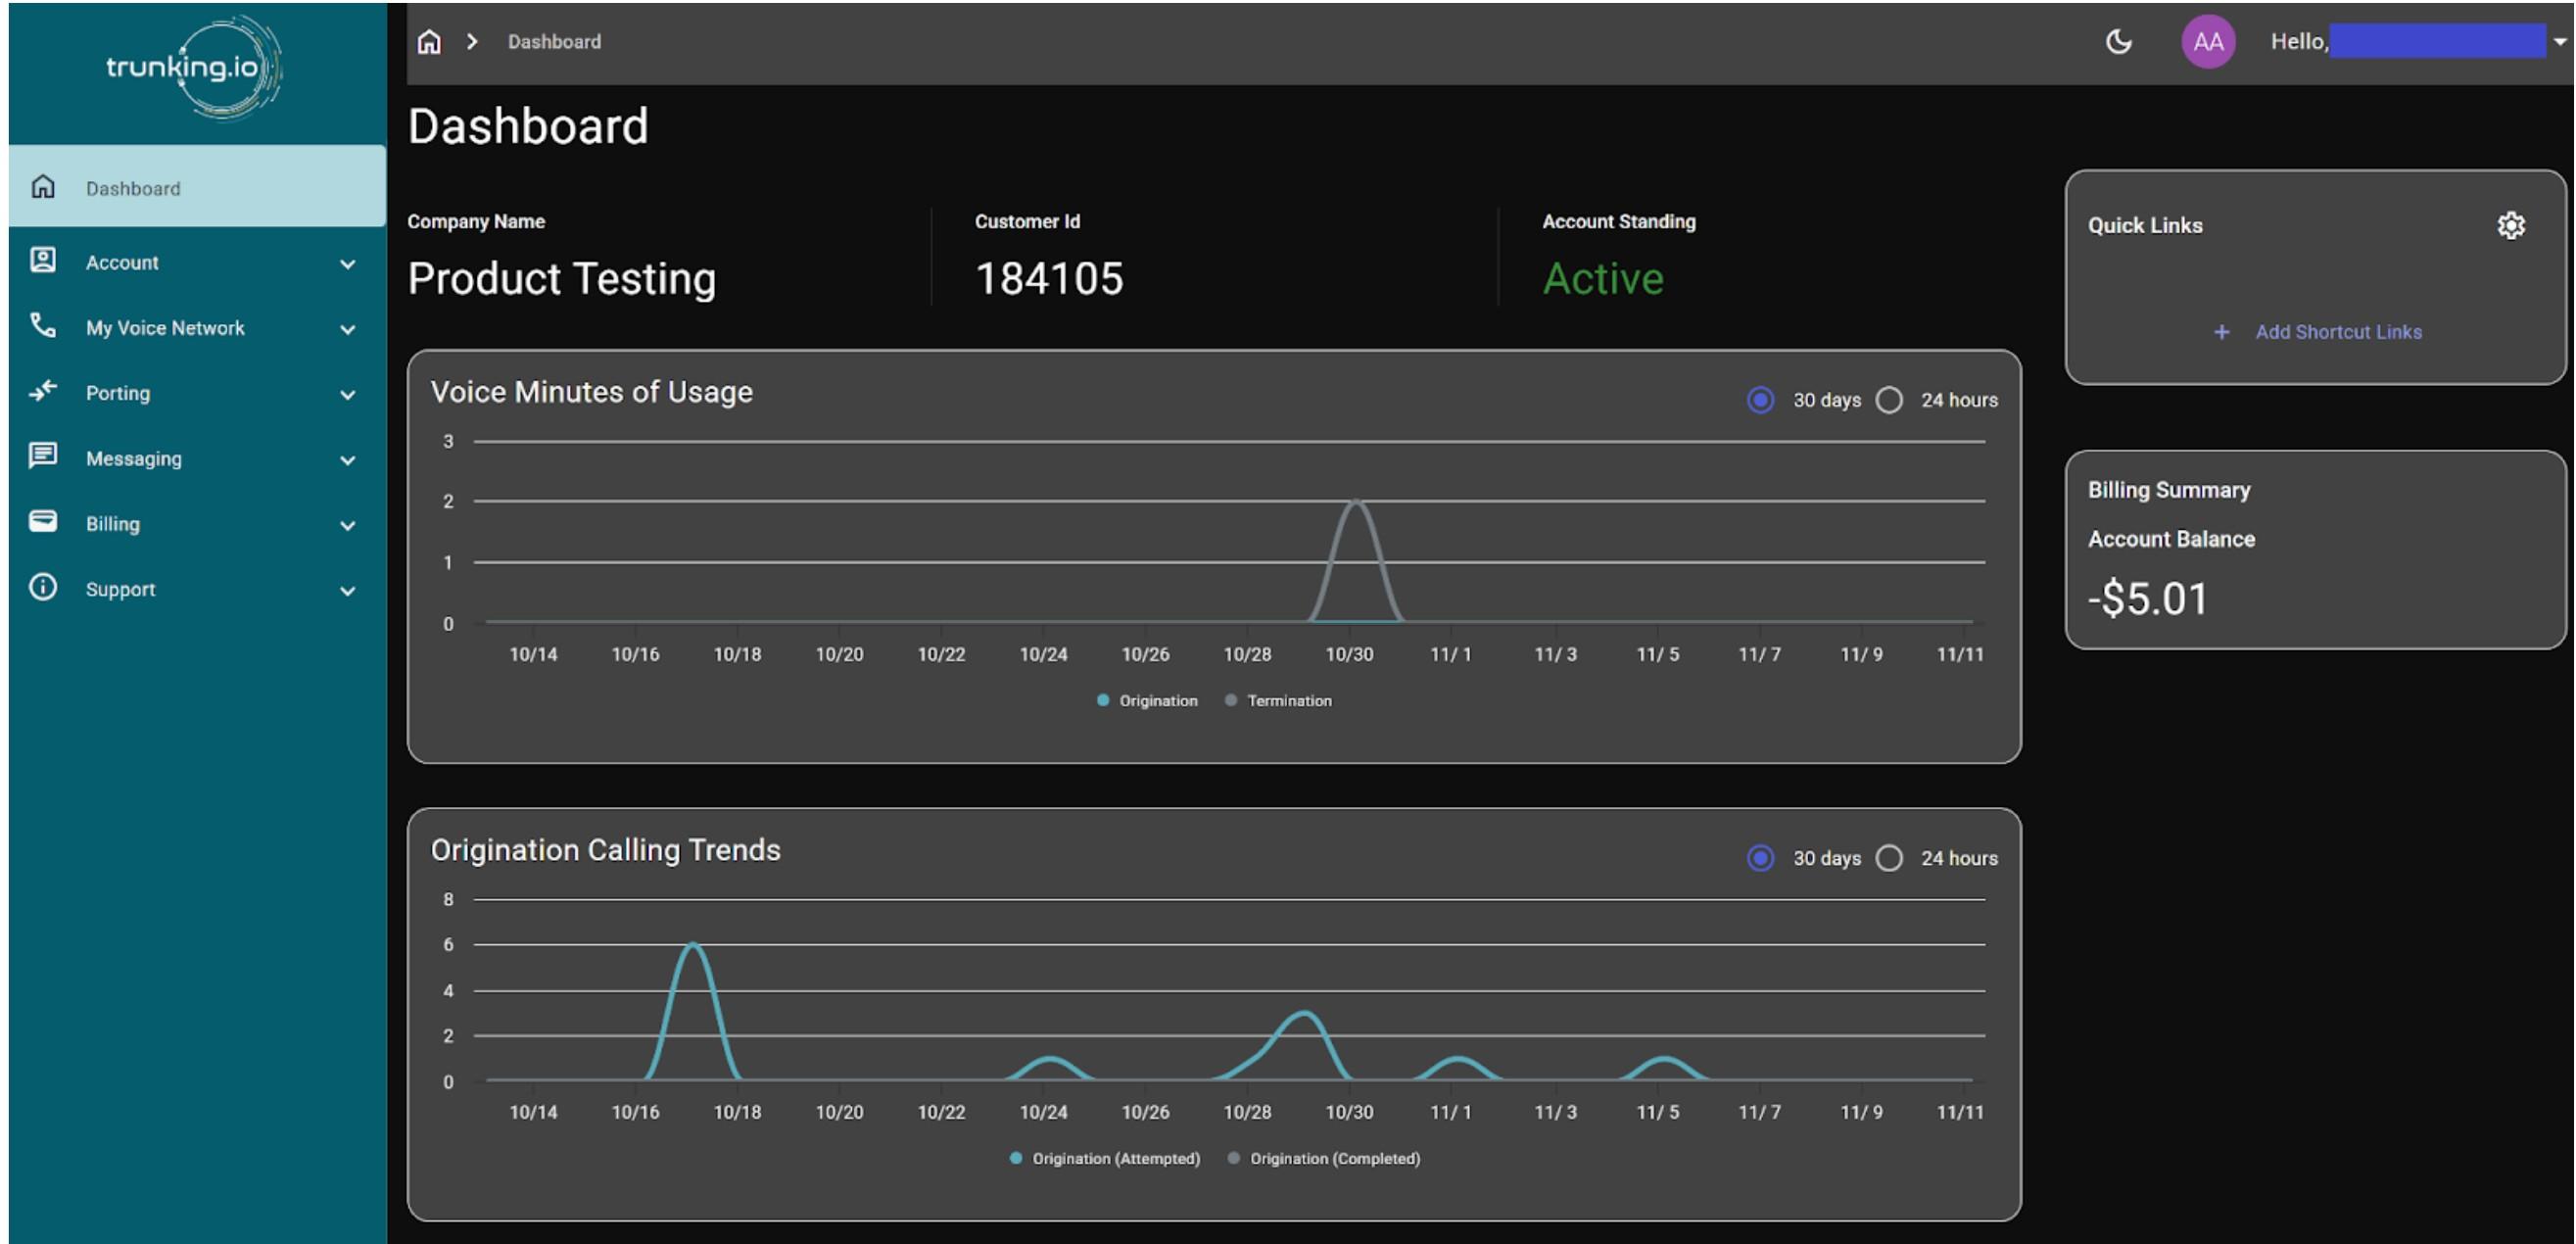
This will reopen the Trunking.io portal and take you directly to the Trunking.io dashboard.
For both 2600Hz and Trunking.io platforms to stay current, always access Trunking.io portal via 2600Hz Trunking.io integration app.
Purchasing Numbers
To purchase a phone number, you’ll need access to the SmartPBX app. Open the Monster UI portal, click the “Apps” button to view the available applications, and select SmartPBX from the list.

In the SmartPBX app, select the Numbers tab in the left-hand menu of the app, then open the Spare Numbers sub-tab. From there, click the “Buy” button to launch the phone number purchase wizard and choose whether you want a local or toll-free number.

The wizard pages will vary depending on the type of number you choose.
-
Local Number: when you choose this option, the Buy Numbers pop-up window will appear. It contains two fields you can fill in.
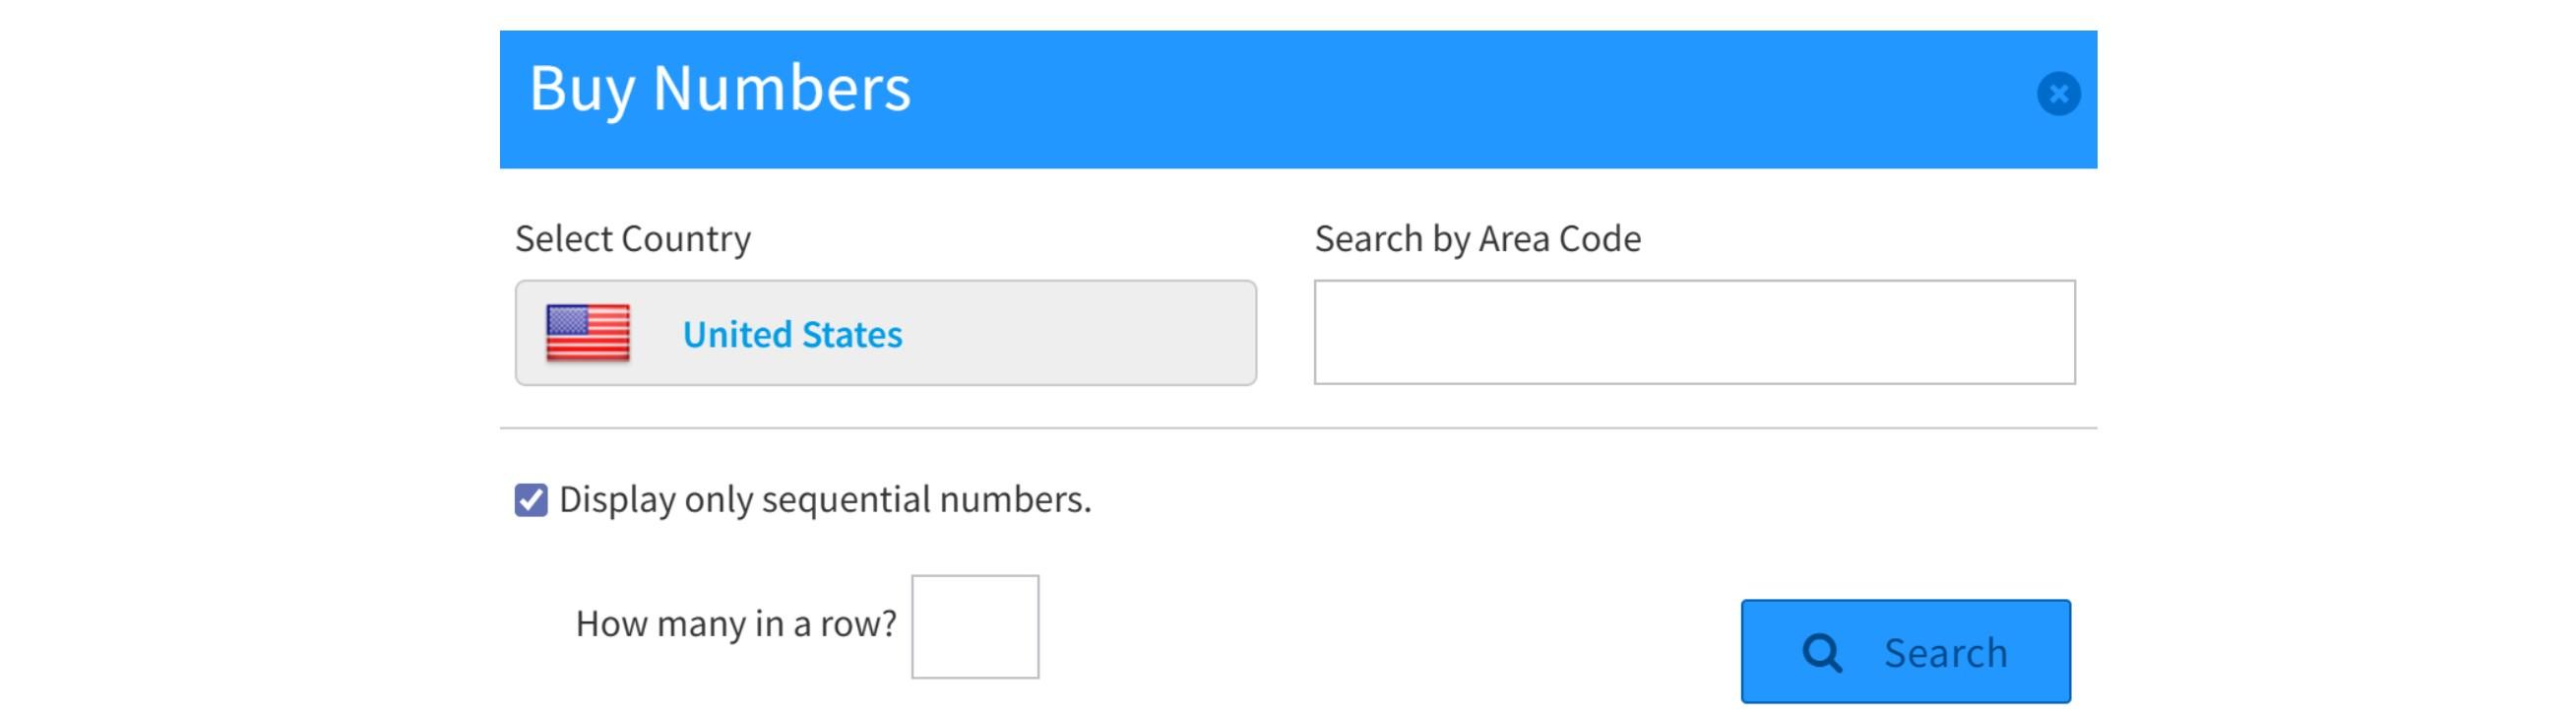
- Search by Area Code: select the area code for the number you want to purchase.
- Display only sequential numbers: if you check this checkbox, an additional field will appear where you can specify how many sequential numbers to list.
After clicking the “Search” button, you’ll see a list of available numbers.
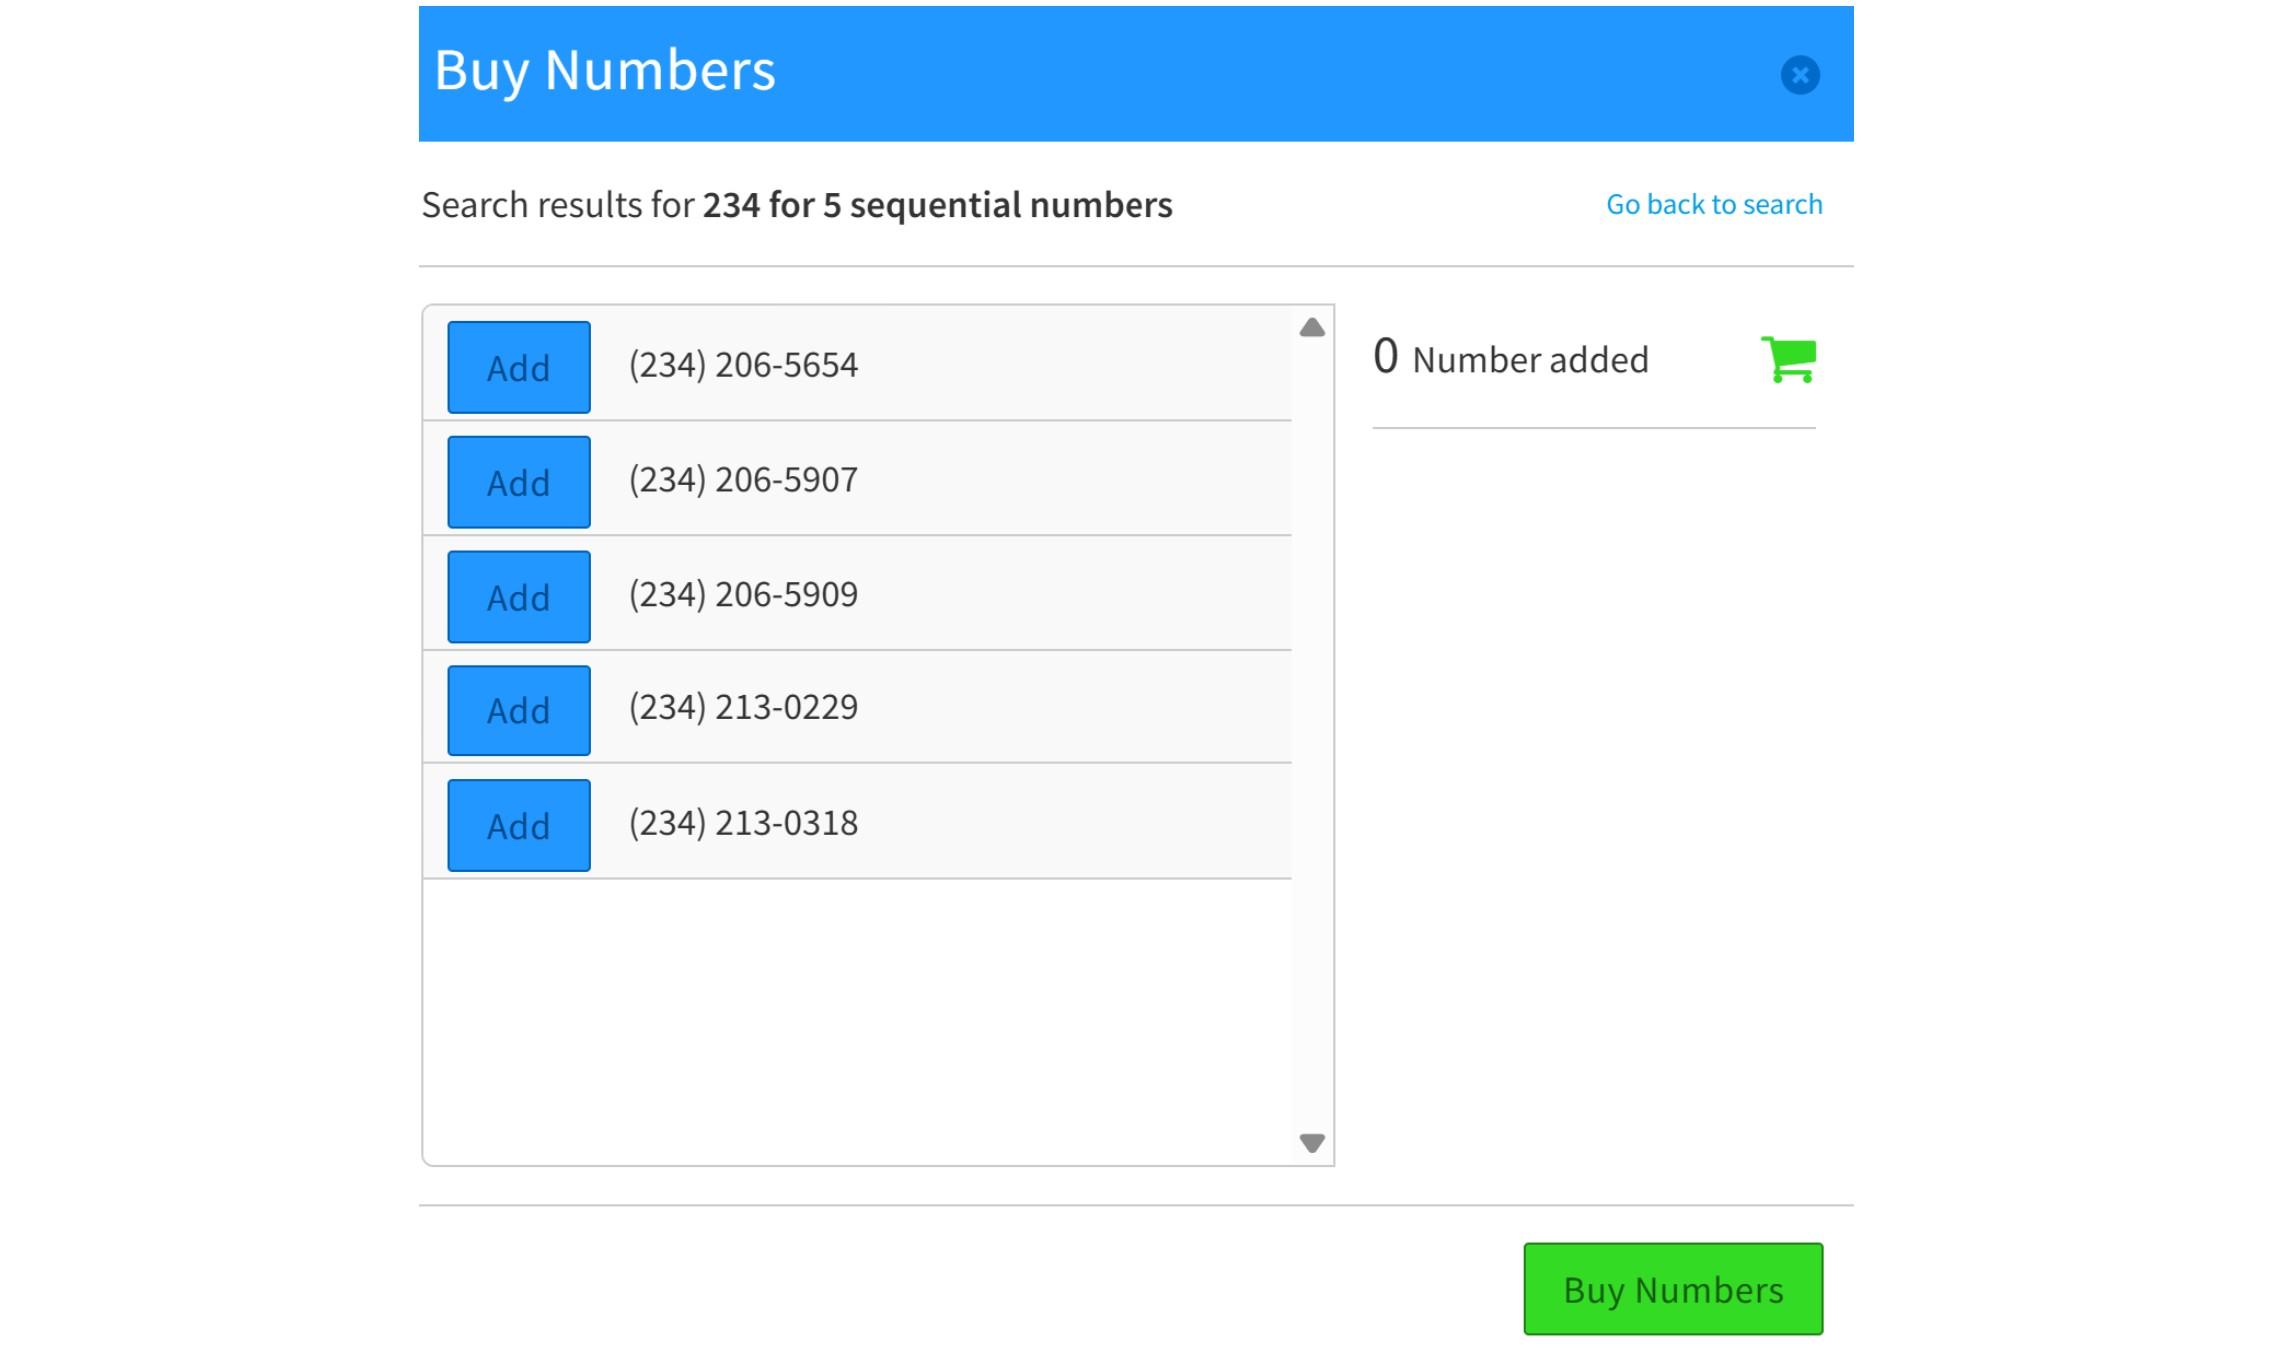
Select any number and click the “Add” button to move it to the cart on the right side of the window. To purchase the selected number, click the “Buy Numbers” button. To remove a number from the cart, click the Garbage Can icon.
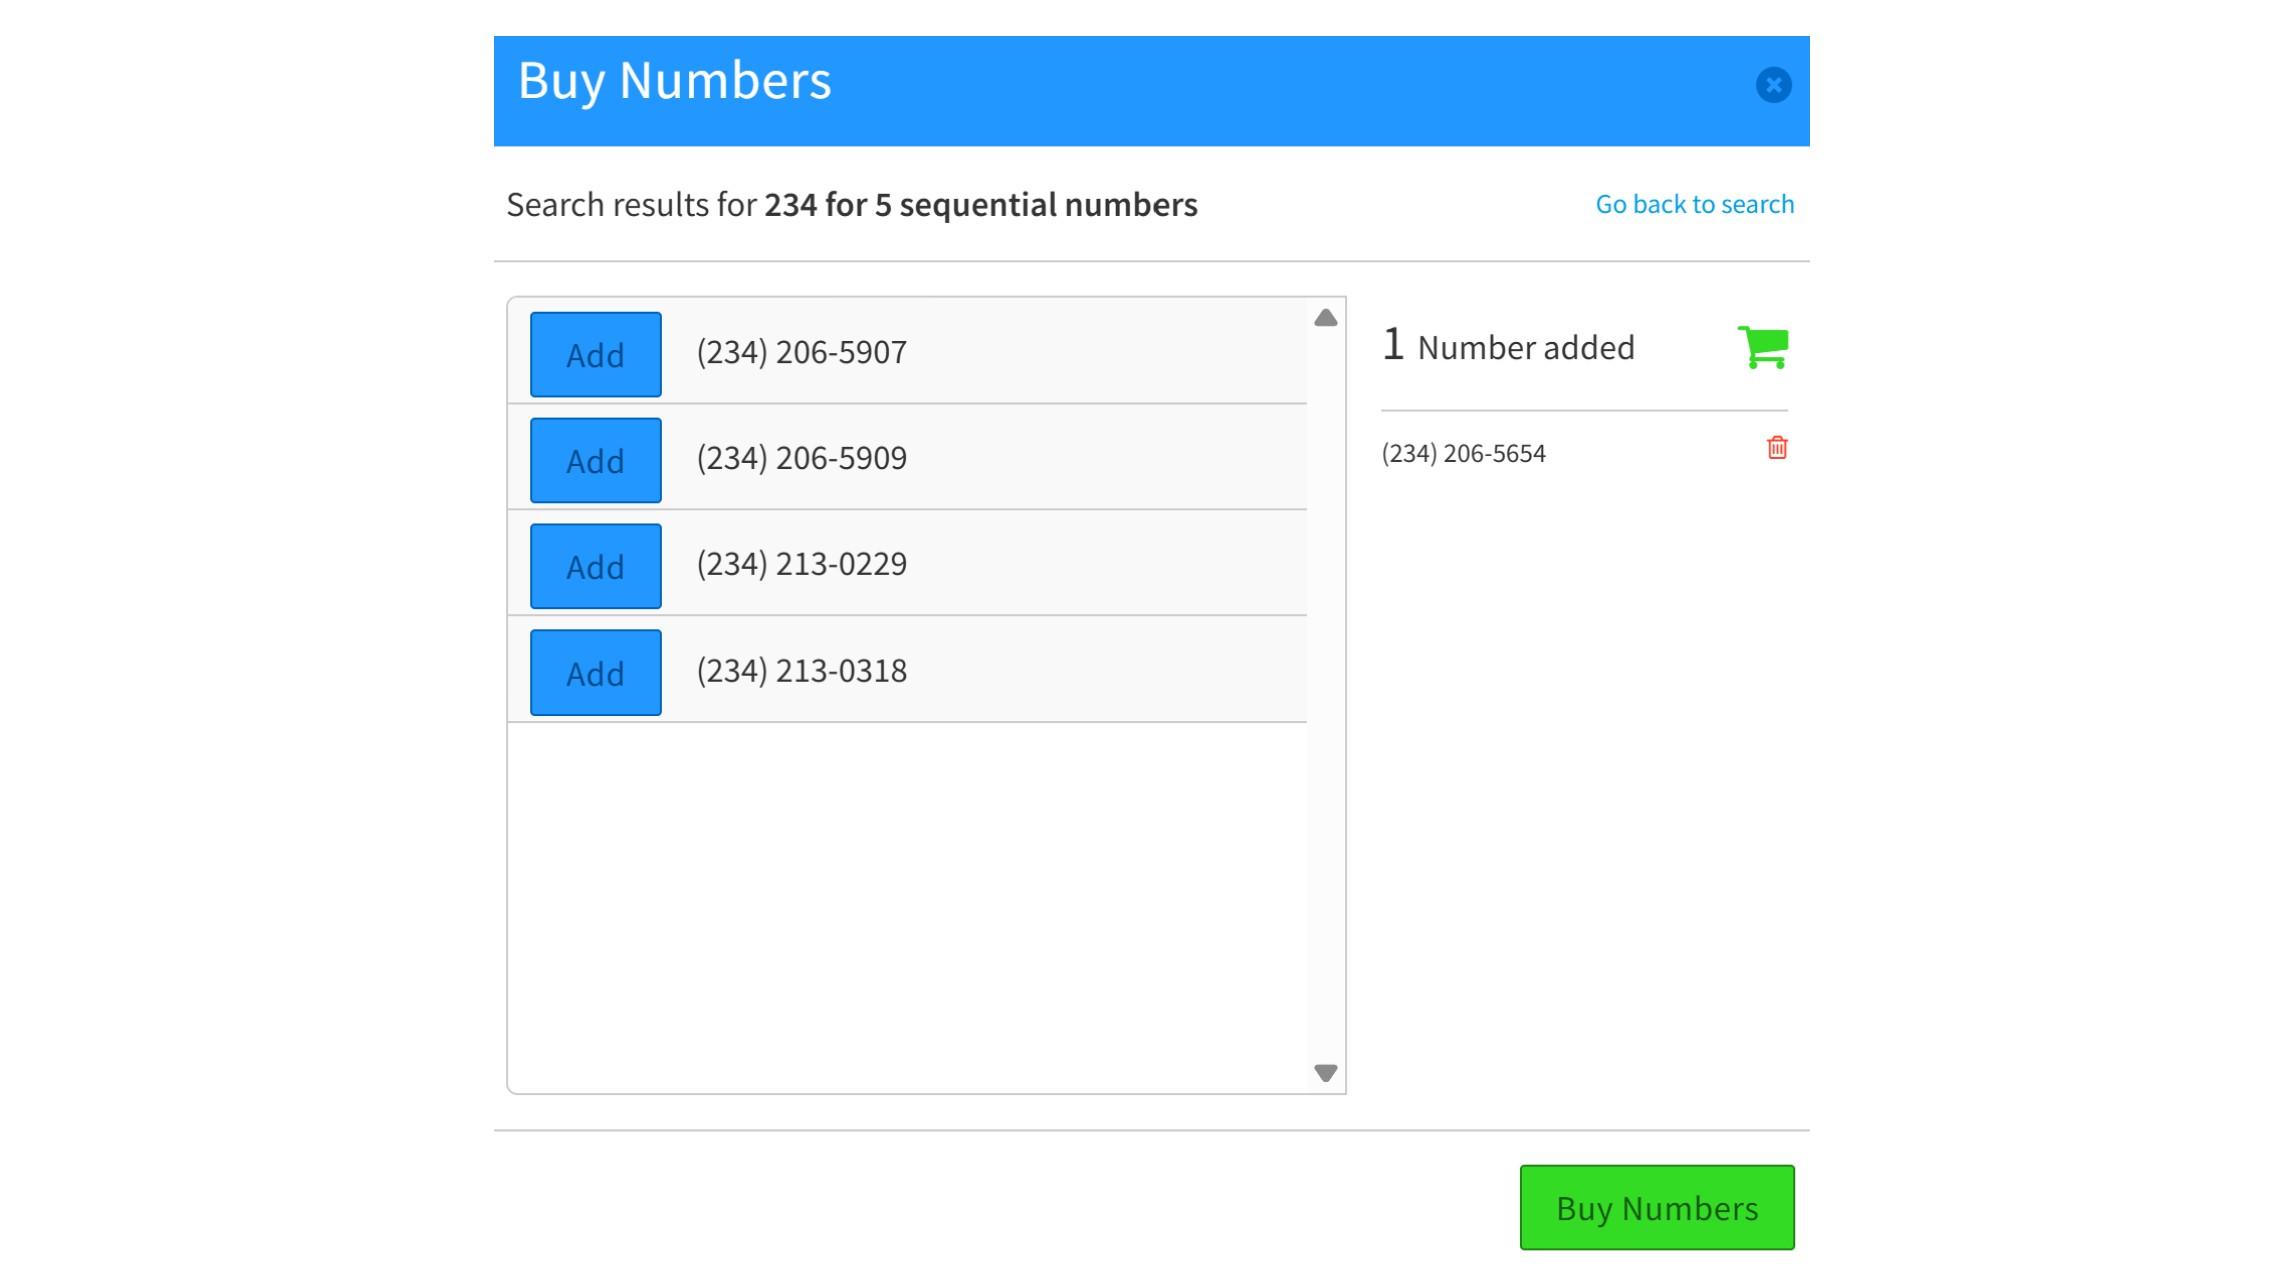
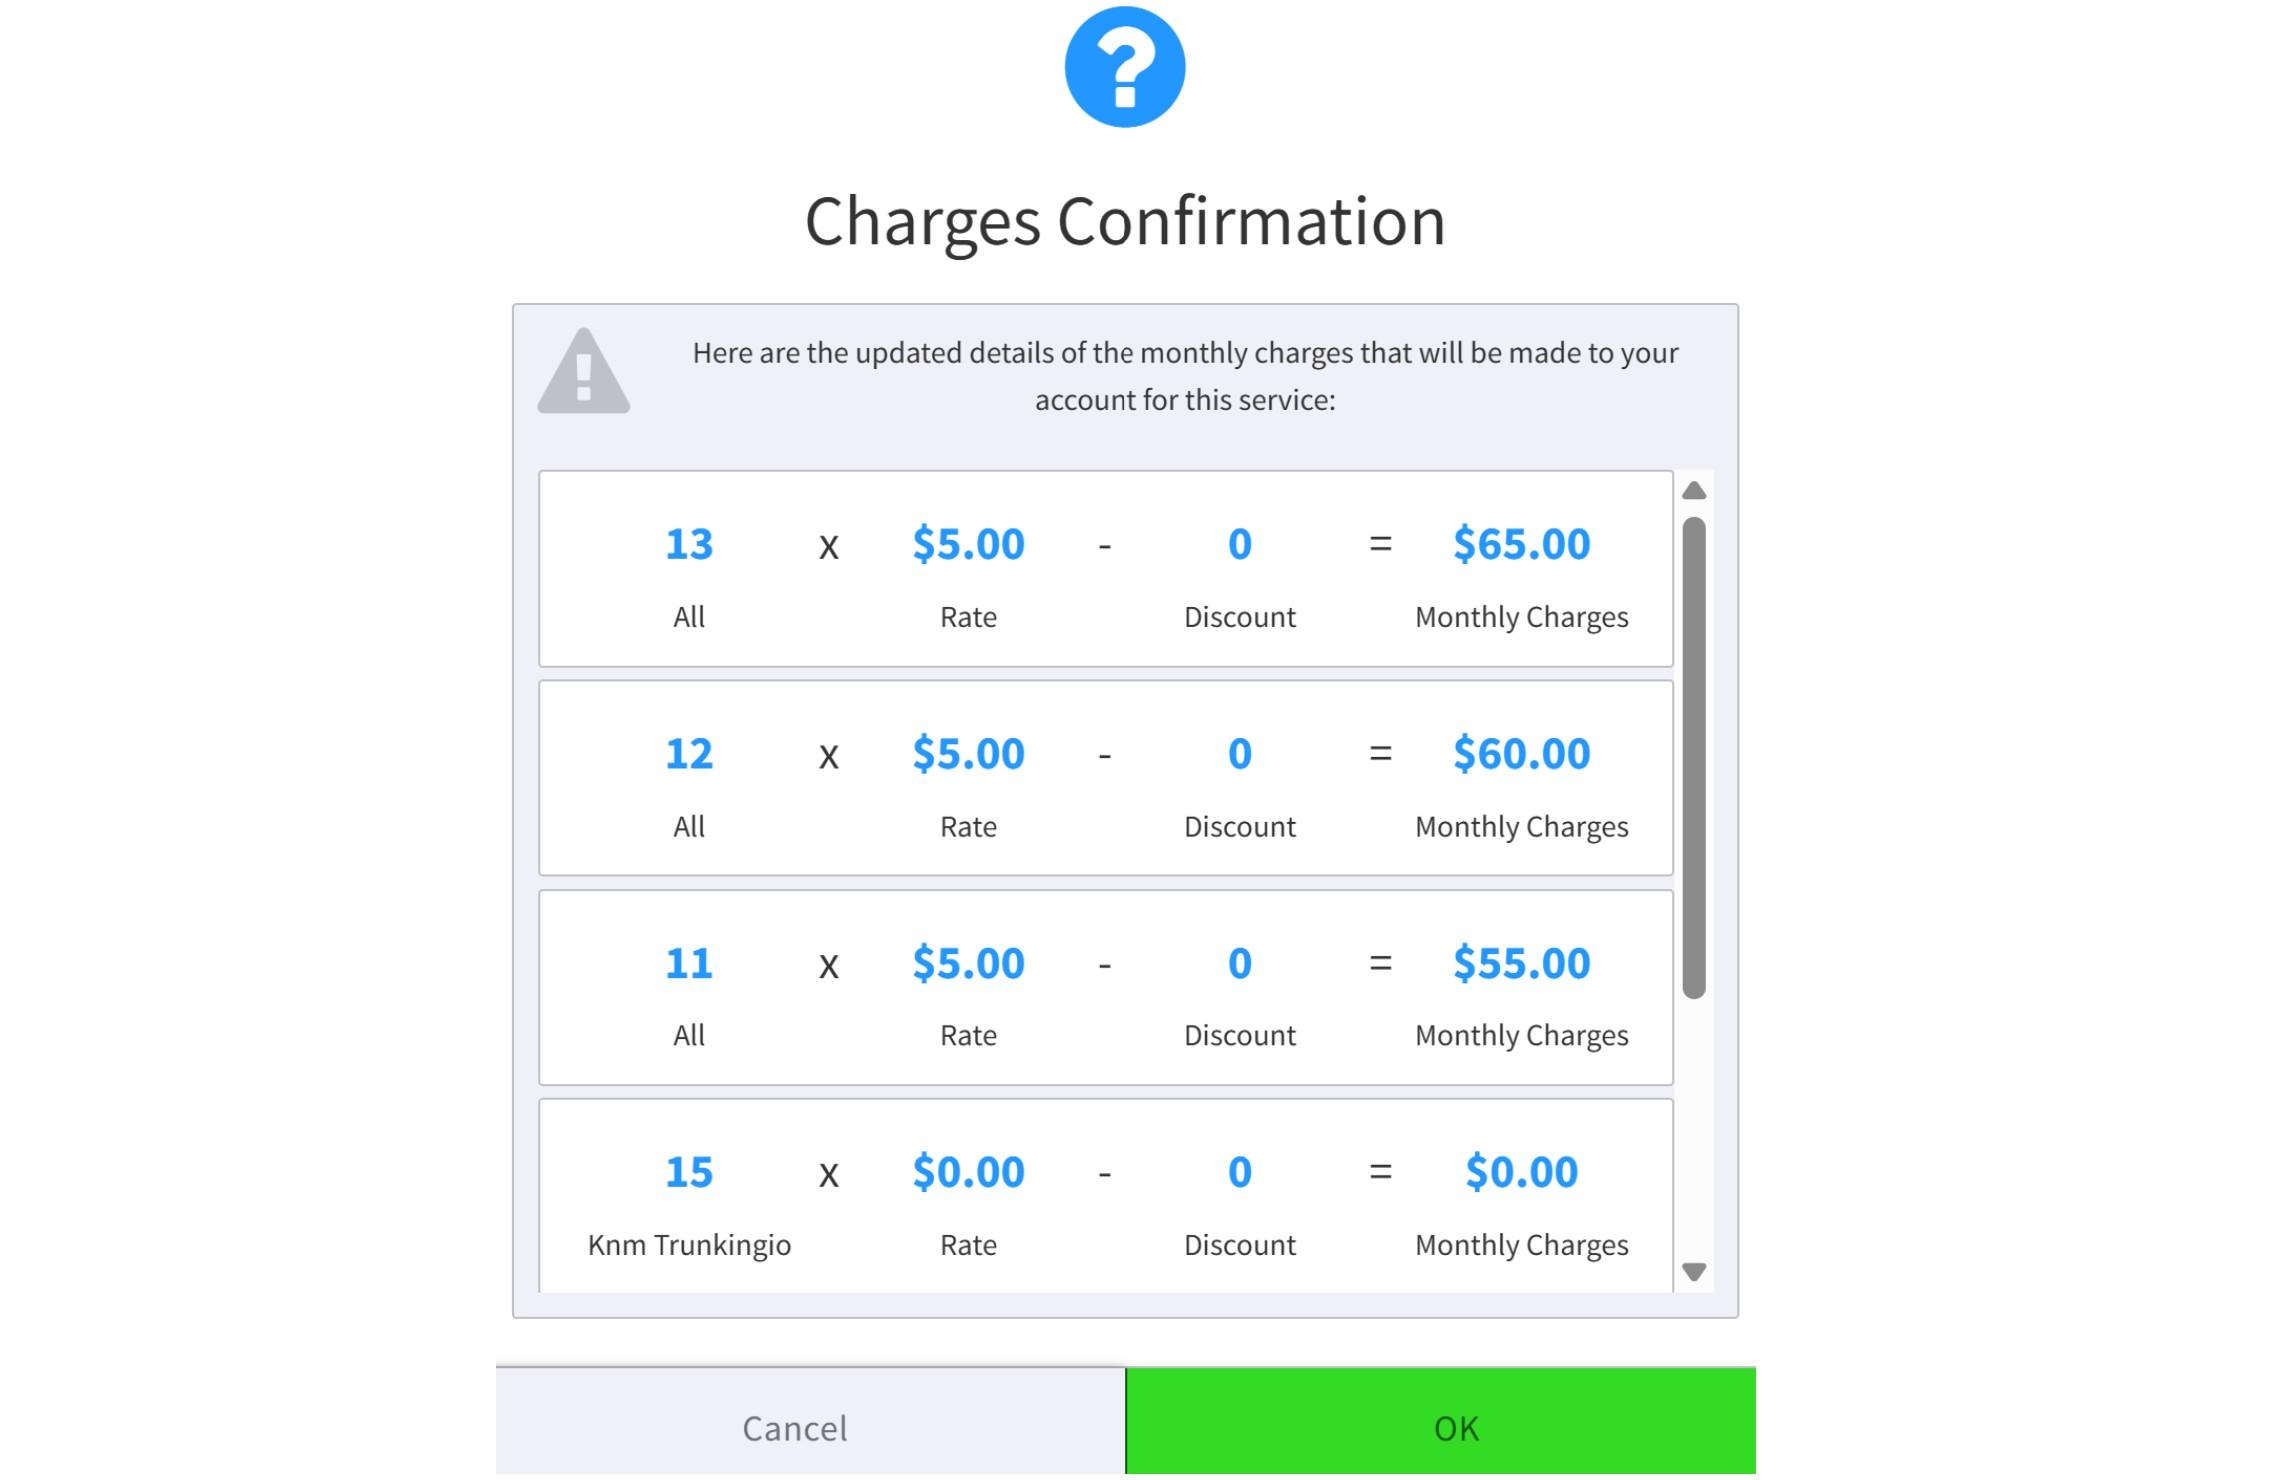
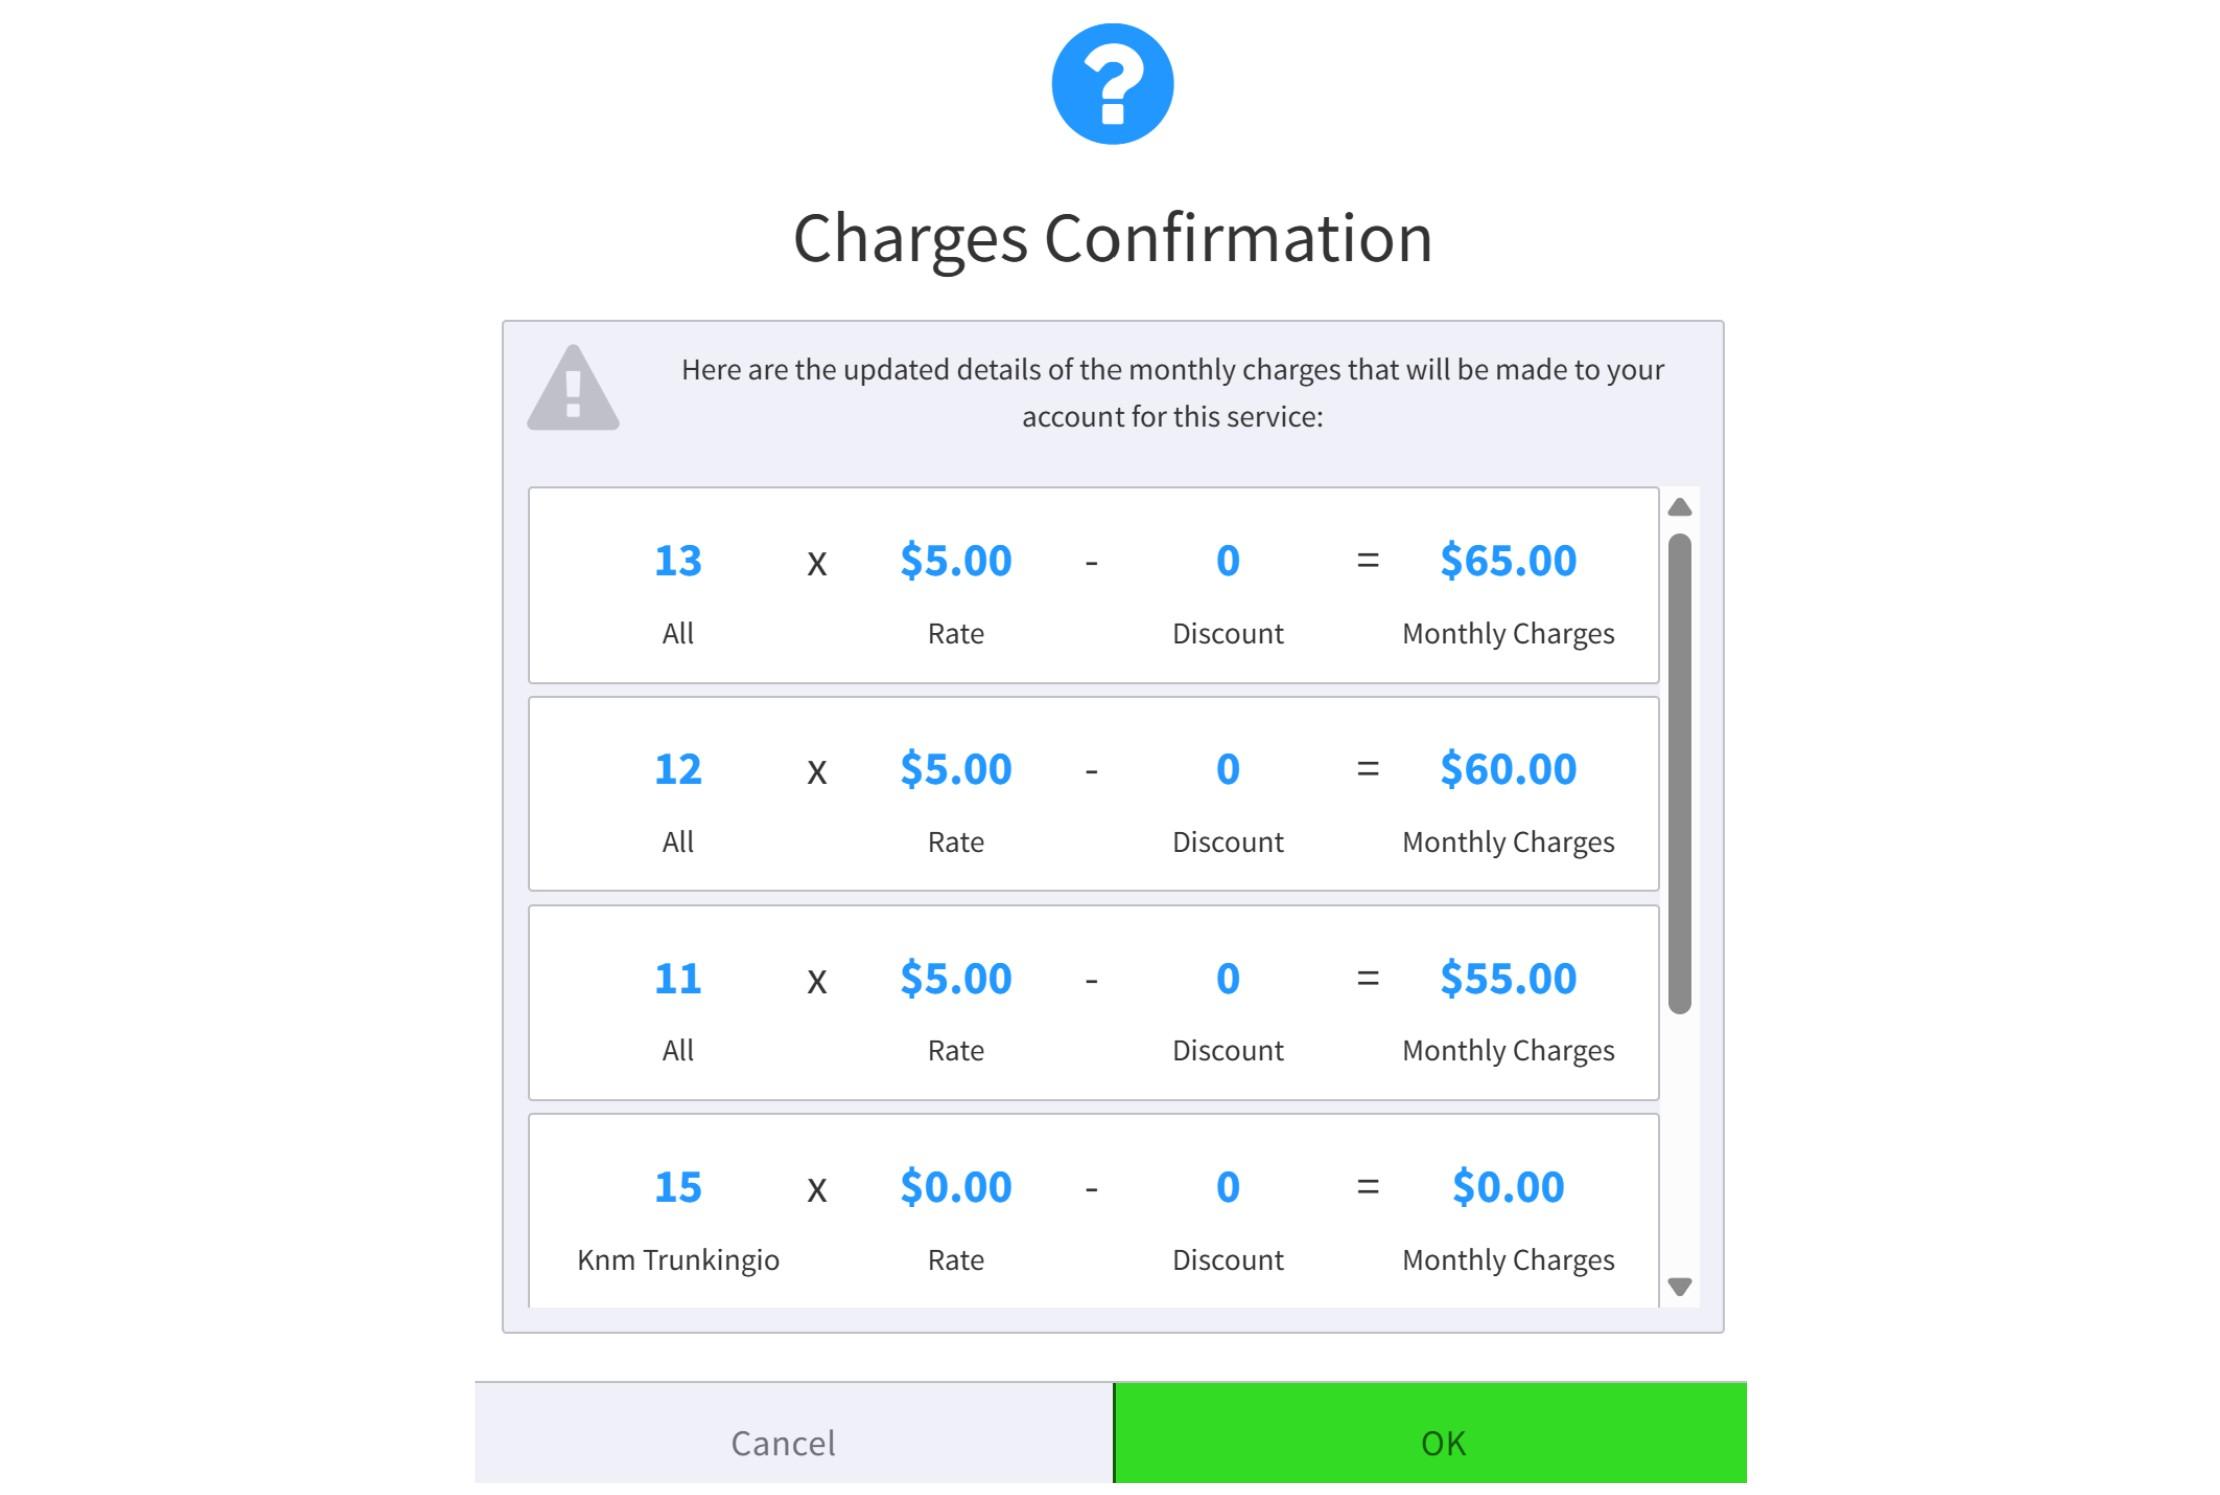
When you proceed with Buy Numbers, a confirmation window will appear, showing the monthly charges associated with this service. Click OK to continue or Cancel to stop the process.
-
Toll-free Number: when you select this option, the Buy Numbers pop-up window will open. Choose the toll-free prefix for the number you want to purchase and click the “Search” button.

A list of available numbers will then appear. From this point, the purchasing steps are the same as those described above.
To make sure your calls are not being rejected, we highly suggest to buy and assign a Trunking.io as your account’s main number.
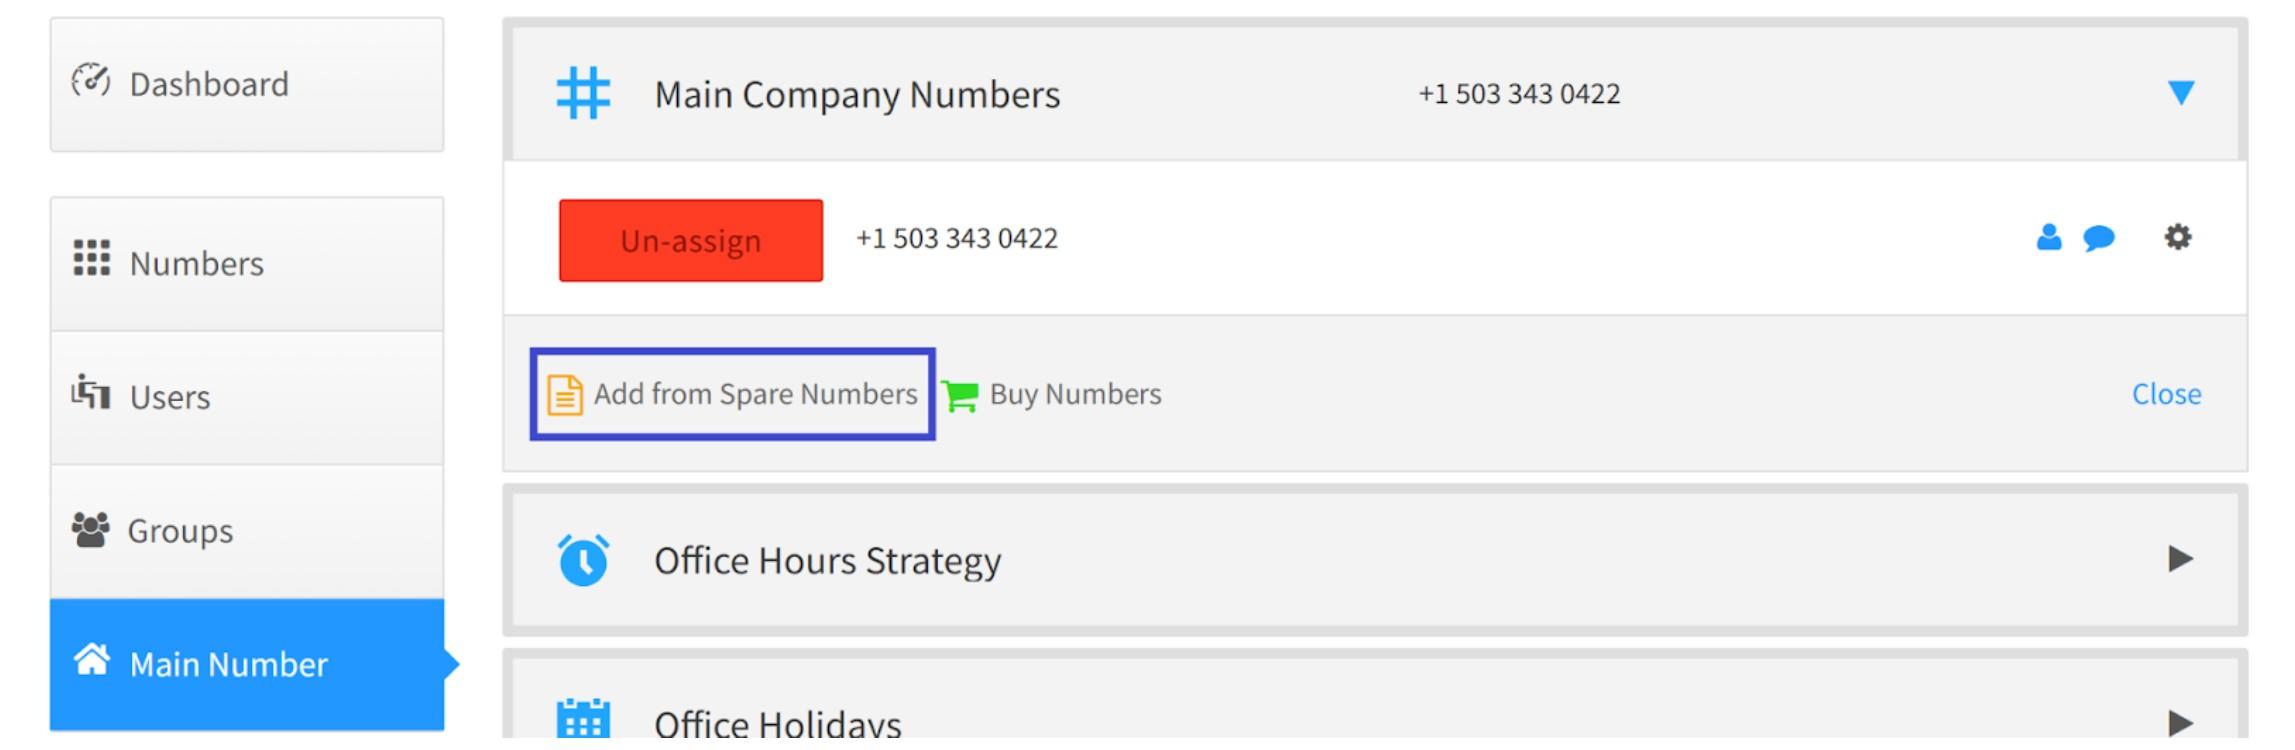
To set a number as your account’s main number, go to the Main Number tab in the SmartPBX app’s left-hand menu. On the page that opens, expand the Main Company Numbers section. If your account has no spare phone numbers, click the “Buy Numbers” button. If spare numbers are available, click the “Add from Spare Numbers” button to add one.
A pop-up window will appear with your available spare numbers — select the one you want and click the “Add Selected Numbers” button.
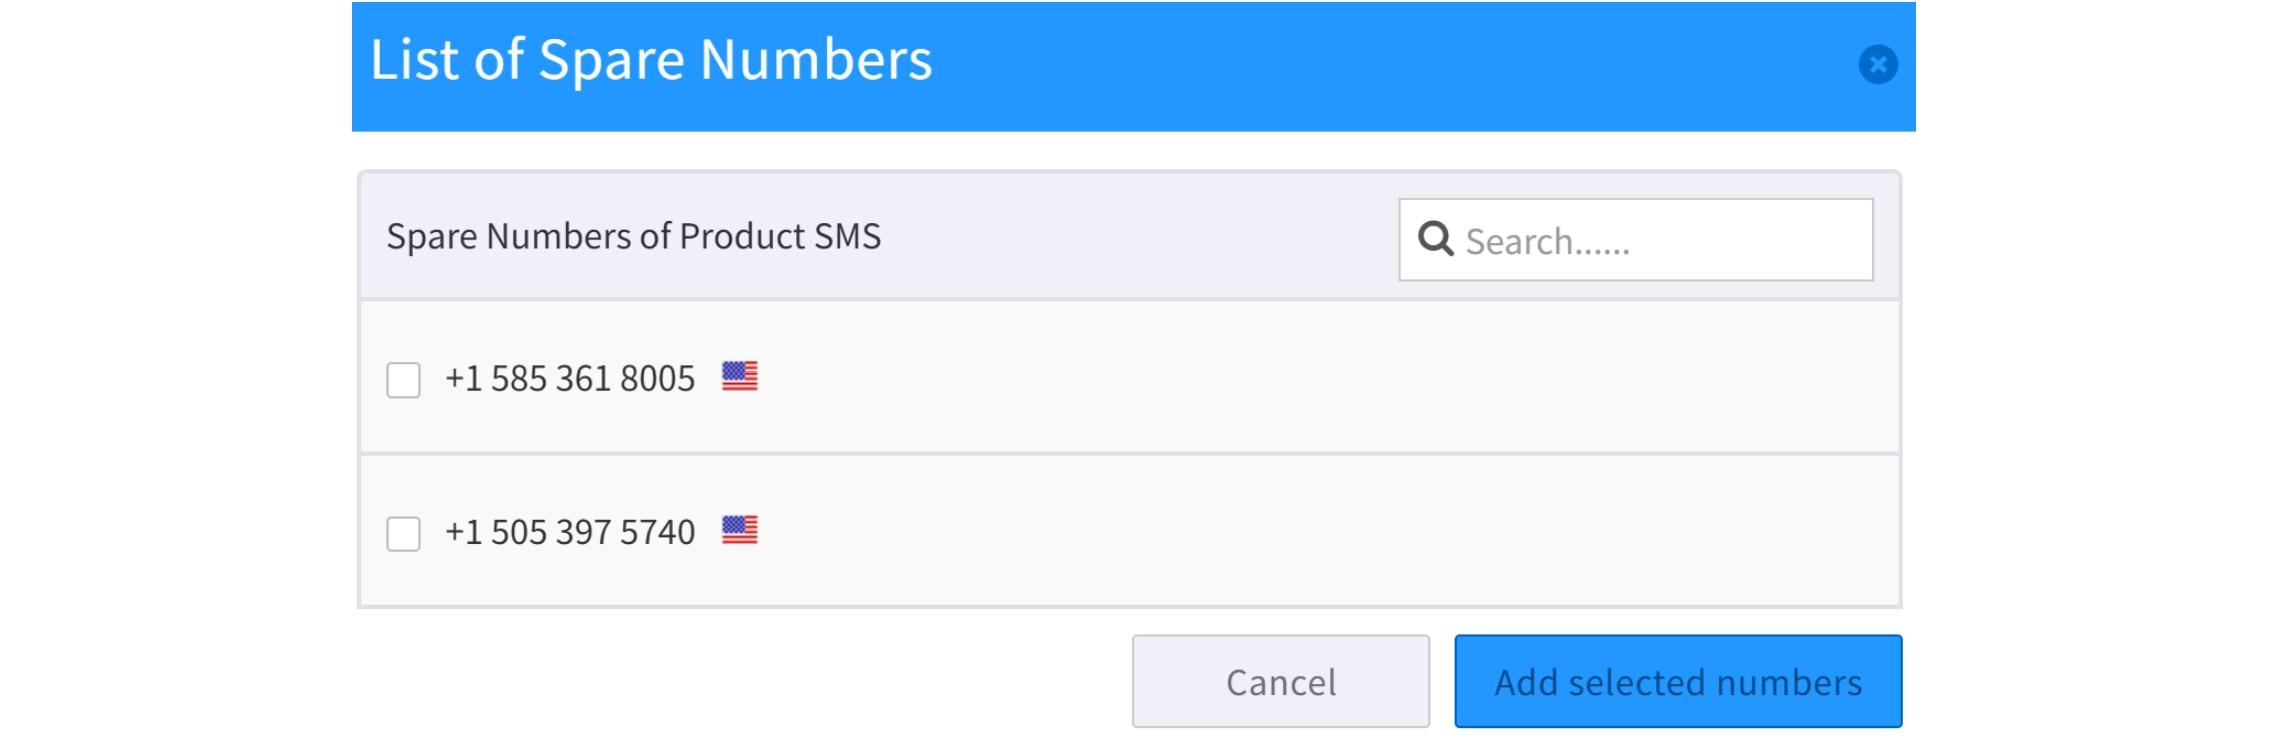
The chosen number(s) will then appear in the main company numbers list.
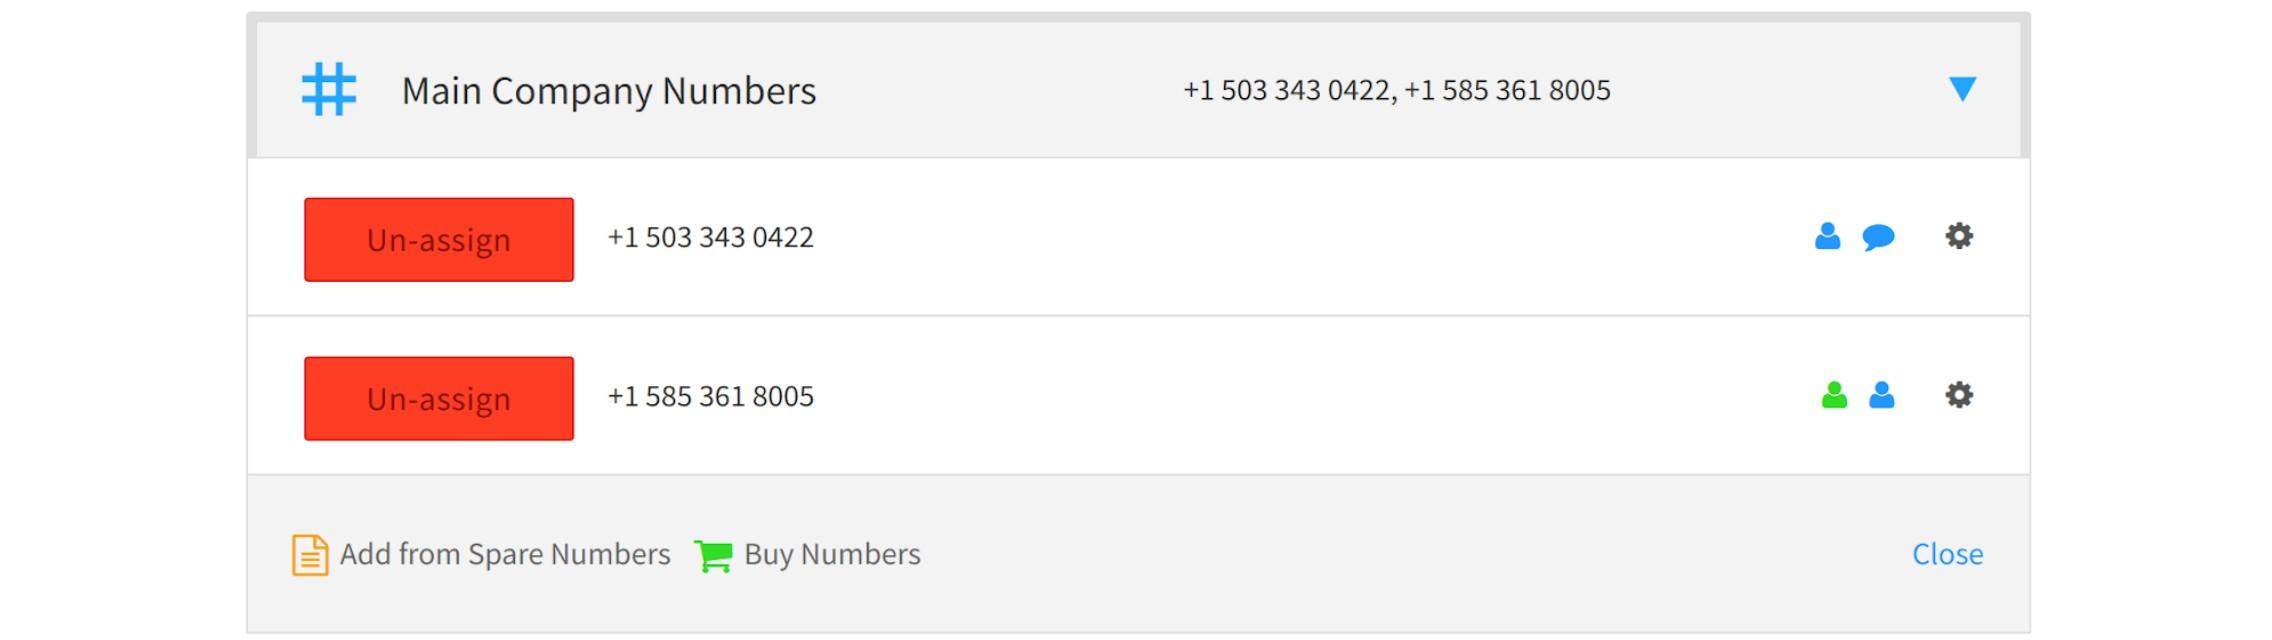
From there, you can enable features for each number by clicking the gear icon and selecting an option from the drop-down menu.

Or you can unassign a number by clicking Un-Assign and completing the wizard.
CallerID Settings
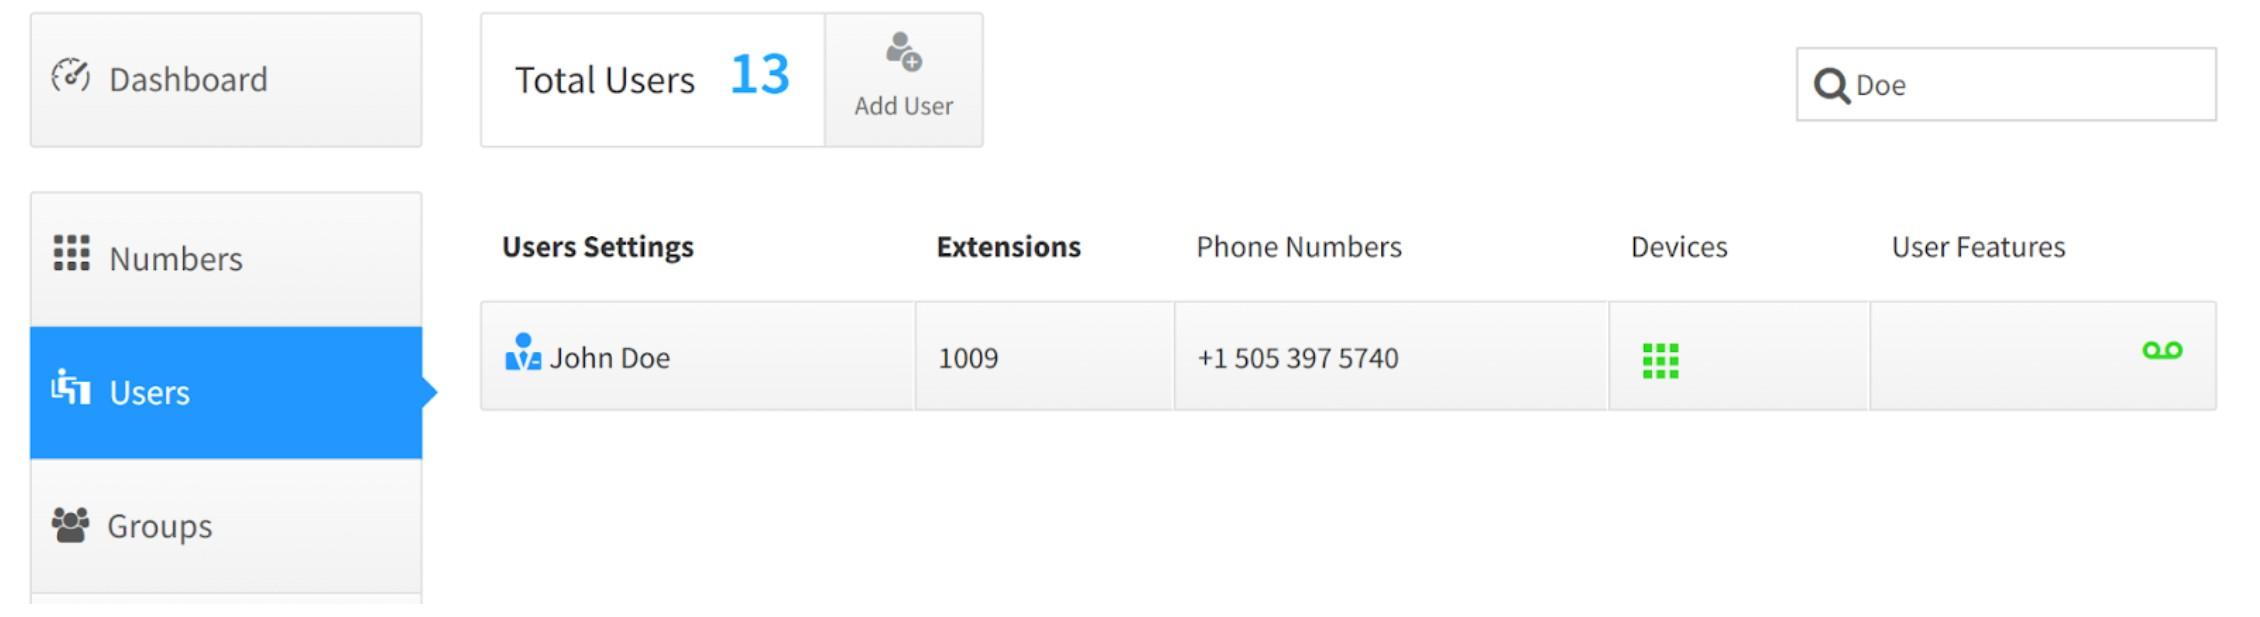
To configure caller ID settings for a specific user, open the Users tab in the Smart PBX app. In the user list, find the user you want to update and click the phone number assigned to them.
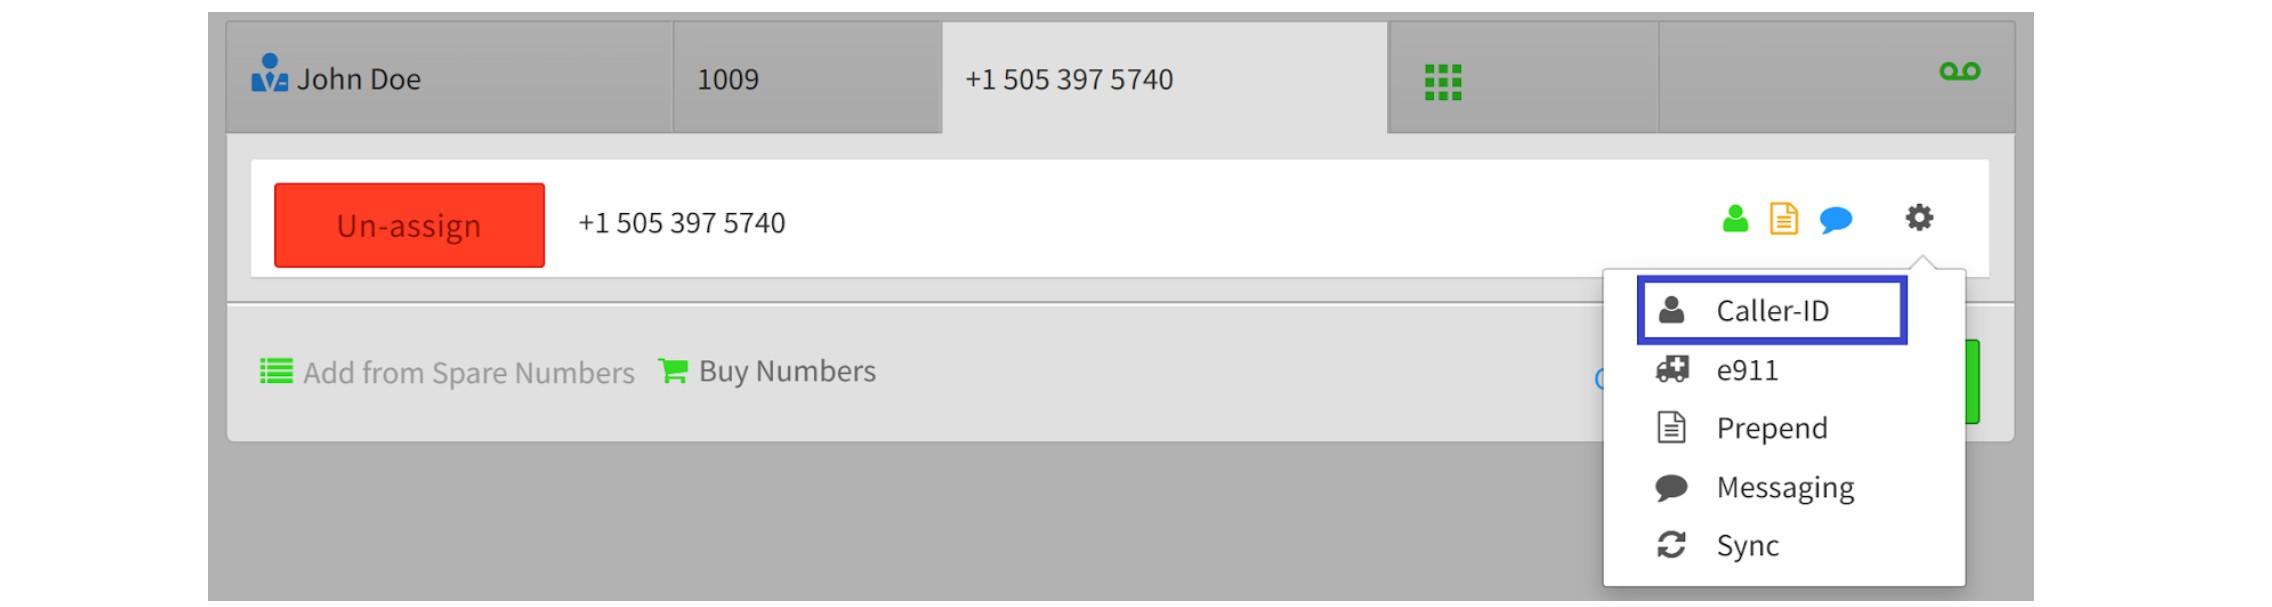
When the field expands, click the gear icon and choose Caller ID from the drop-down menu.
A pop-up wizard will appear where you can enable the “Inbound Caller ID Name” toggle. You can also optionally set a custom Outbound Caller ID Name.
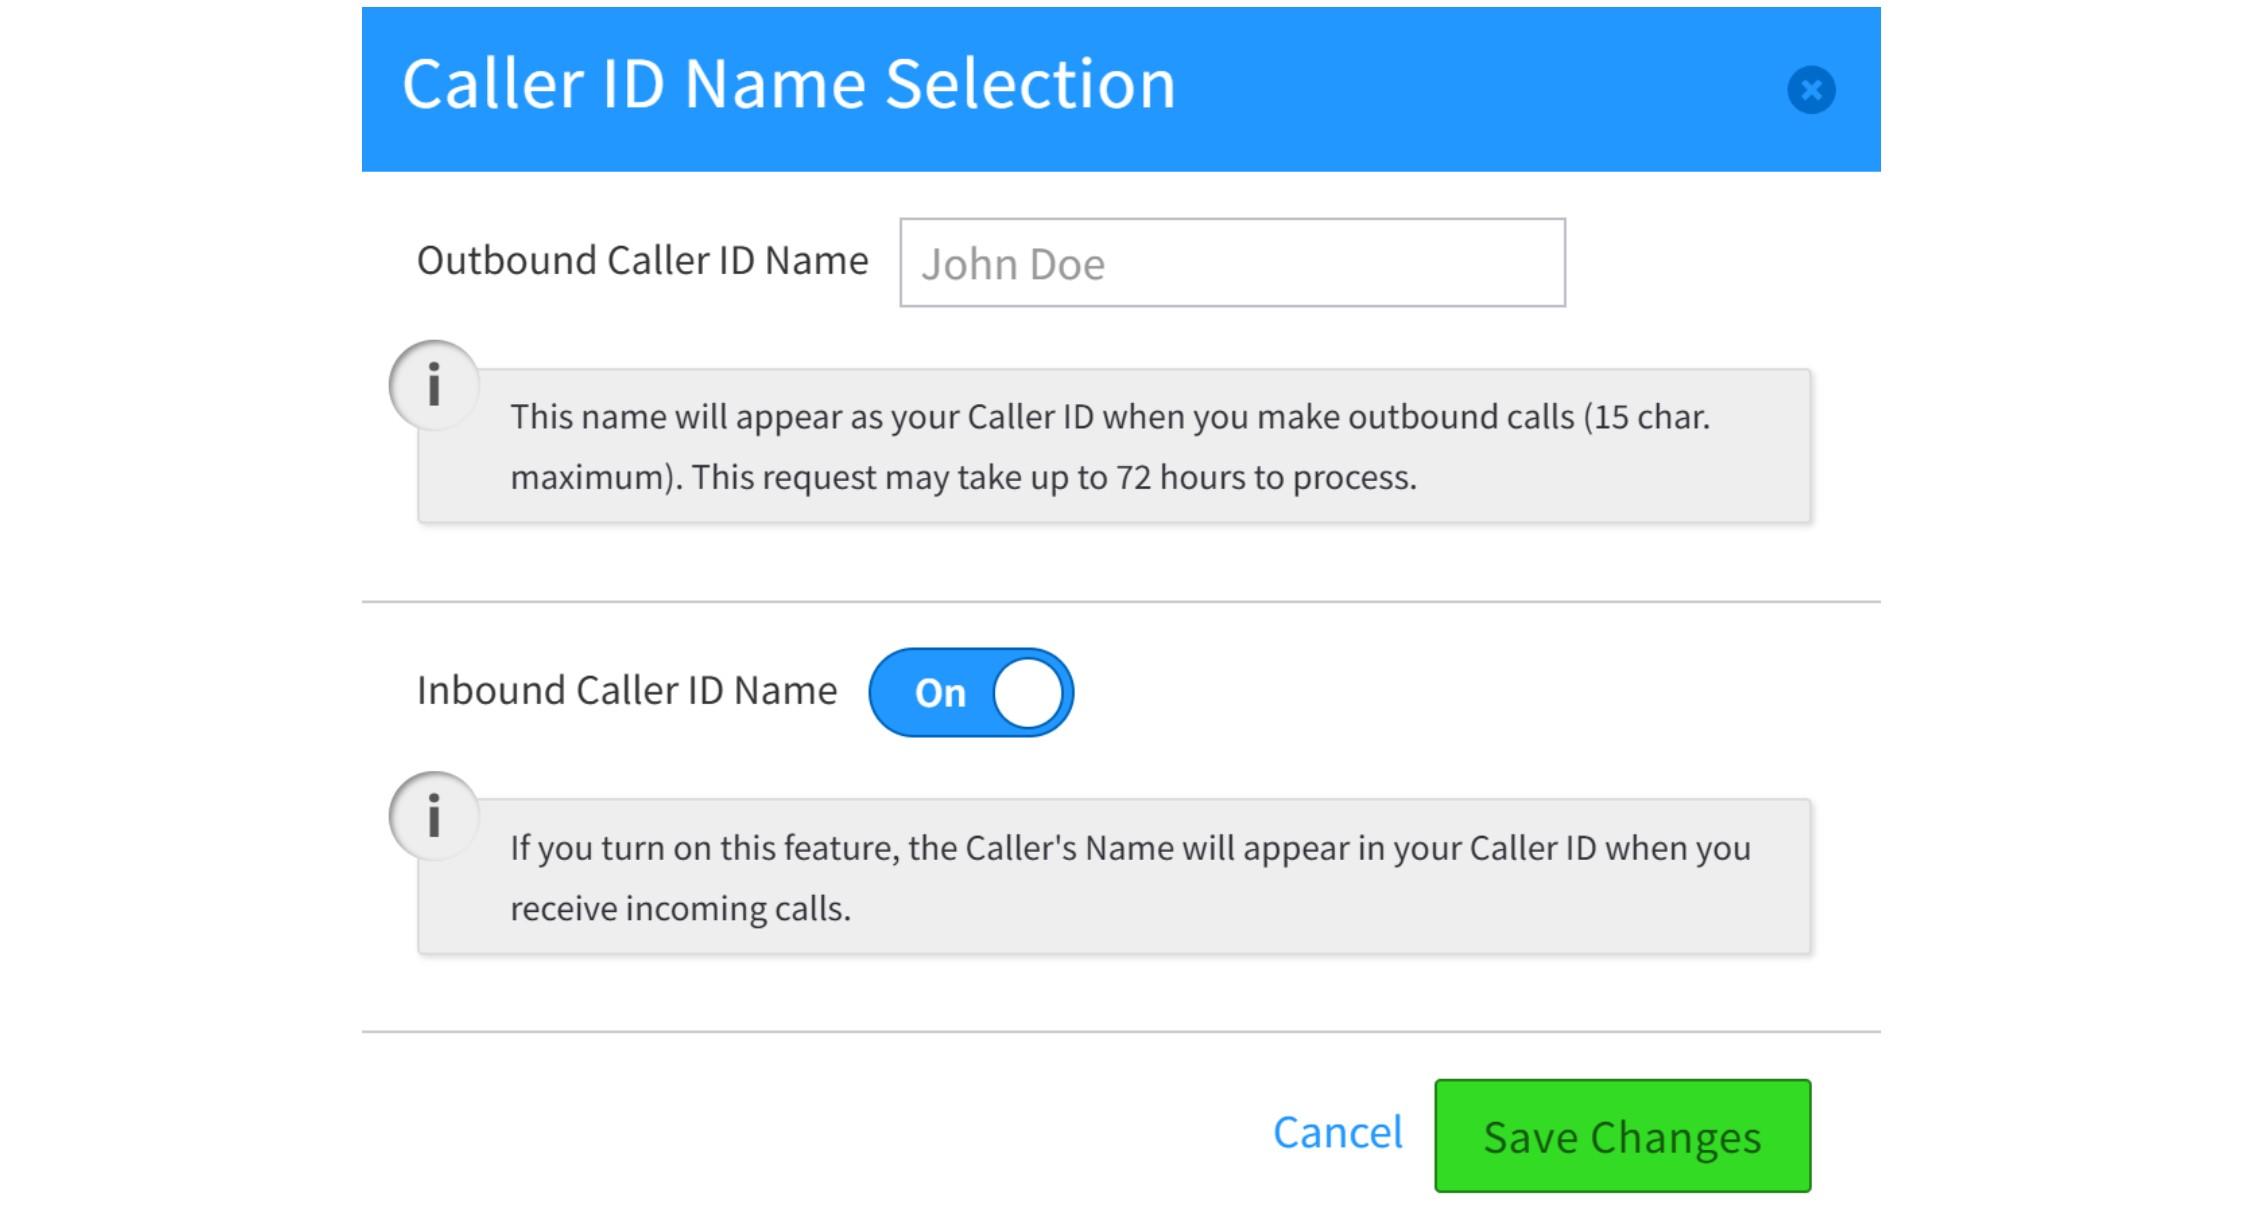
After clicking the “Save Changes” button, a confirmation window will display the updated monthly charges for this service. Click OK to proceed.
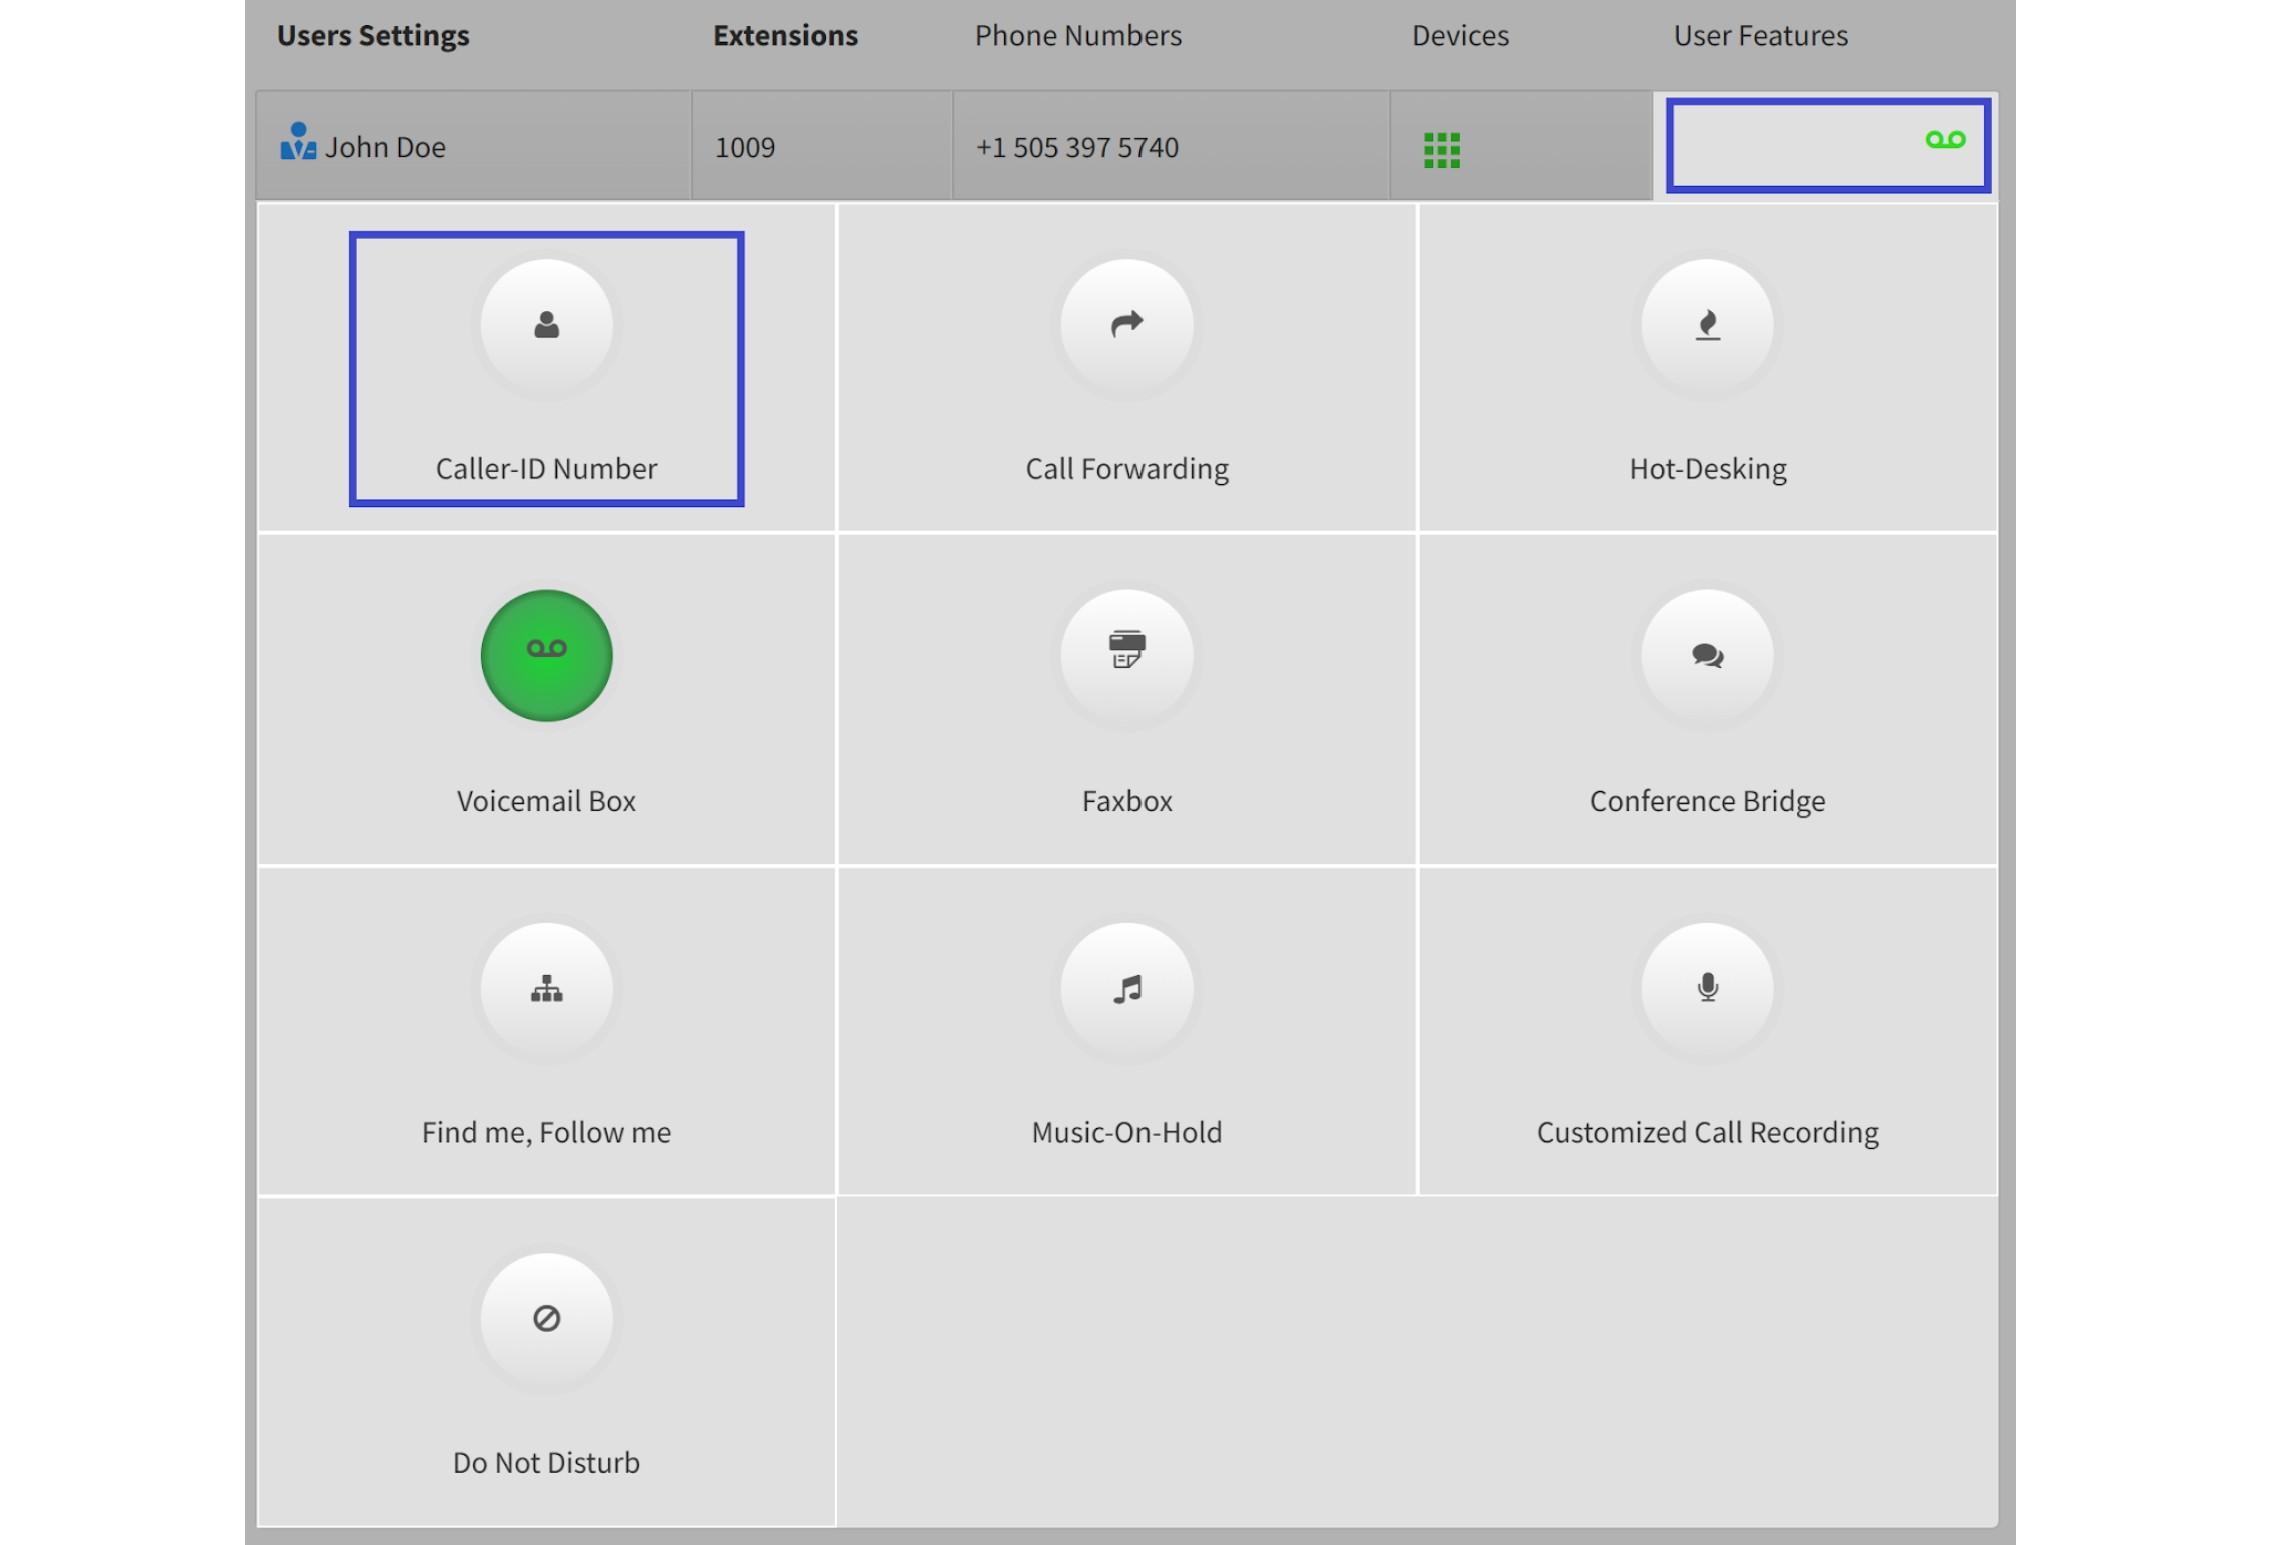
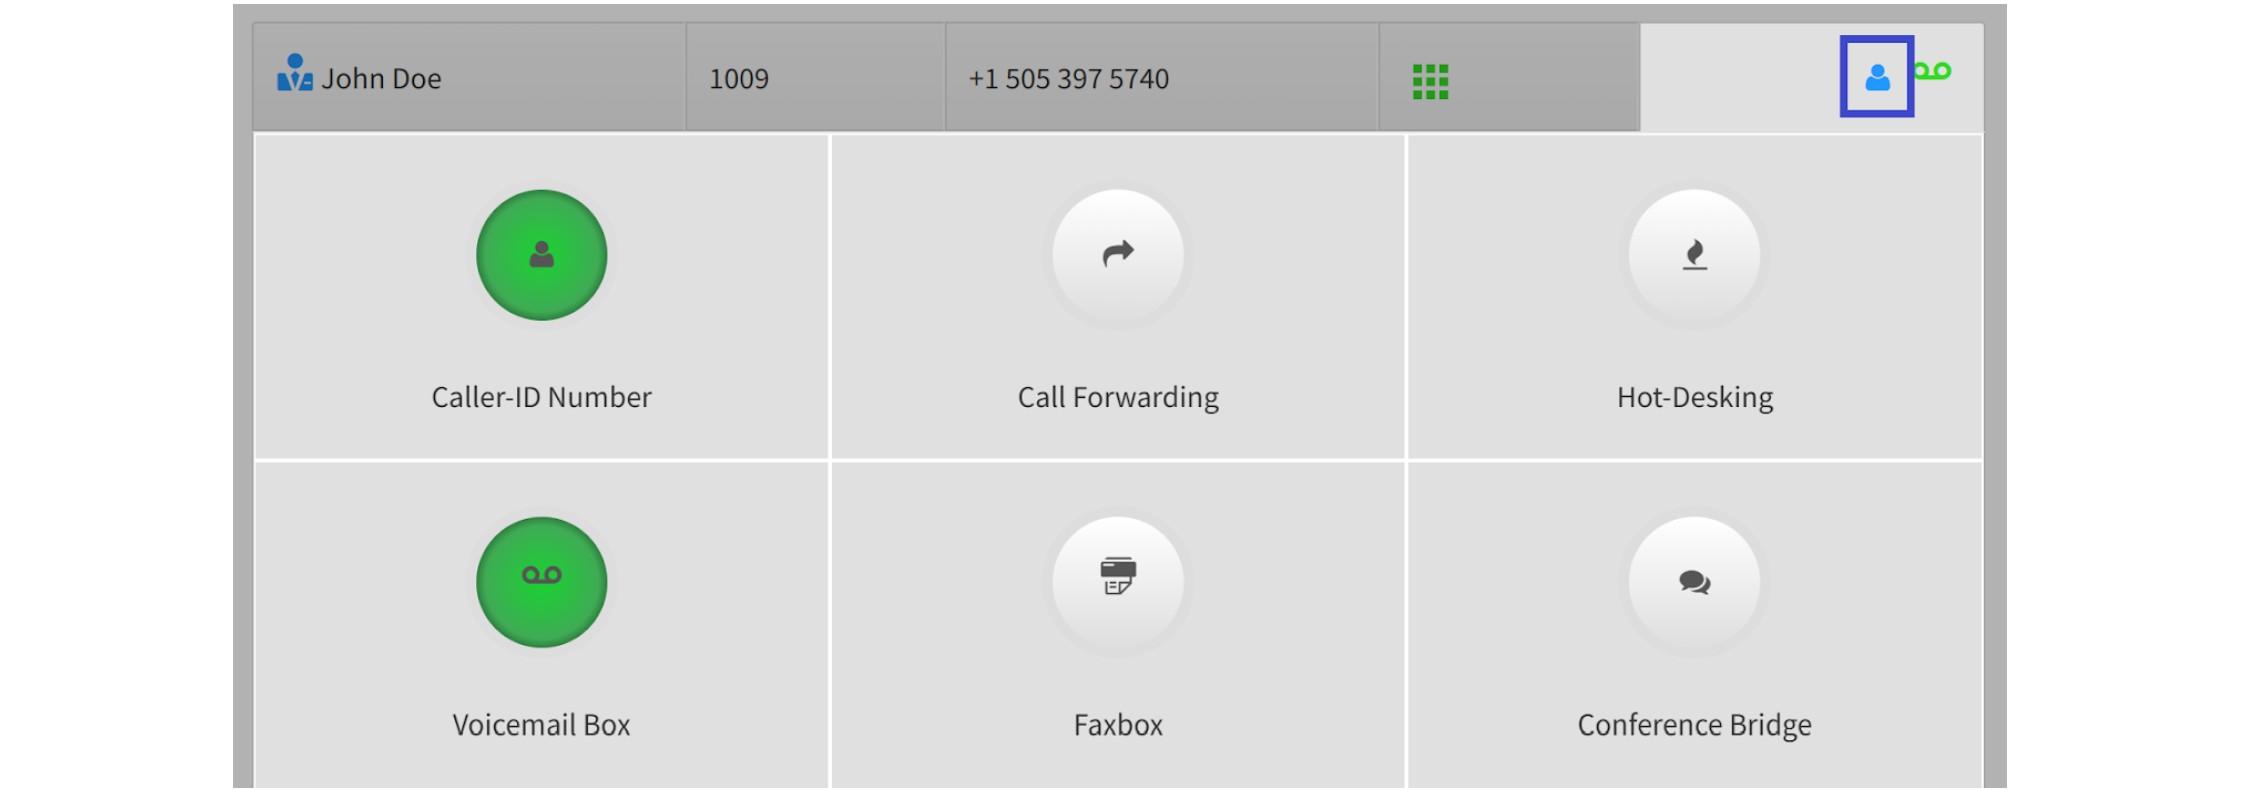
Next, in the user list, click on the “User Features” field for this user. When expanded, you’ll see tiles with all features available for their account, with enabled ones highlighted in green. Select the “Caller-ID Number” tile.
A pop-up window will appear. Enable the “User Caller-ID Number Settings” toggle.

This will reveal the “Show My Caller-ID Number As” field, where you can choose from the phone numbers assigned to this user account.
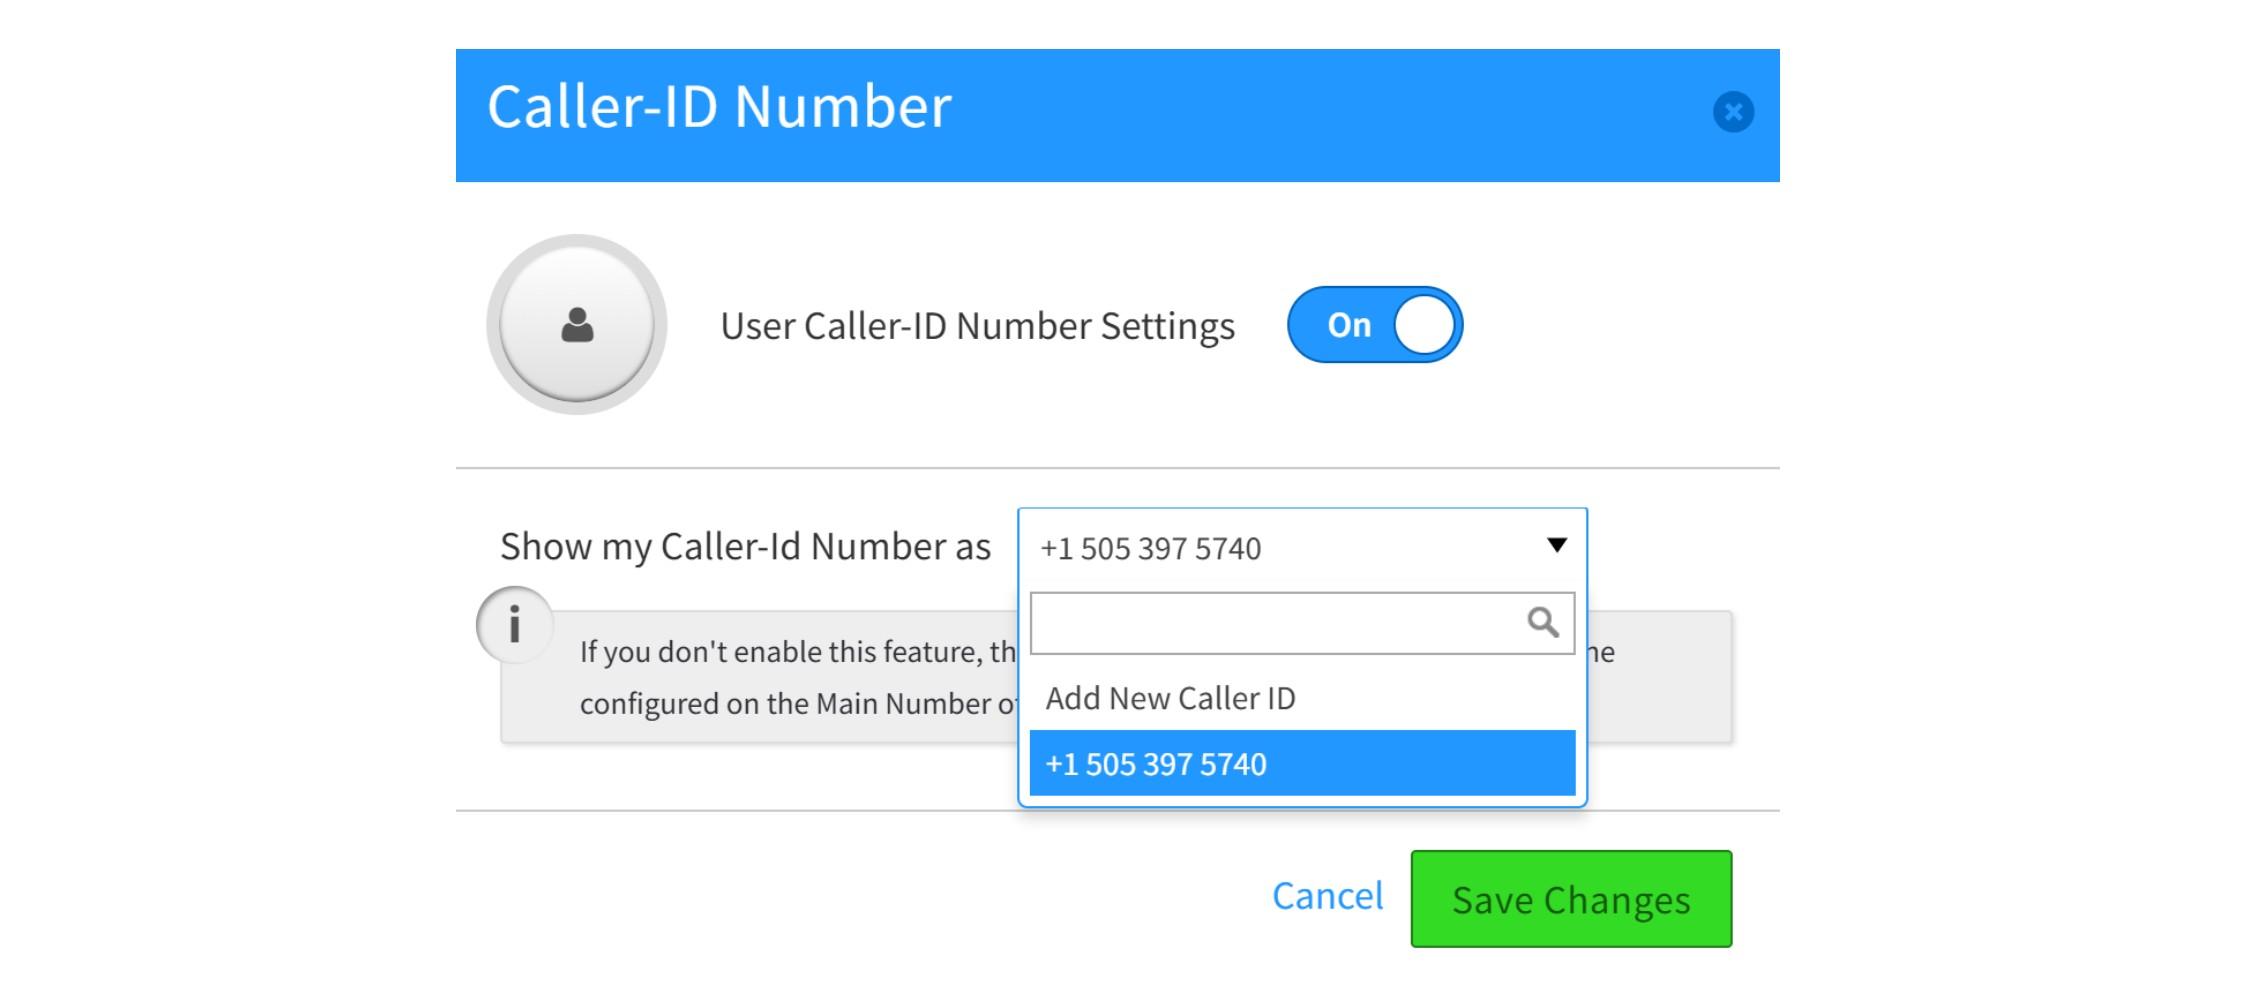
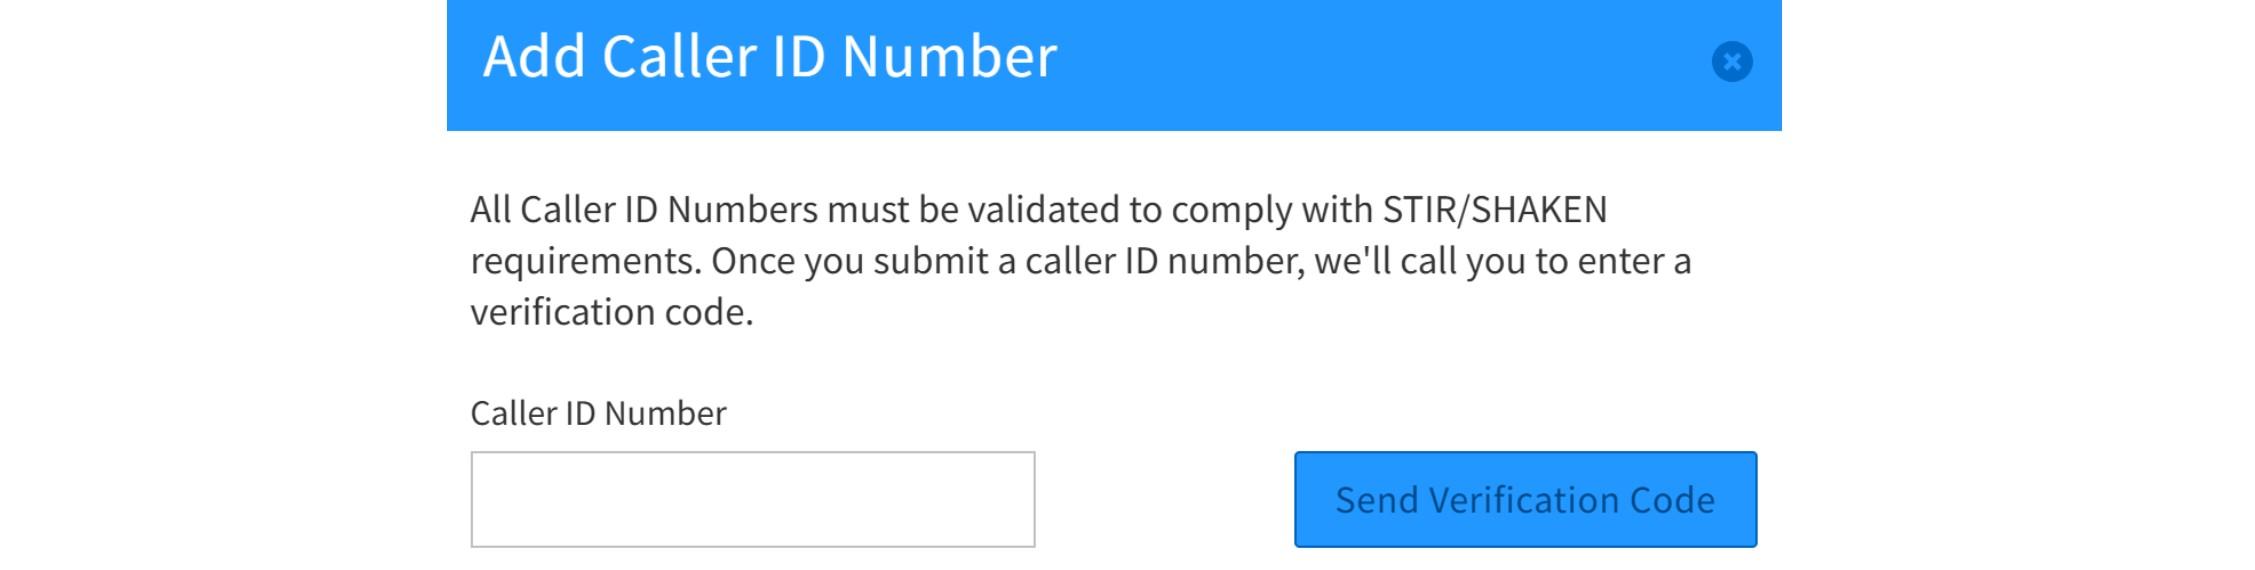
You can also add a new phone number (any number you have access to) by verifying it through a code sent to that number.
After completing these steps, a new icon will appear in the “User Features” field for that user, indicating that the caller ID number feature is now active. The active feature tile will also turn green.
Known Limitations:
Texting Settings
To enable SMS and MMS services for a user account, you’ll need access to the Numbers app. Open the Monster UI portal, click the “Apps” button to view the available applications, and select Numbers app from the list.

When the Numbers app opens, go to the “Numbers in Use” tab.

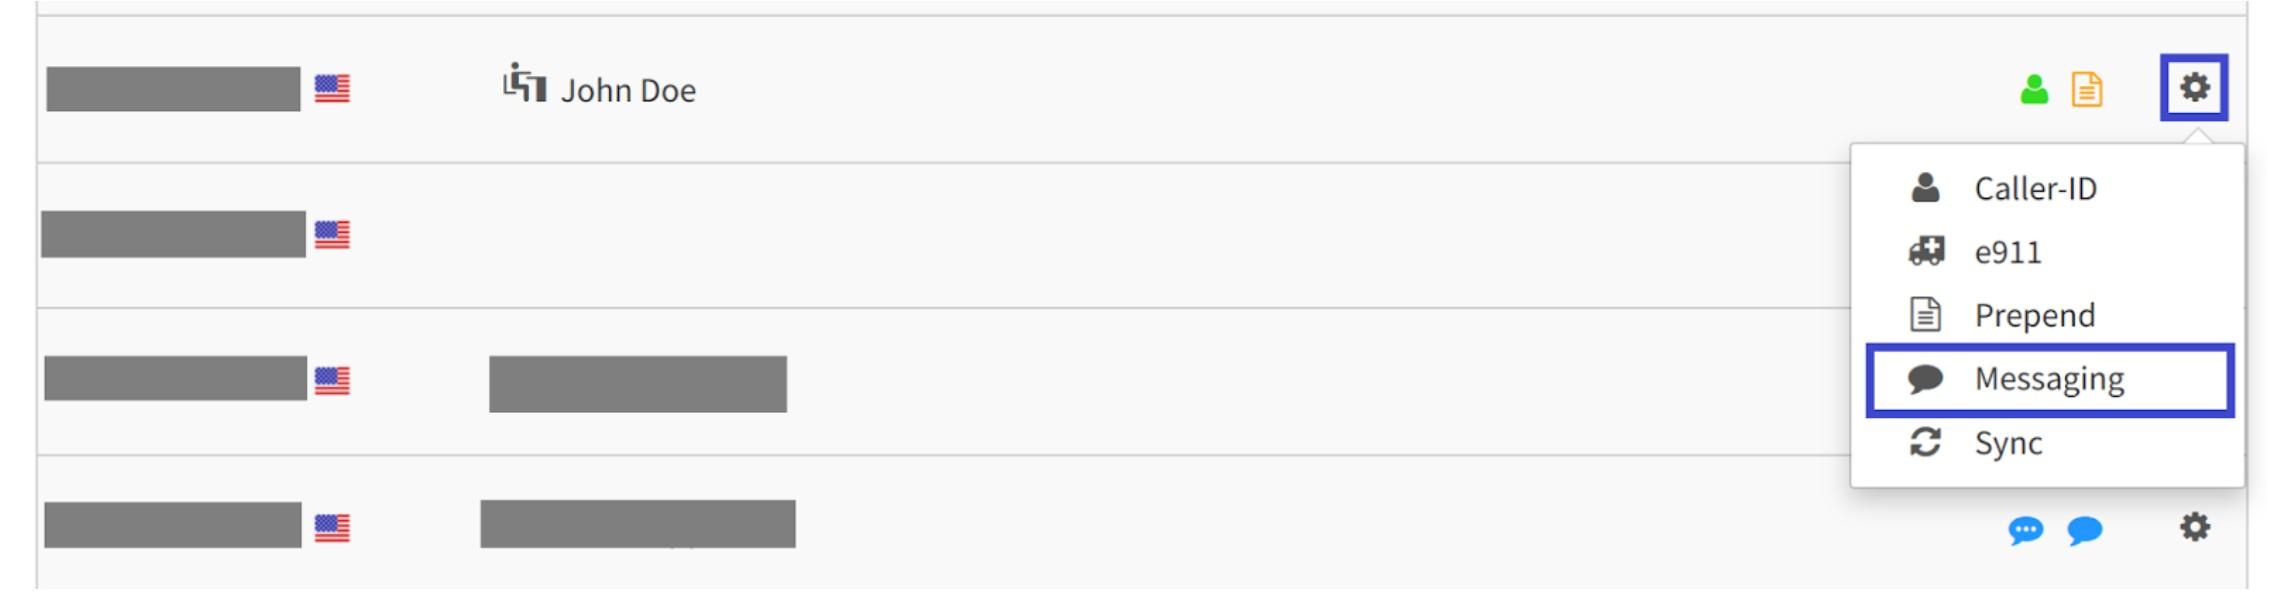
In the list of phone numbers, locate the user you want to enable the messaging feature for, then click the gear icon, and select Messaging from the feature list.
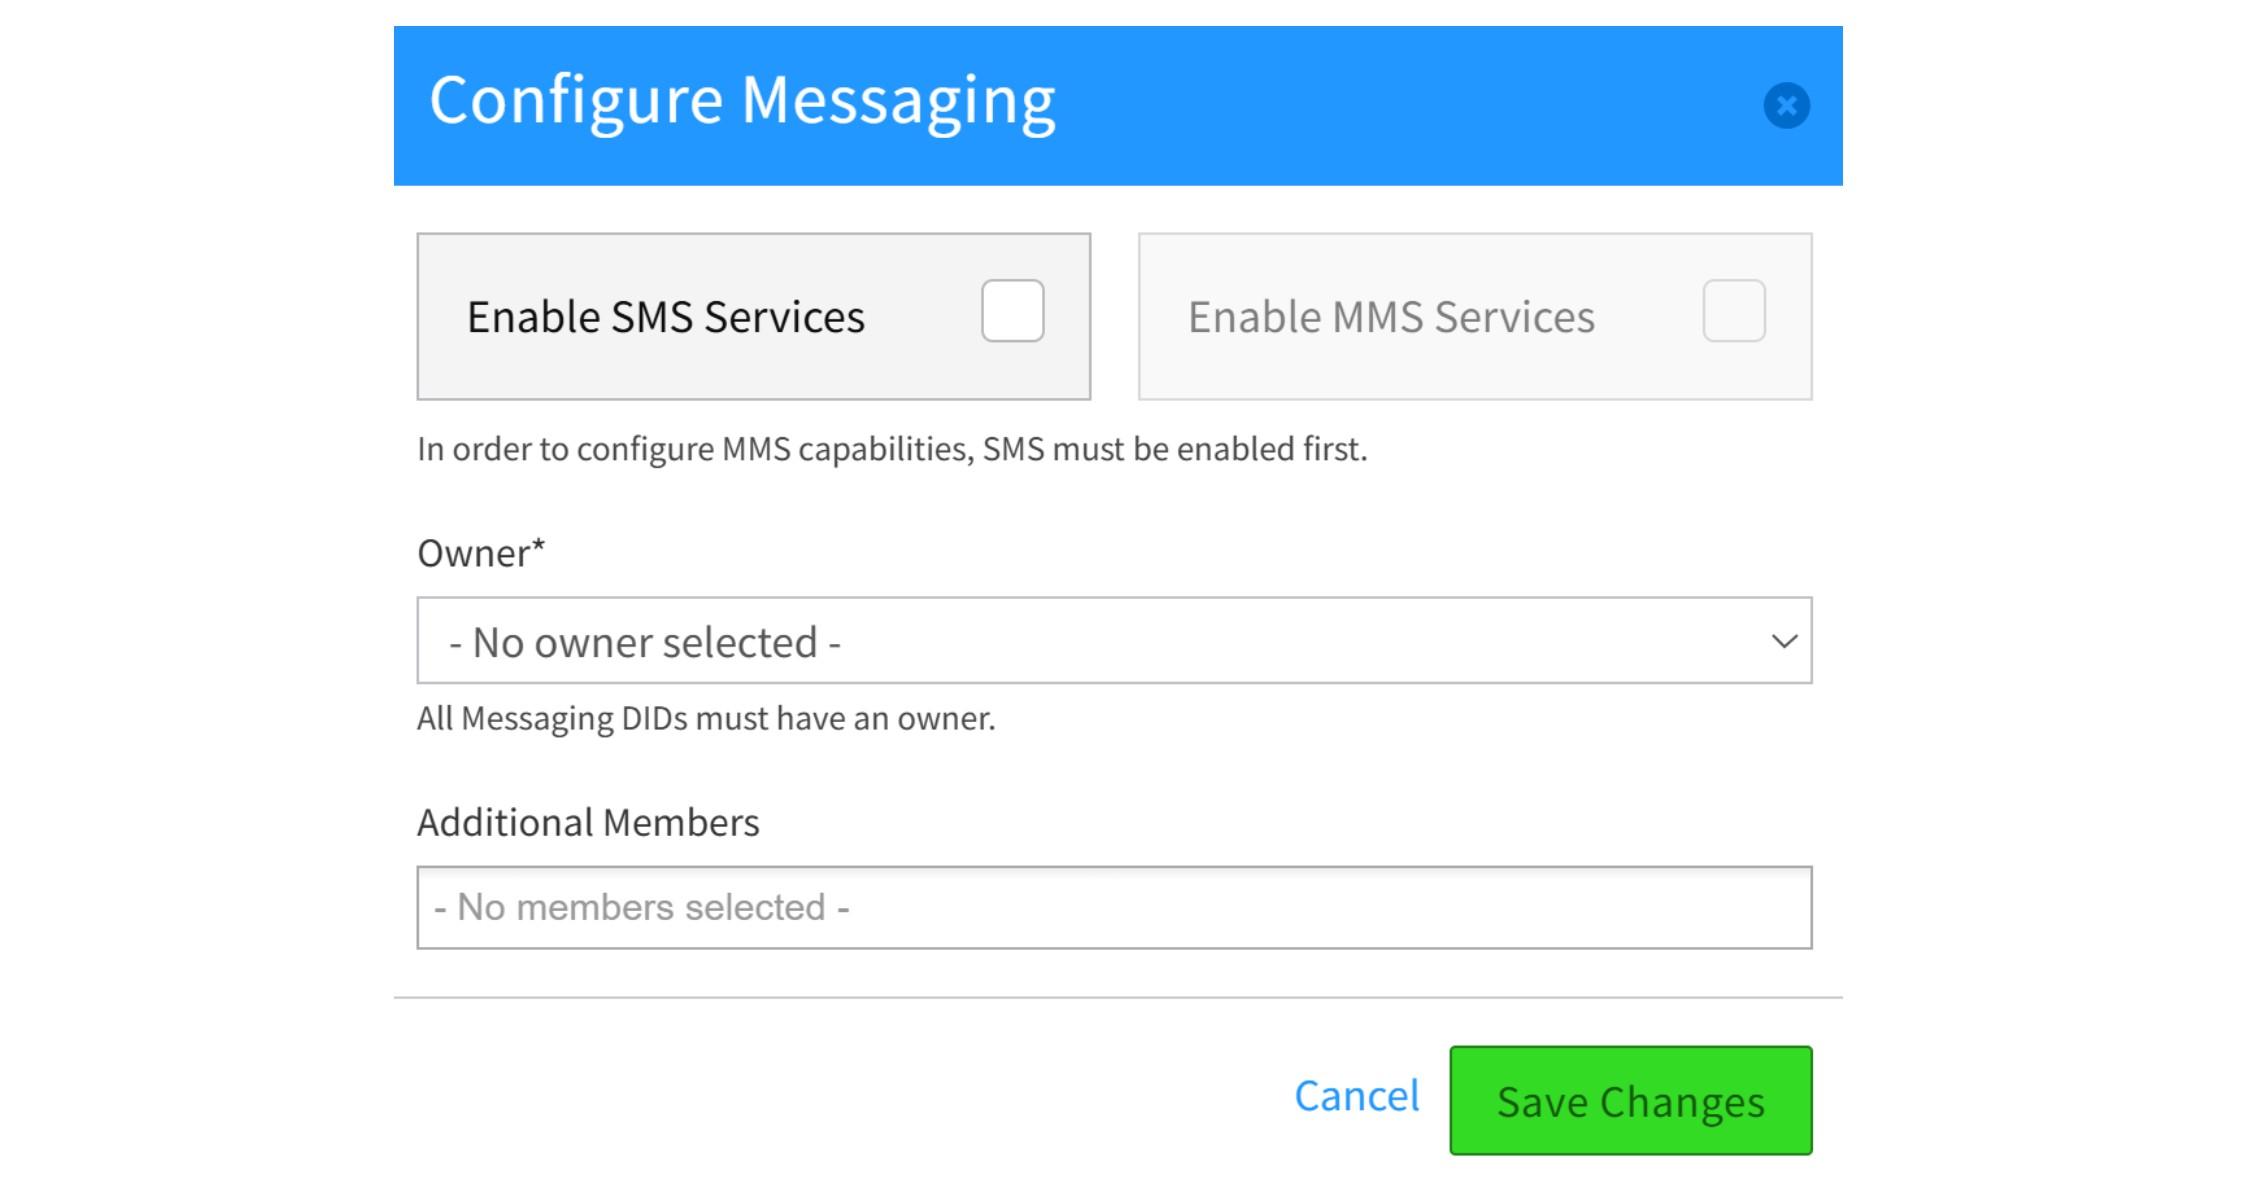
A pop-up window will appear where you can choose which services to enable: SMS and MMS.
Note that the MMS service cannot be enabled without the SMS service.
Next, select the owner of the DID from the drop-down menu. You can also create a shared SMS/MMS inbox by adding additional members.
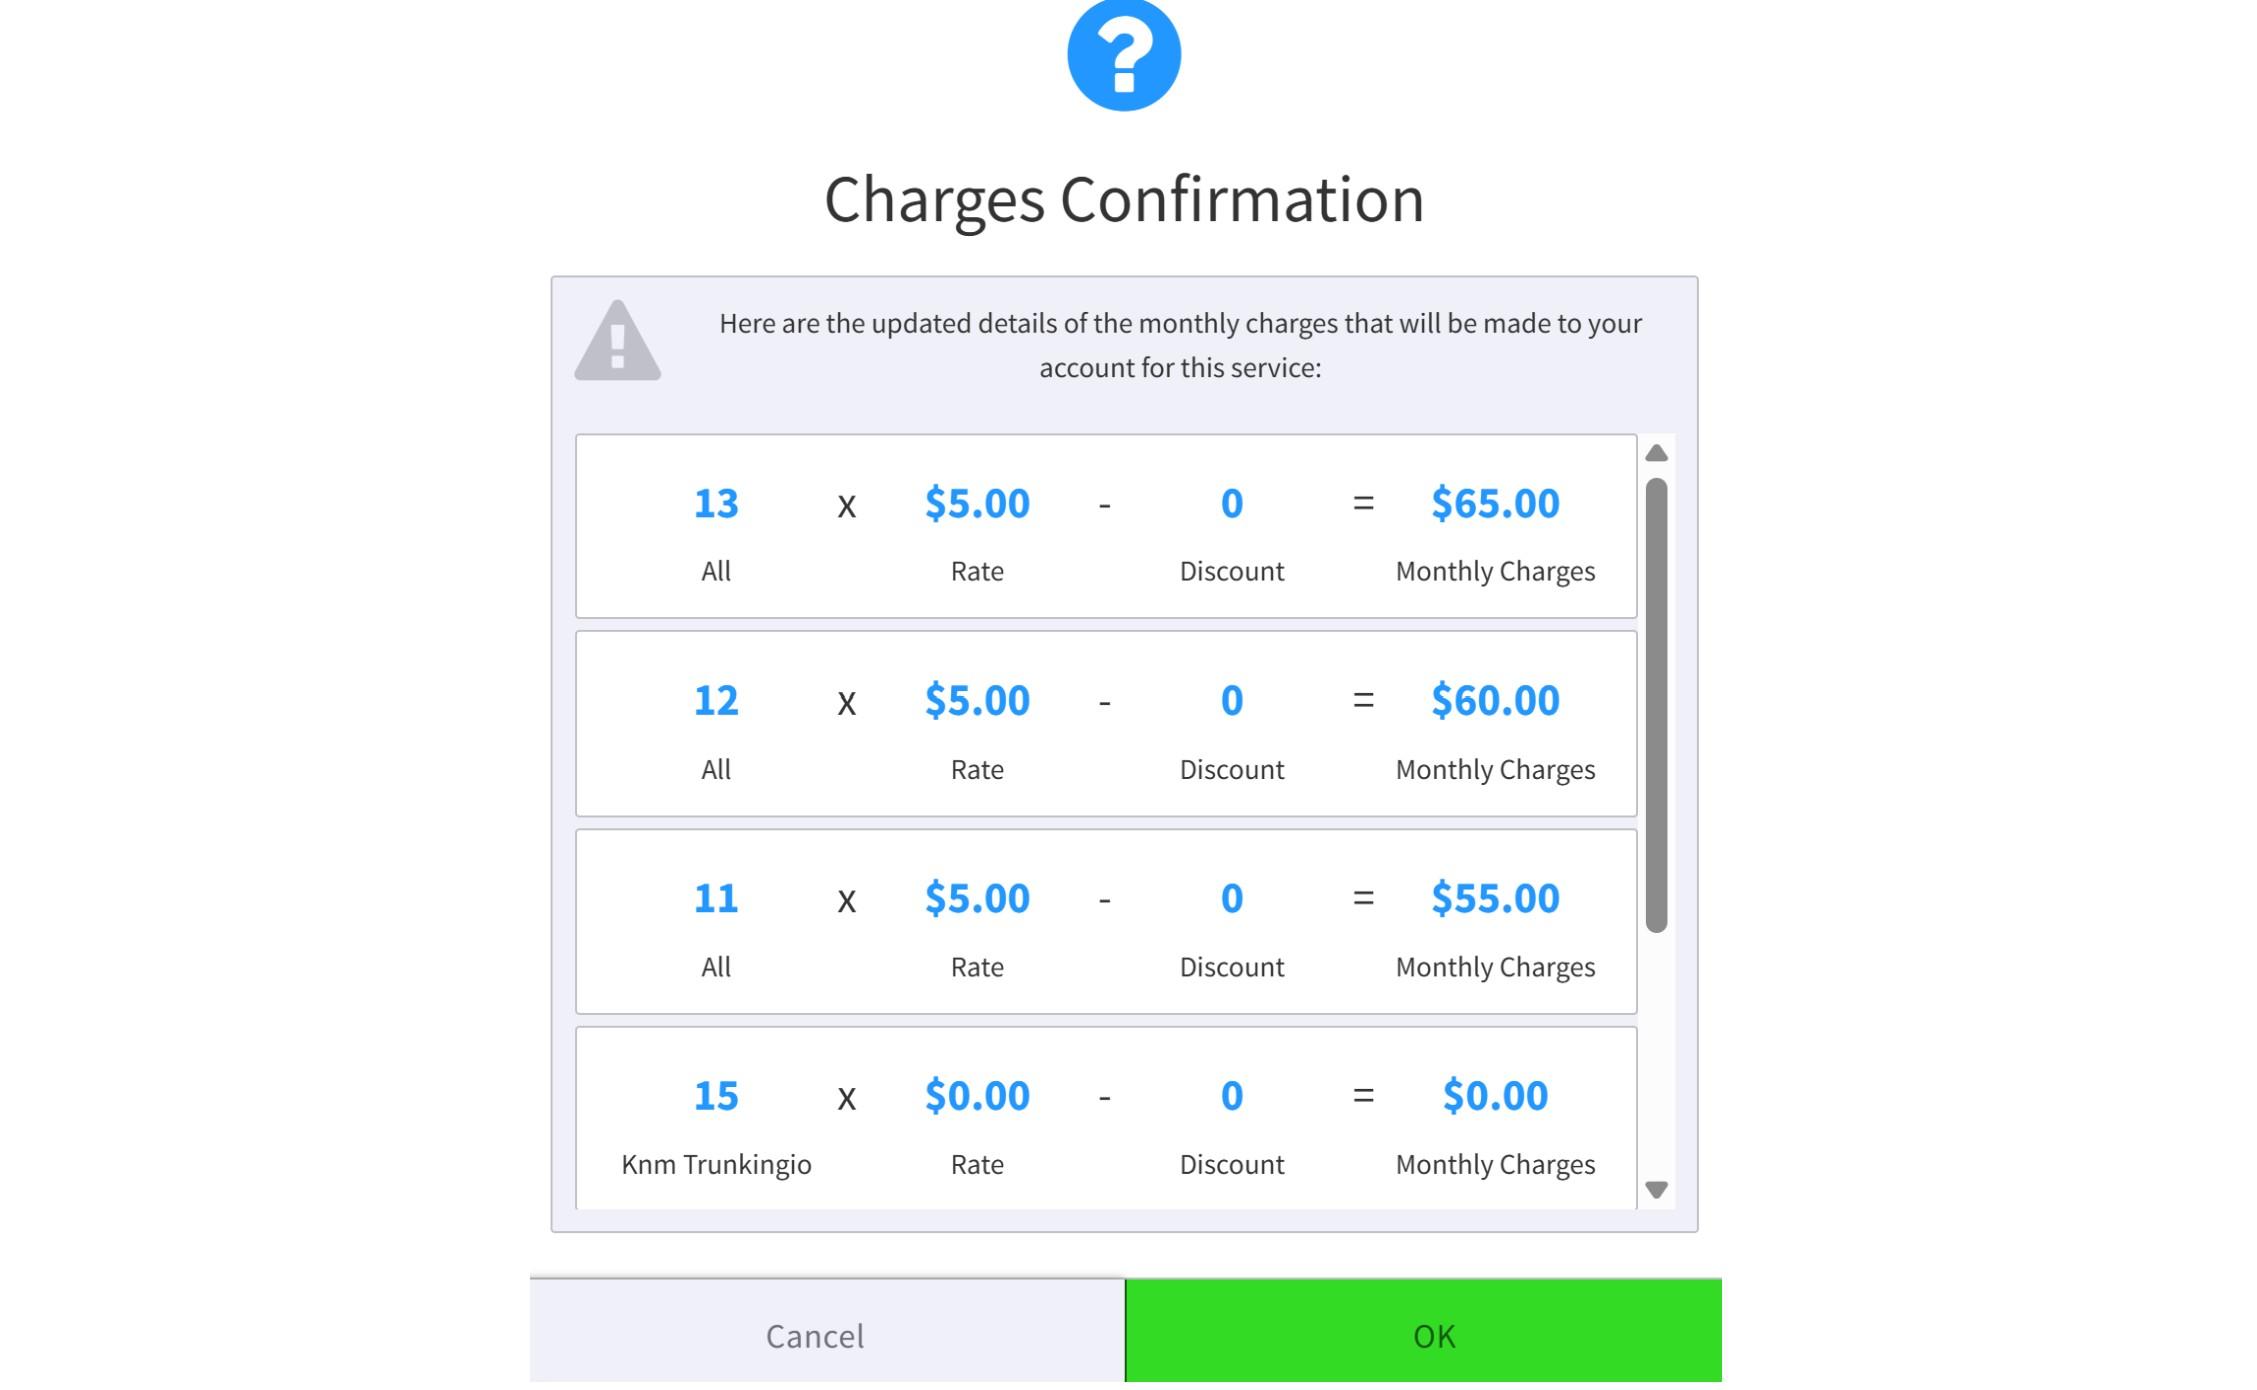
When you click the “Save Changes” button, a confirmation window will show the updated monthly charges for enabling the service(s) you selected. Click OK to proceed.
After completion, you’ll see one or two new badges next to that user’s phone number on the “Numbers in Use” tab, indicating that SMS and MMS services are now enabled.
