Getting Started With Port Manager#
So lets get this ball rolling and go over how to submit and review a Port Request through the Port Manager application.
Who can use this feature?
This feature is open to all users across all platforms
What You Should Know#
Here's some terminology you may encounter while submitting a port request:
| Service Name | Description |
|---|---|
| LOA | The LOA (Letter Of Authorization) is used when porting regular telephone numbers. |
| RespOrg | The RespOrg (Responsible Organization) is used when porting Toll-free numbers. |
Your Step-by-Step Guide to Glory#
Tip!
Don't fret, you can add additional numbers at your hearts desire during this process, even though we use an example of one number for this guide!
-
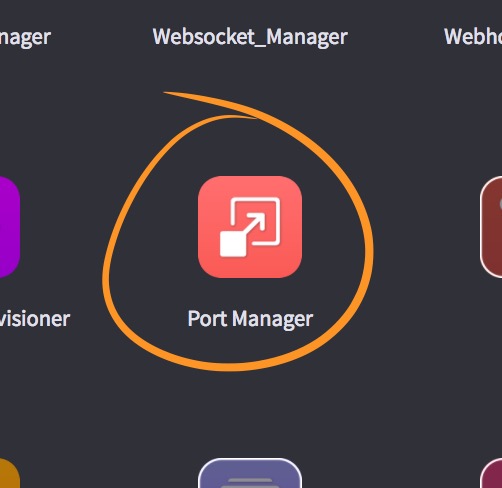
Let's get this kicked off. First, hop into the Port Manager application. It looks like this:
-
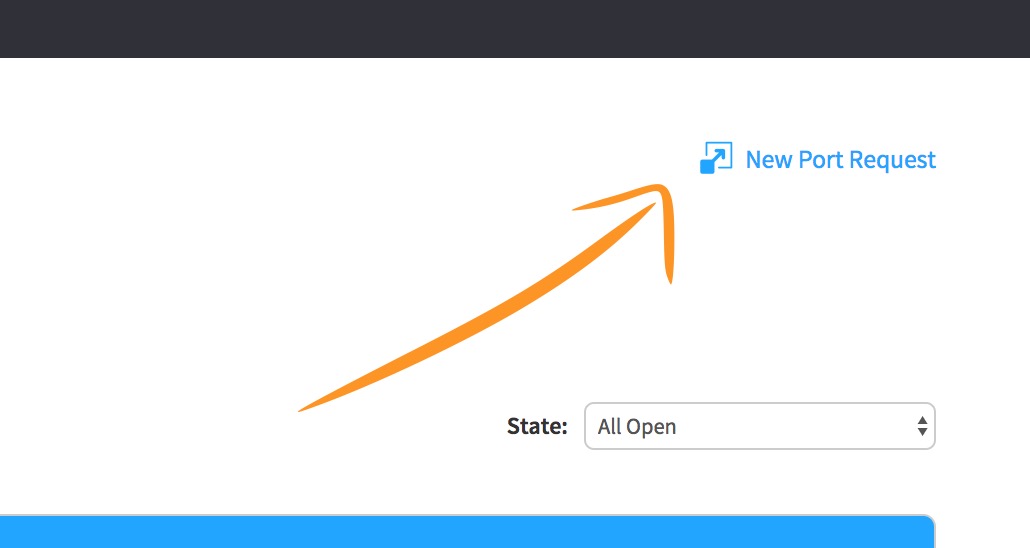
Once we're inside the app, click "New Port Request".
-
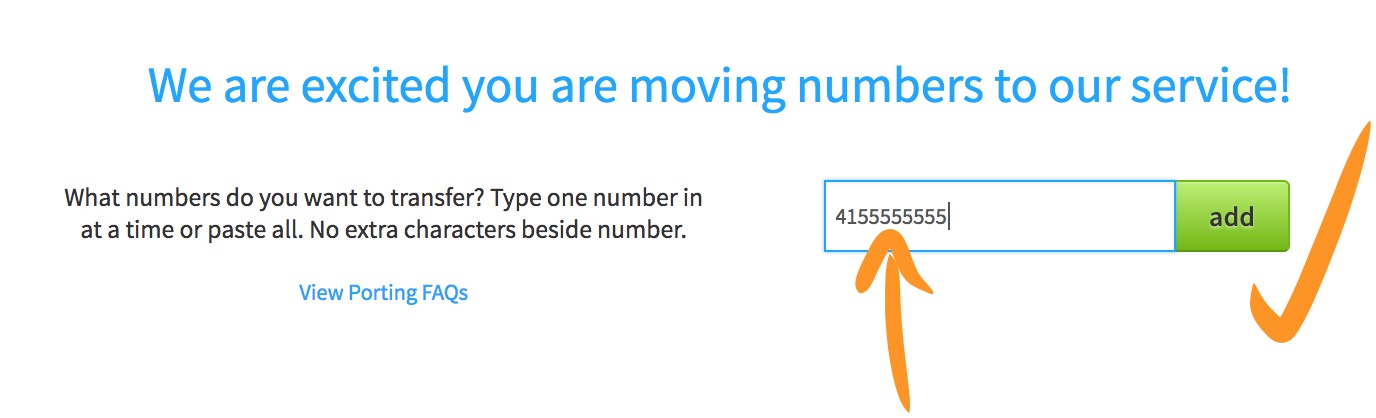
Type out the number you're requesting to port.
-
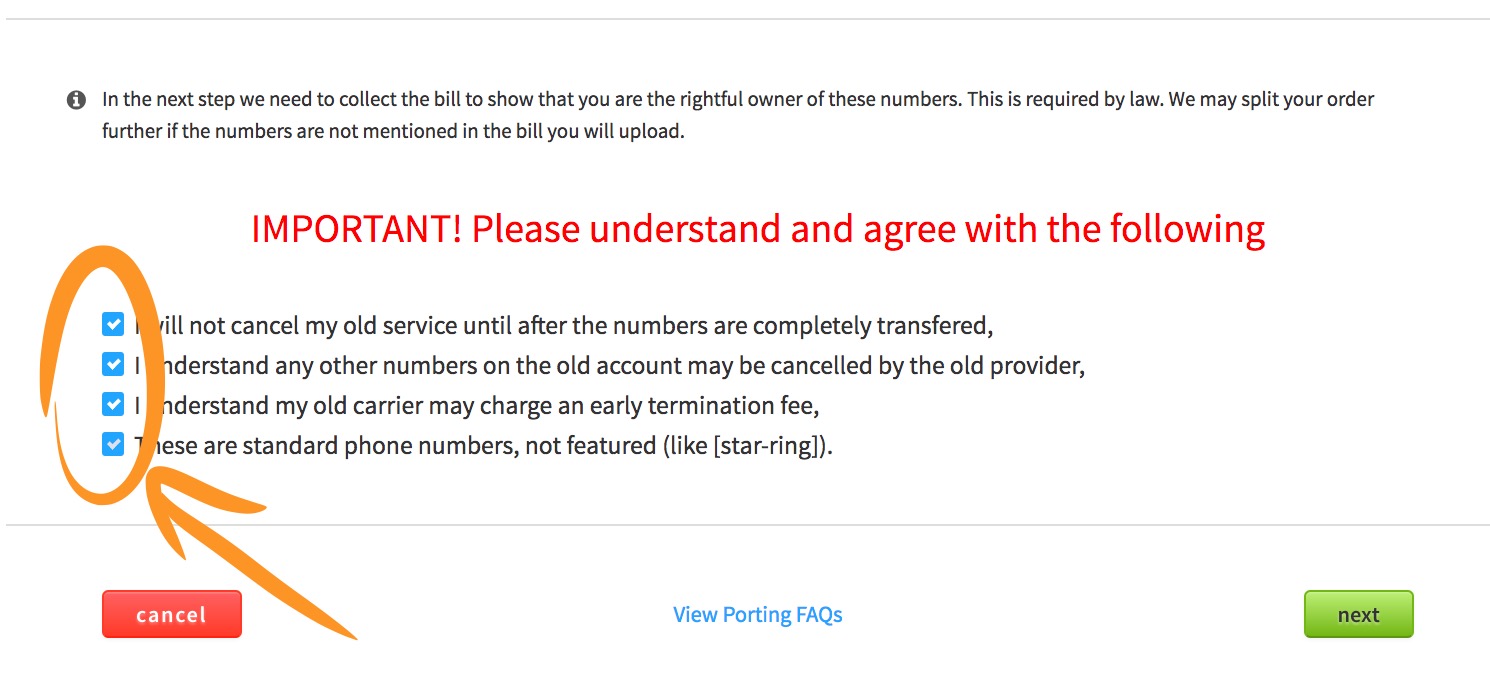
Don't ignore the important parts here. Read each of these dandy check boxes and confirm you understand.
-
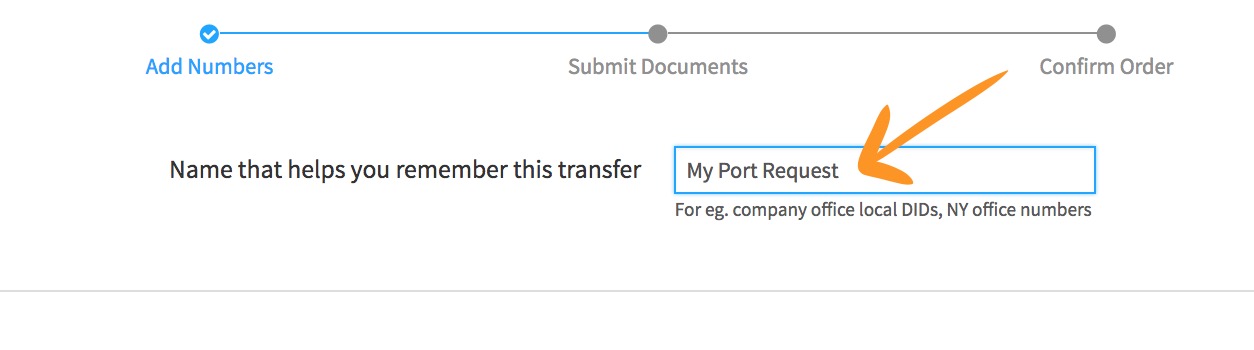
Lets go ahead and name this request so you can easily find it in the future.
-
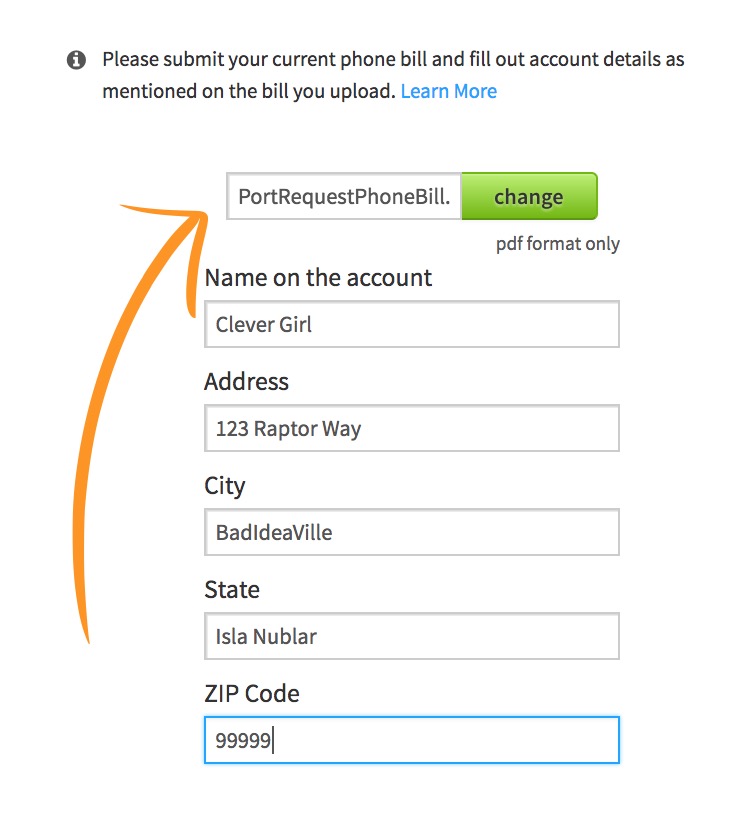
Time to upload a current phone bill that has the number(s) you're porting, and fill out the fields so they match what is on your bill.
-
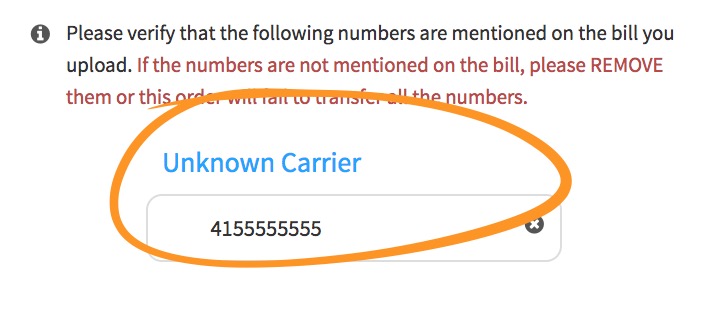
This step is important--Make sure the number(s) you've requested are on the bill you just attached in step 6!
-
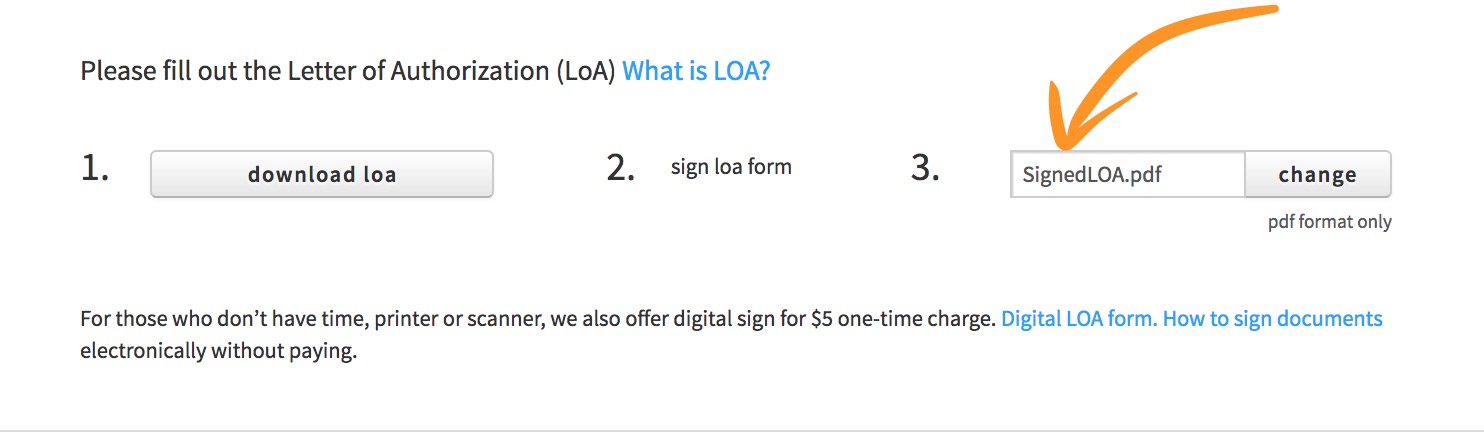
If you are porting regular numbers, upload a signed LOA here.
-
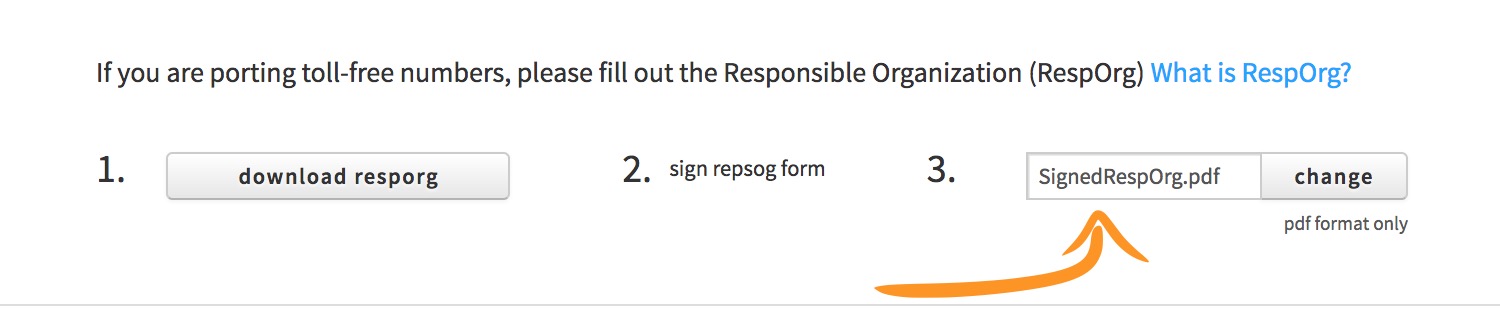
If you are porting toll-free numbers, upload a signed RespOrg here.
-
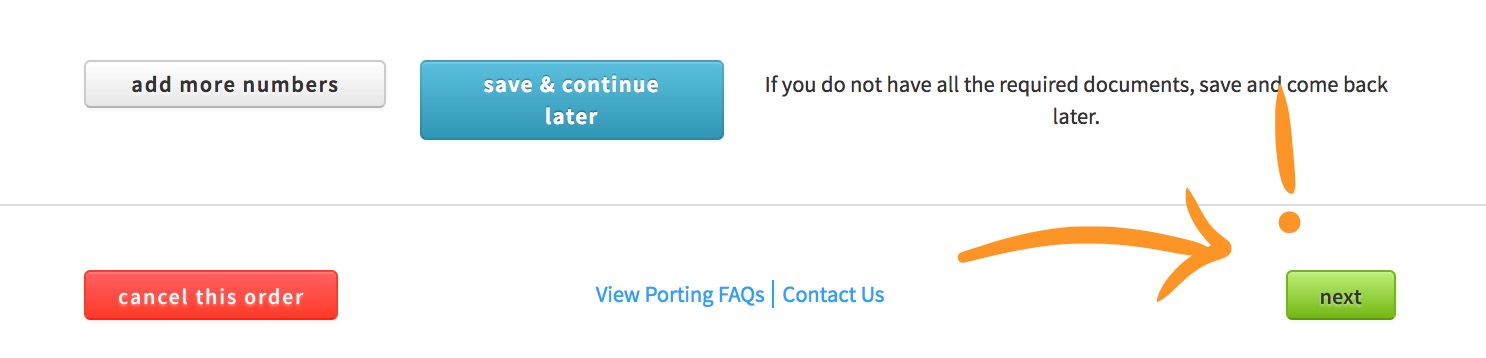
Here's a bit of choose-your-own-adventure! Either add some more numbers, save and come back later, cancel, or keep chugging along!
-
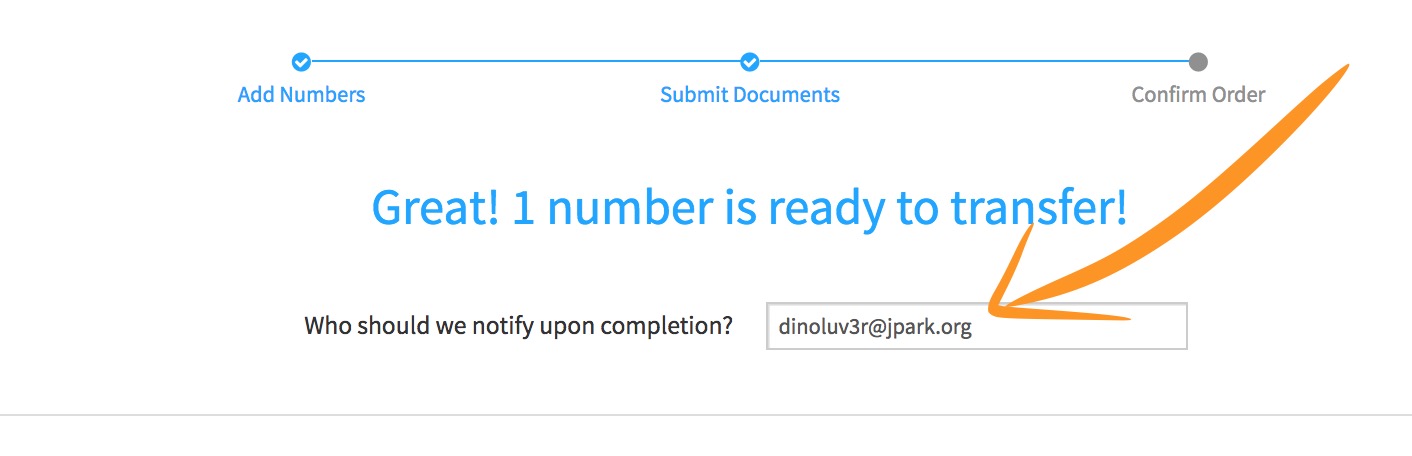
Back to some basics, who should we keep in the loop on this request?
-
Lets choose a date we prefer, then review our settings and SUBMIT! Woohoo! (or save and come back later, I suppose.)

Ensuring Information Is Correct#
So you've got the hard part out of the way... or do you? 🤔 How about we pull up your recently created Port Request and verify everything looks a-okay?!
-
First we need to locate the Port Request we previously made. It was named "My Port Request", remember?

-
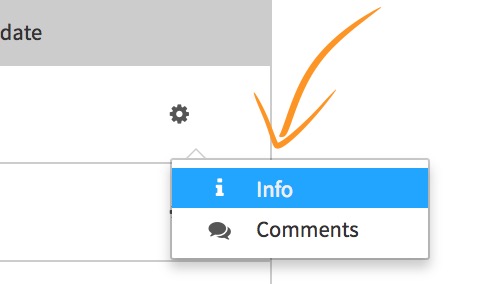
Now lets click that tell-tale little cog over on the right.
-
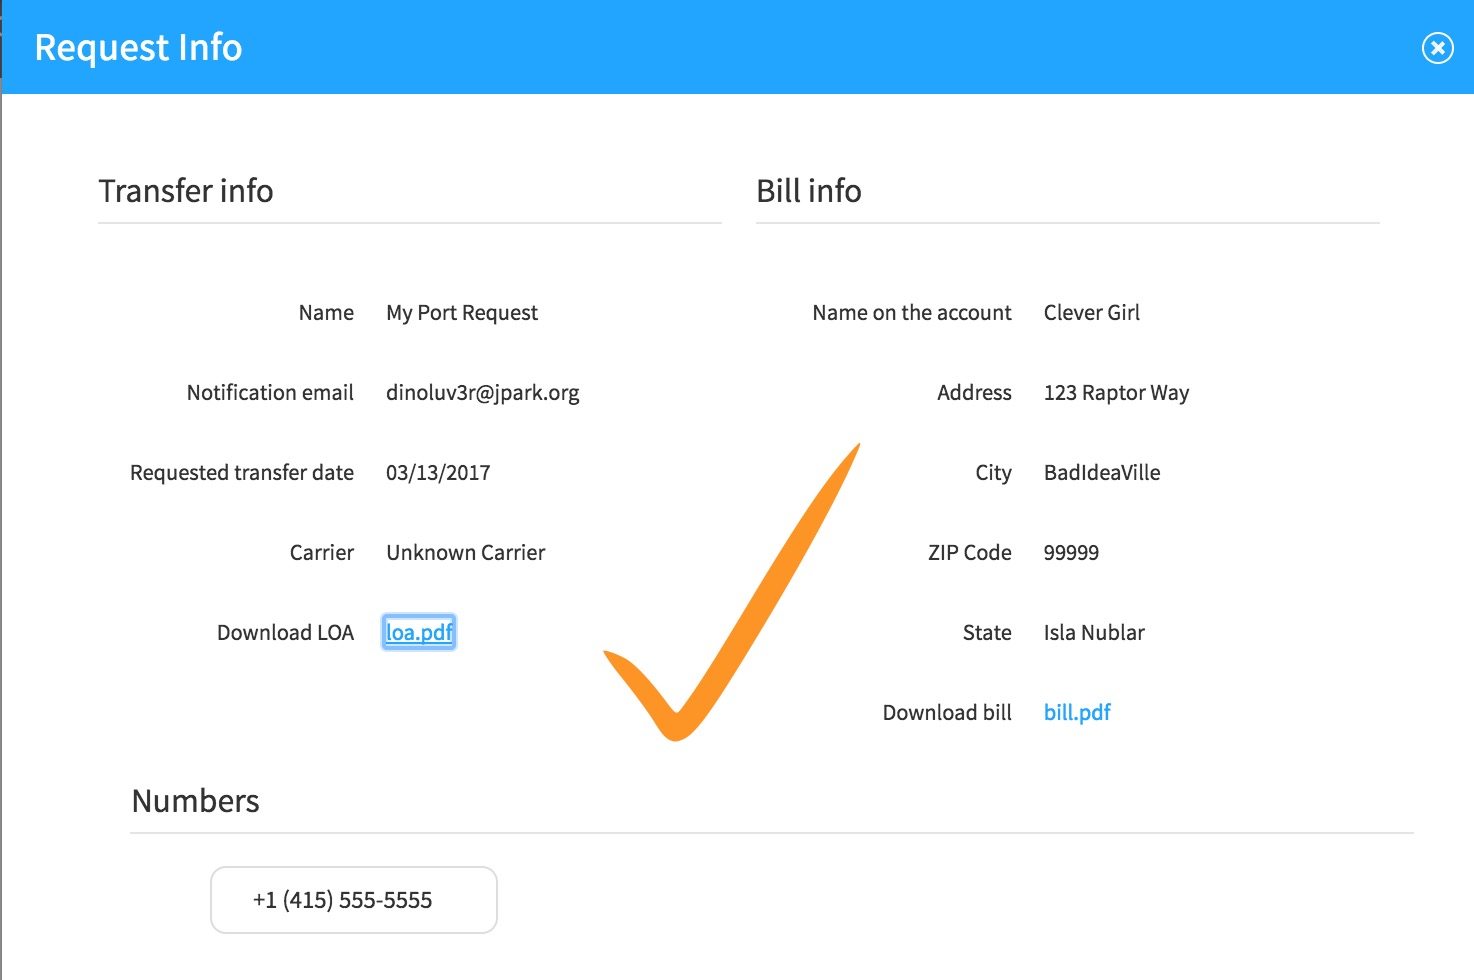
Score! Now we can just glance over everything and make sure we didn't make any embarassing errors.
-
All done! Now we wait. 🙂🙃🙂🙃