5. Manager Level - Call Center Feature - Members tab
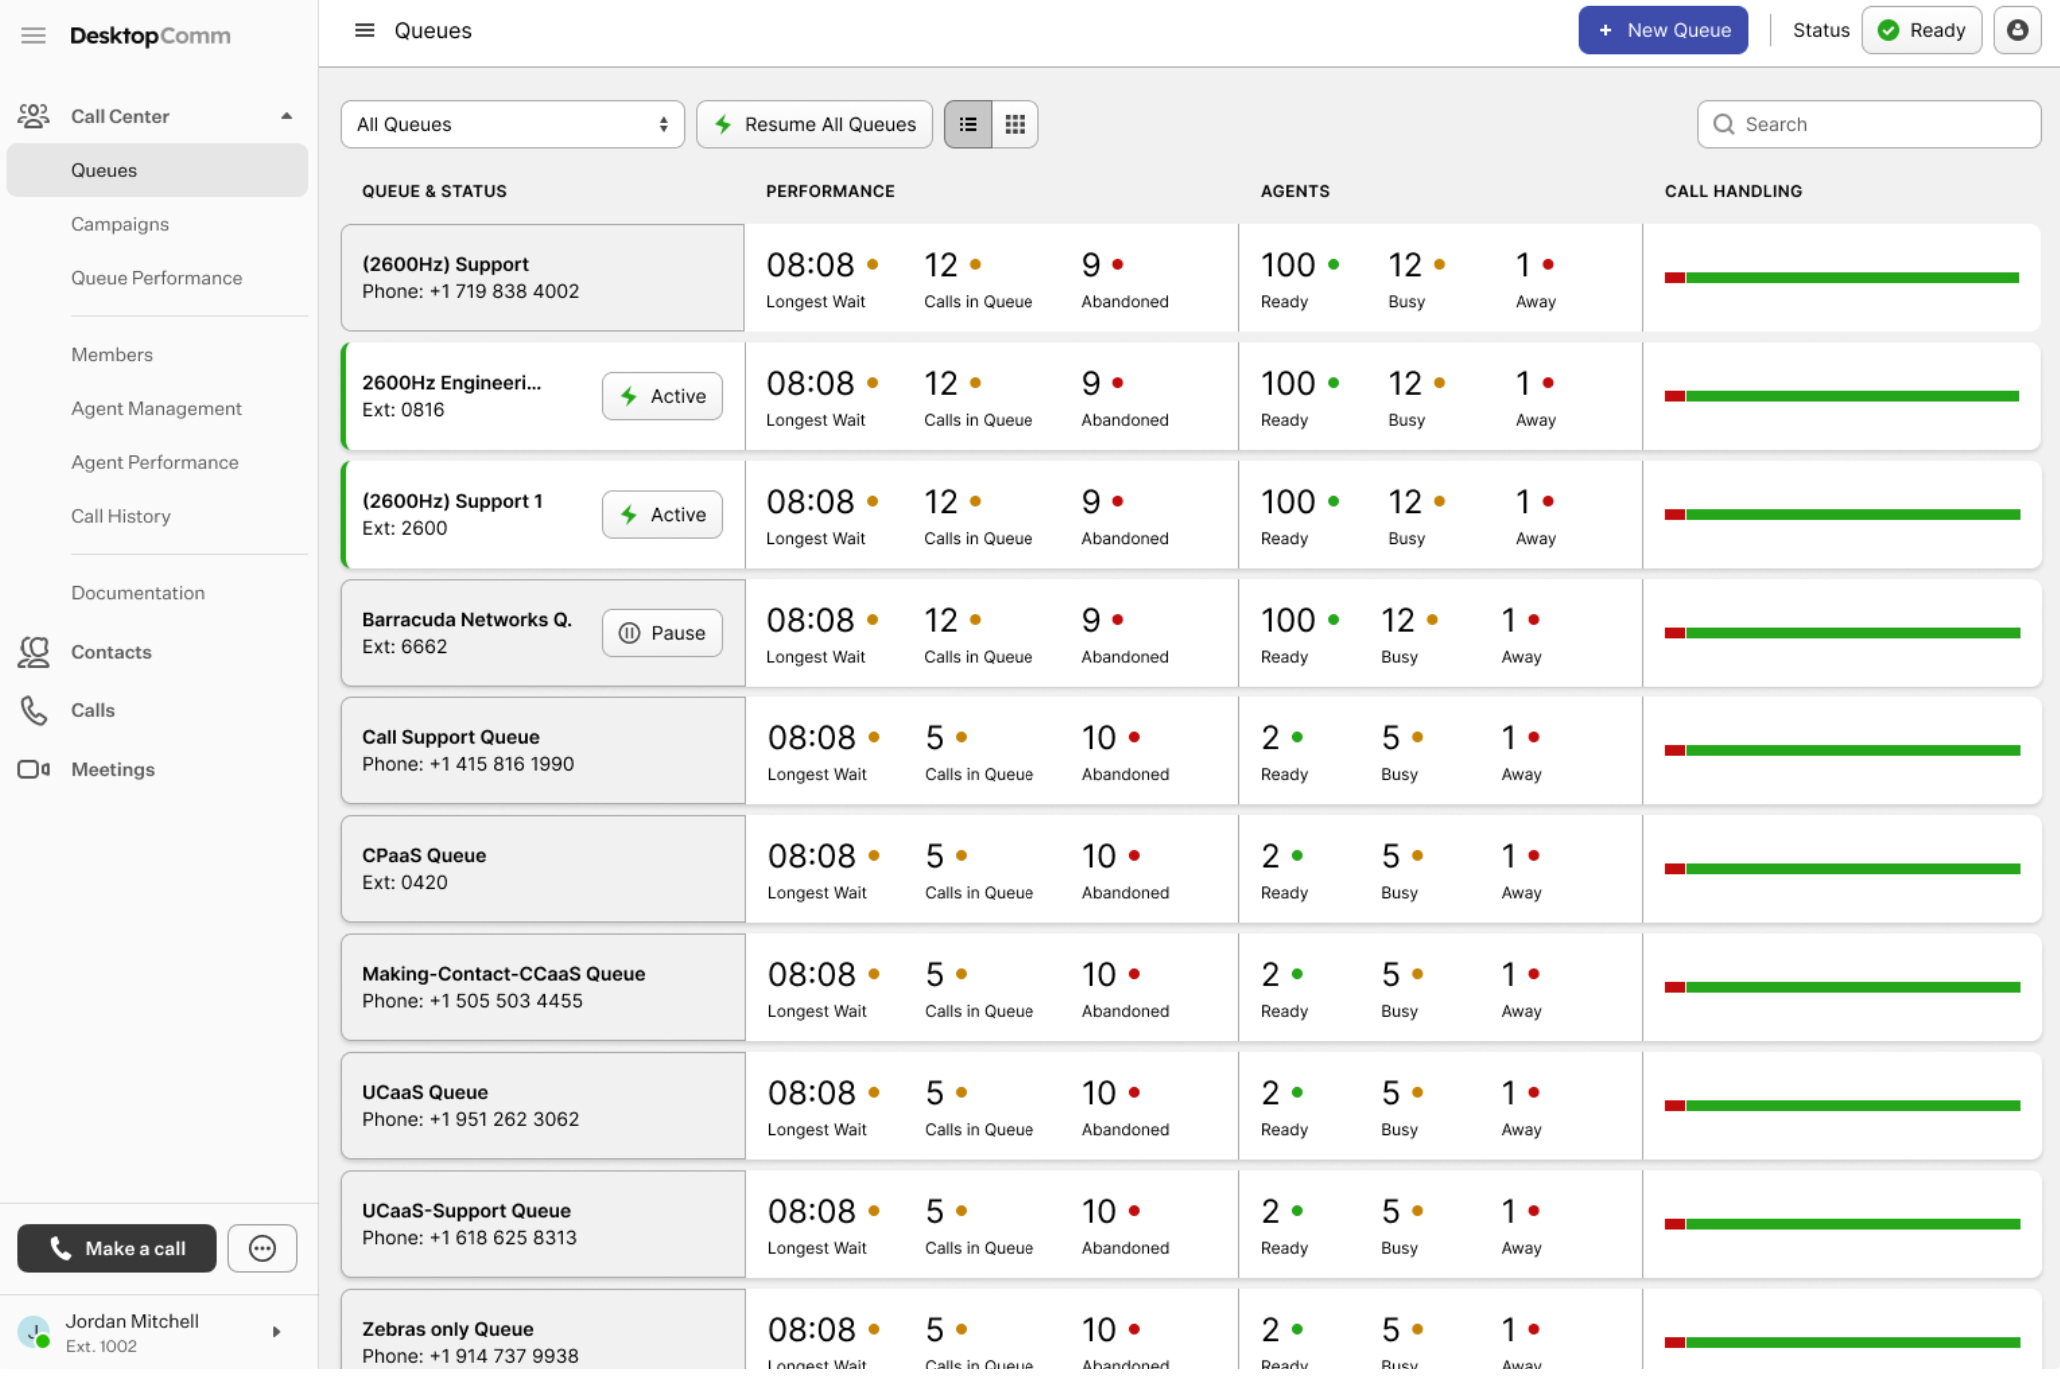
After you click the “Begin Session” button, the session will start and the Queues tab will appear in the main space of the app.
Click the Members tab in the left-hand menu of the portal to open the corresponding section of the Call Center.
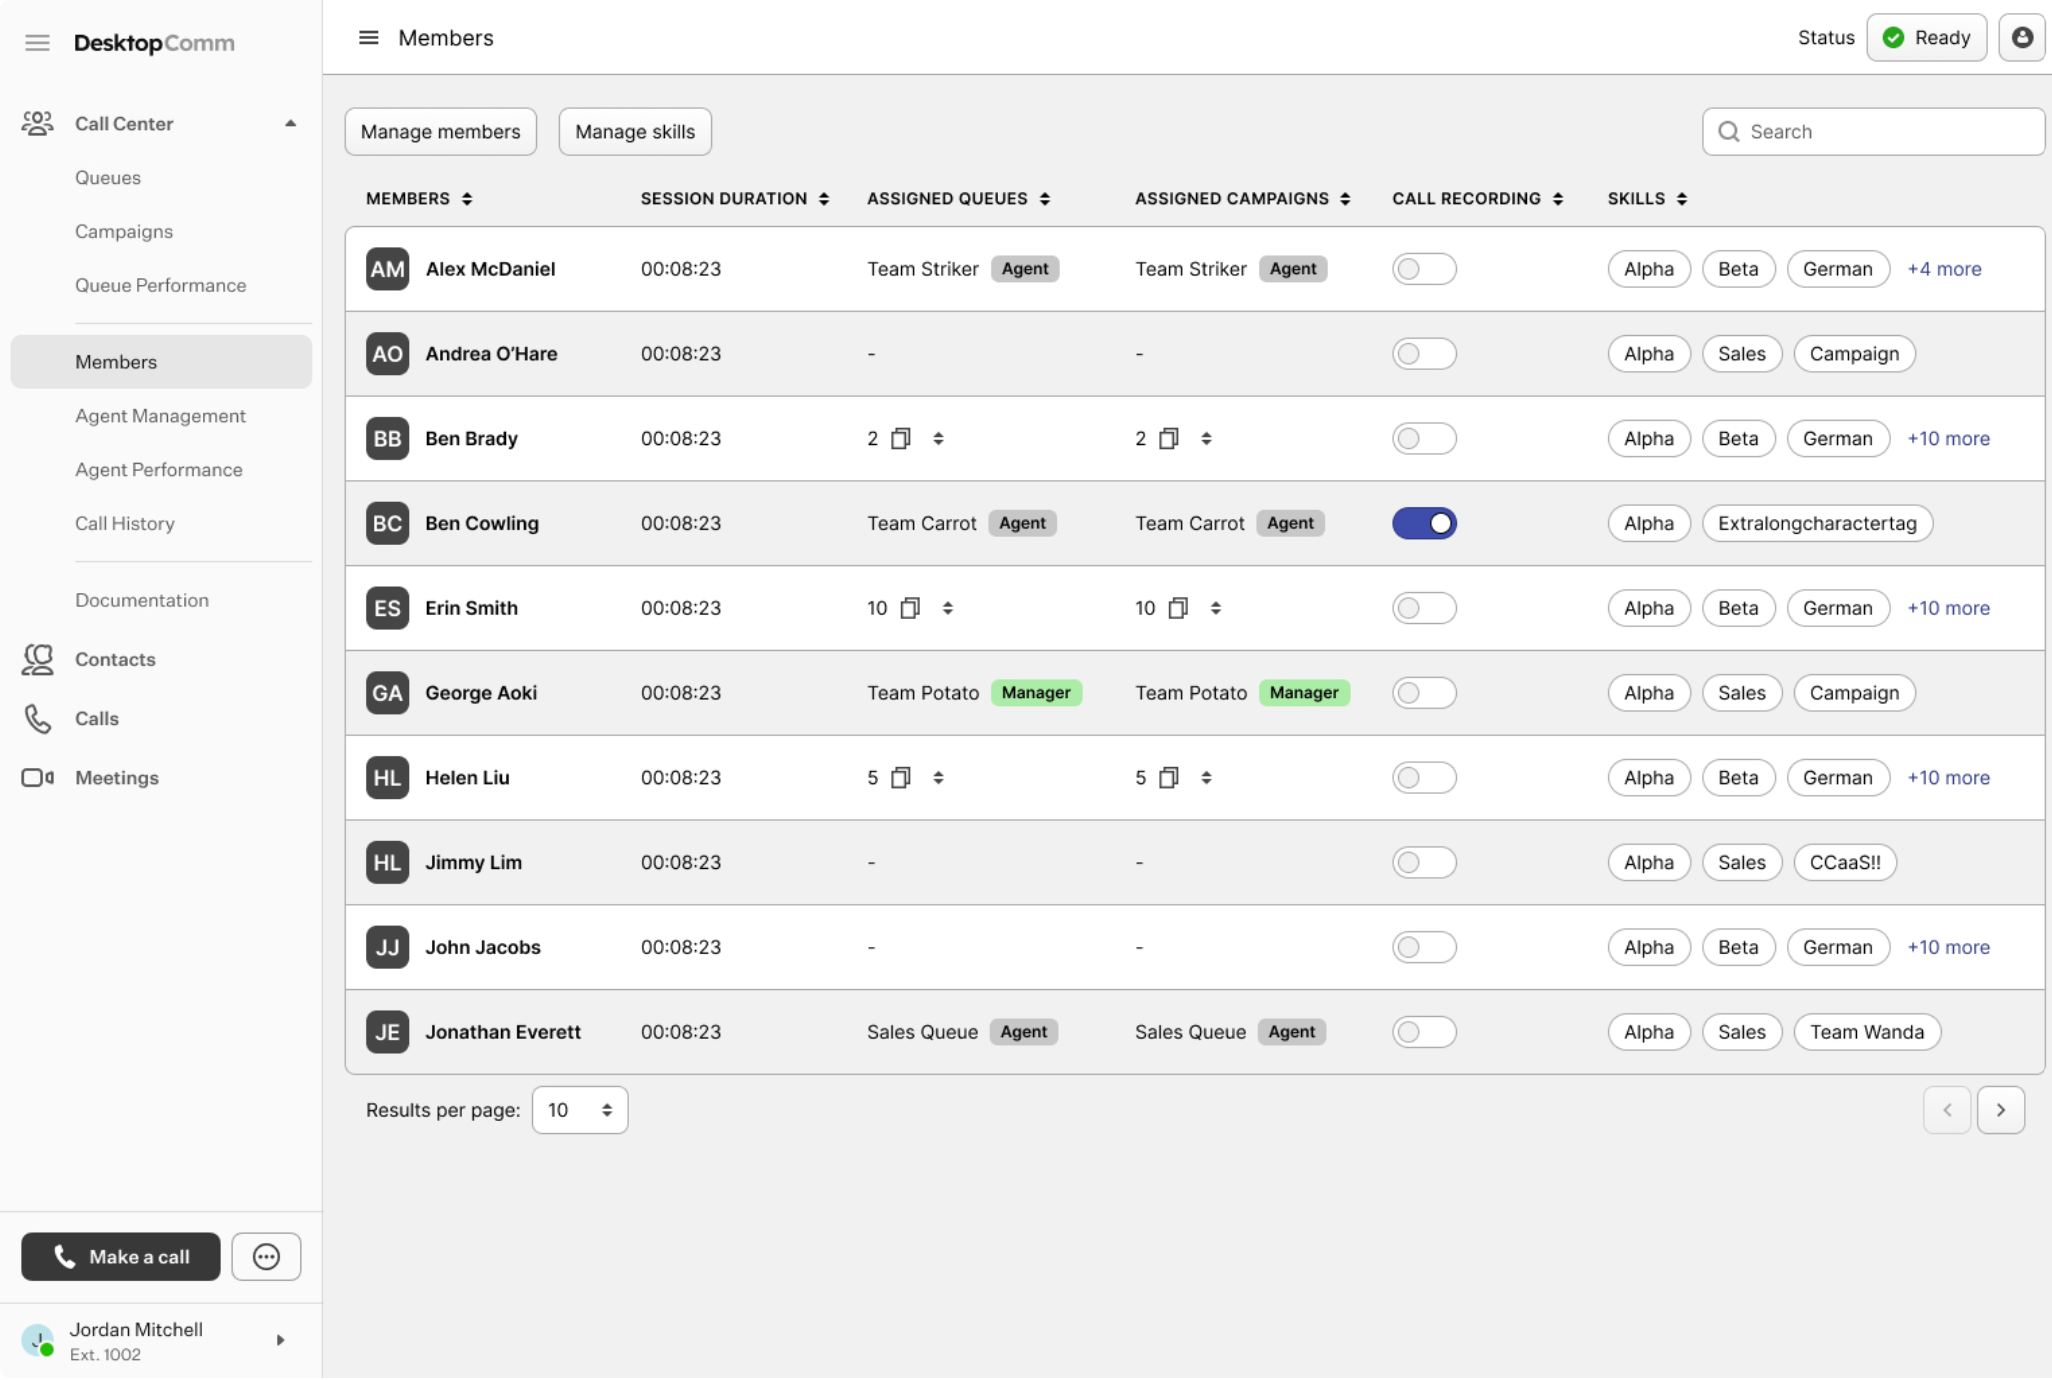
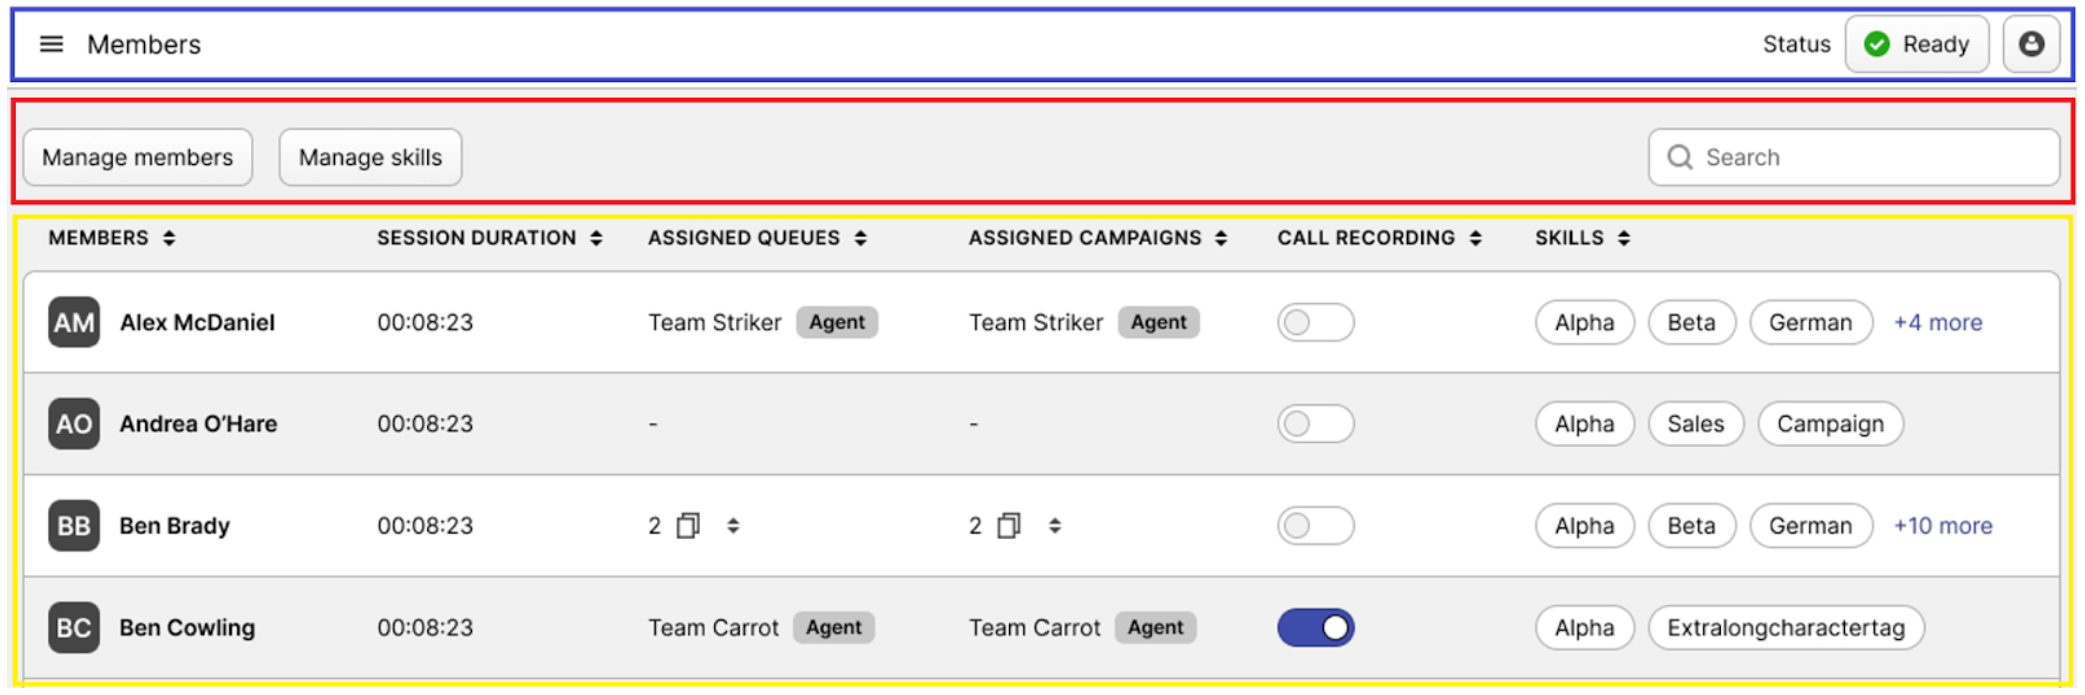
The interface of the Members tab can be divided into three primary sections:
-
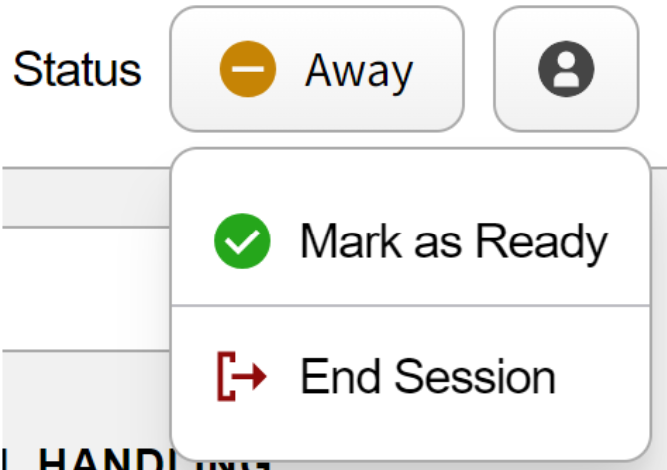
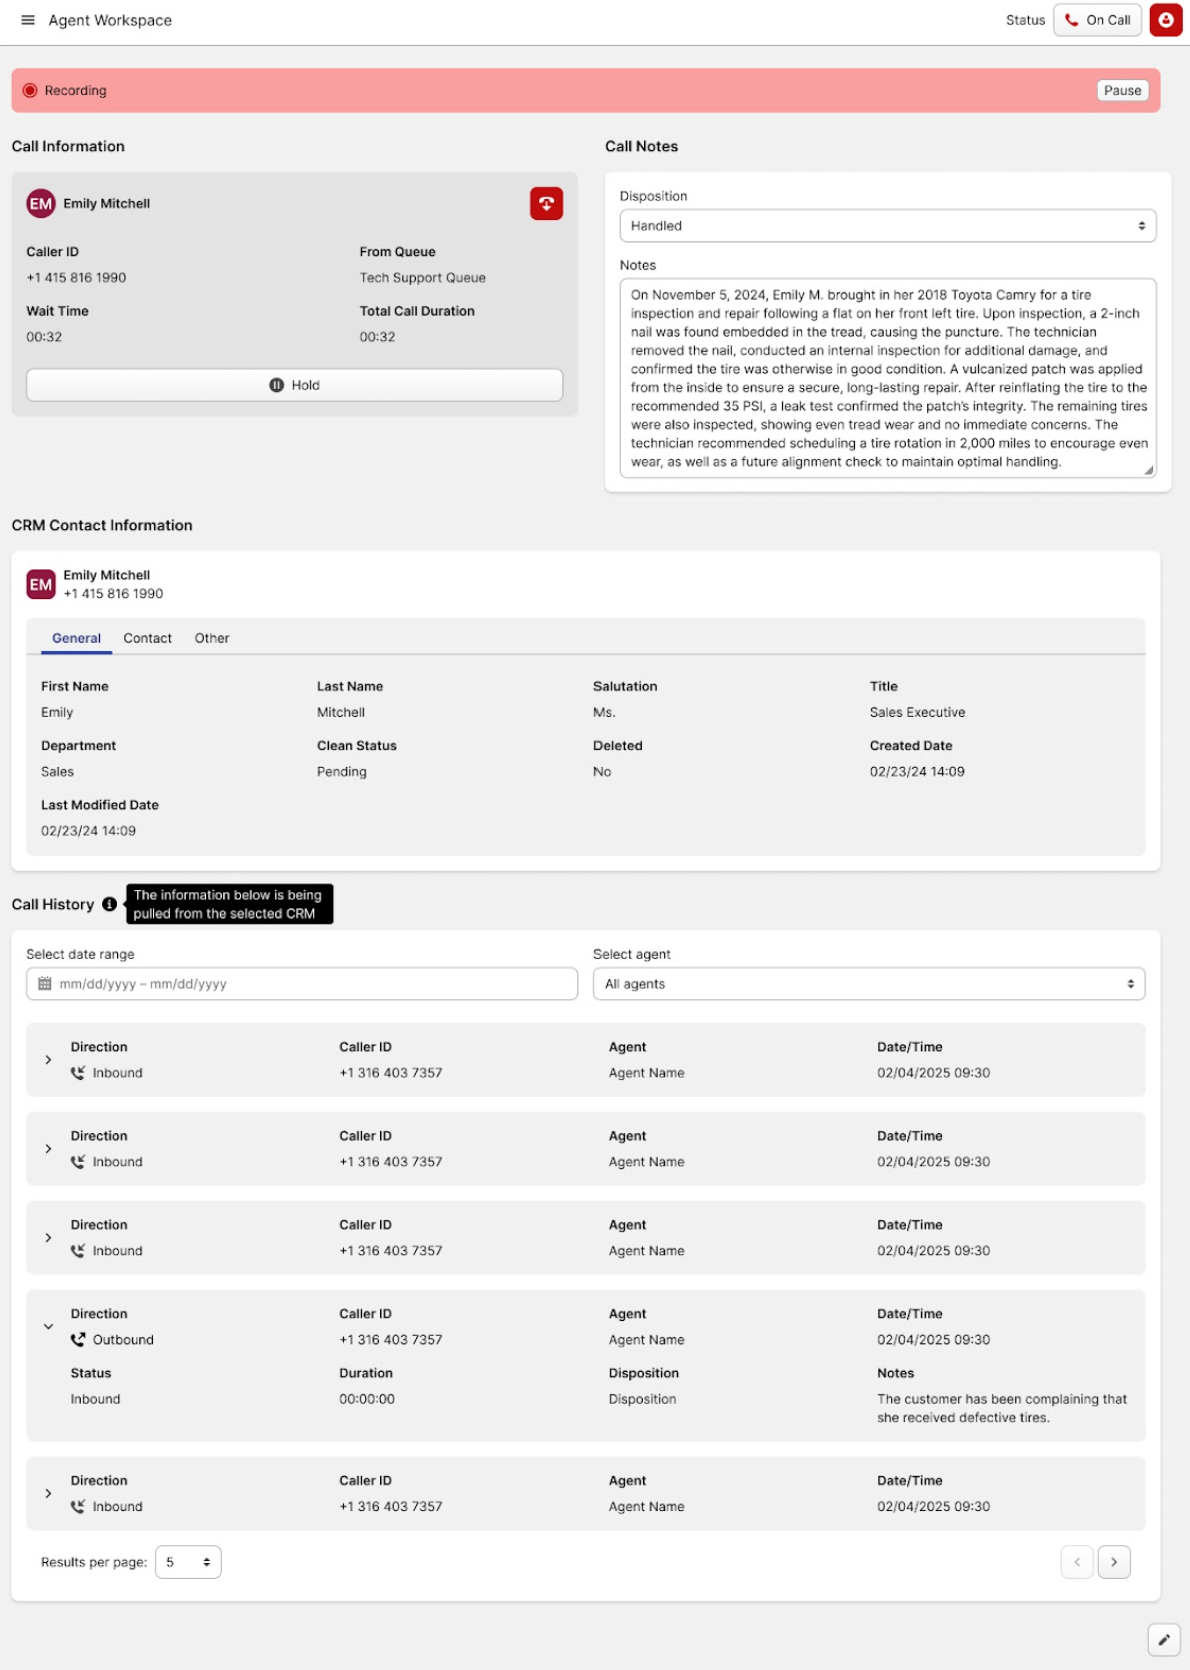
Members Status Bar (blue rectangle): this bar allows you to control the status of your session.
-
The status button lets you update your account’s status. Clicking it opens a drop-down list with options such as “Ready,” “Away,” or “End Session.”
-
The button with the human icon provides access to the agent workspace, where you can enter call details, notes, and other related information.
-
-
Action Bar (red rectangle): this bar contains all the action controls used to manage call center members and skills.

- Manage Members: clicking this button opens the member management mode, allowing you to add or remove call center members. The next sections of this guide provide a detailed walkthrough of this process.
- Manage Skills: clicking this button opens the skill management mode, where you can add or remove skills and assign them to call center members.
- Search Bar: it functions as a typical search field, helping you locate a particular call center member or a person with a particular skill from the list.
-
Member List (yellow rectangle): each call center member in the section is displayed as a record in the table. Each line contains useful information such as the call center member’s name, session duration, assigned queues and campaigns, their list of skills, and a toggle switch that enables call recording for all calls handled by that person.
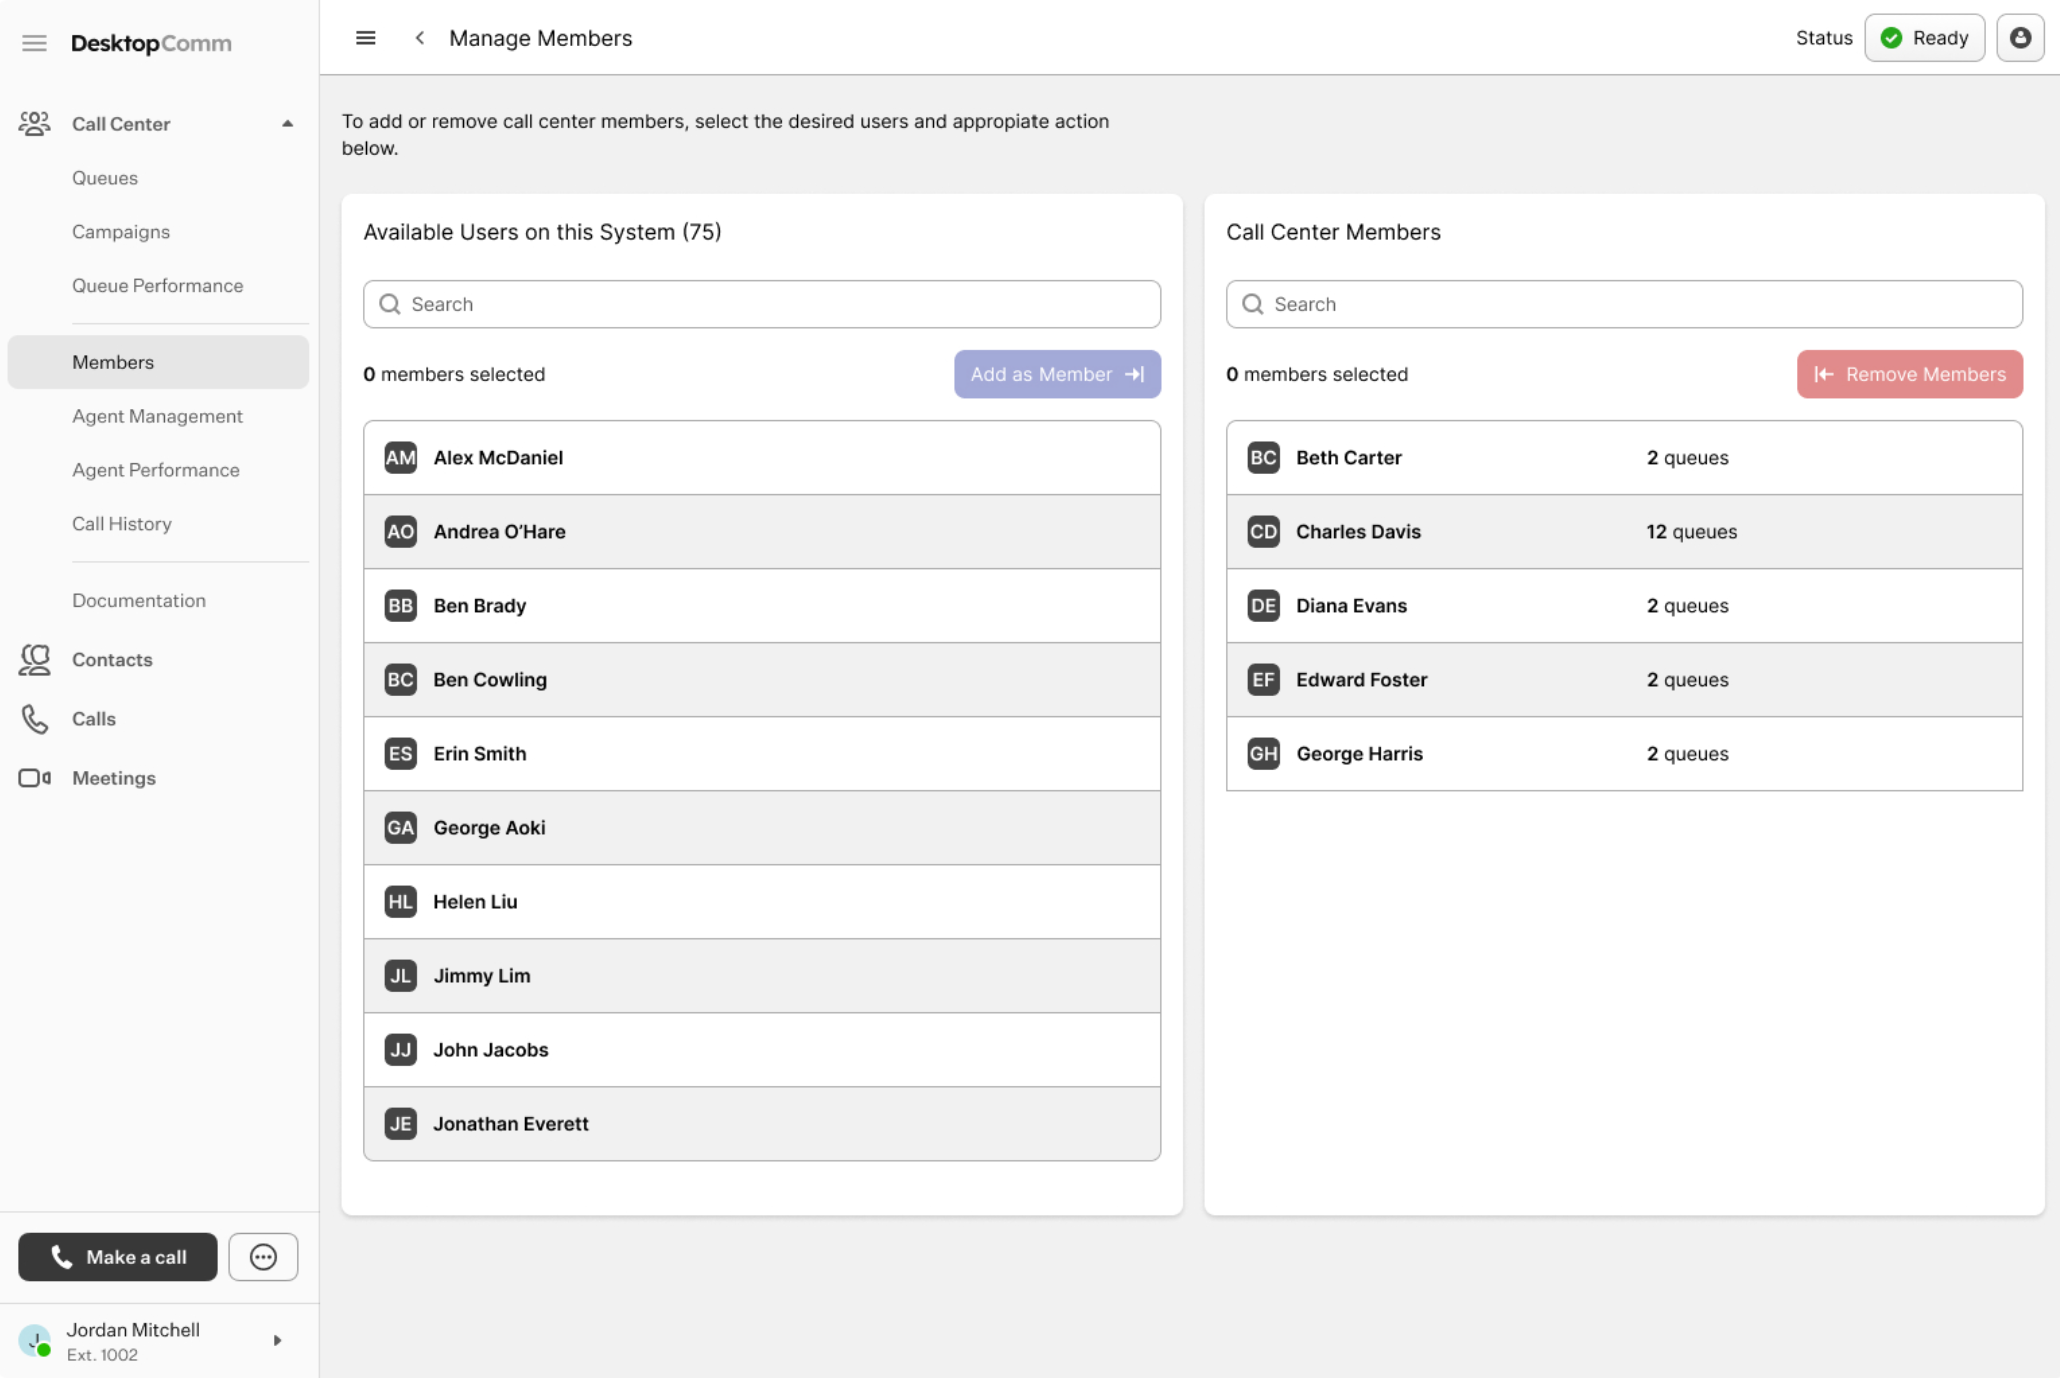
Managing Members
Here, you can manage the agents assigned to the call center. The agents in the left list represent all agents in the system, while the agents in the right list are assigned to this call center. To add a member, select an agent from the left list and click the “Add as Member” button. To remove an agent, select them from the right list and click the “Remove Members” button.
Managing Skills
Here, you can manage your call center members’ skills.
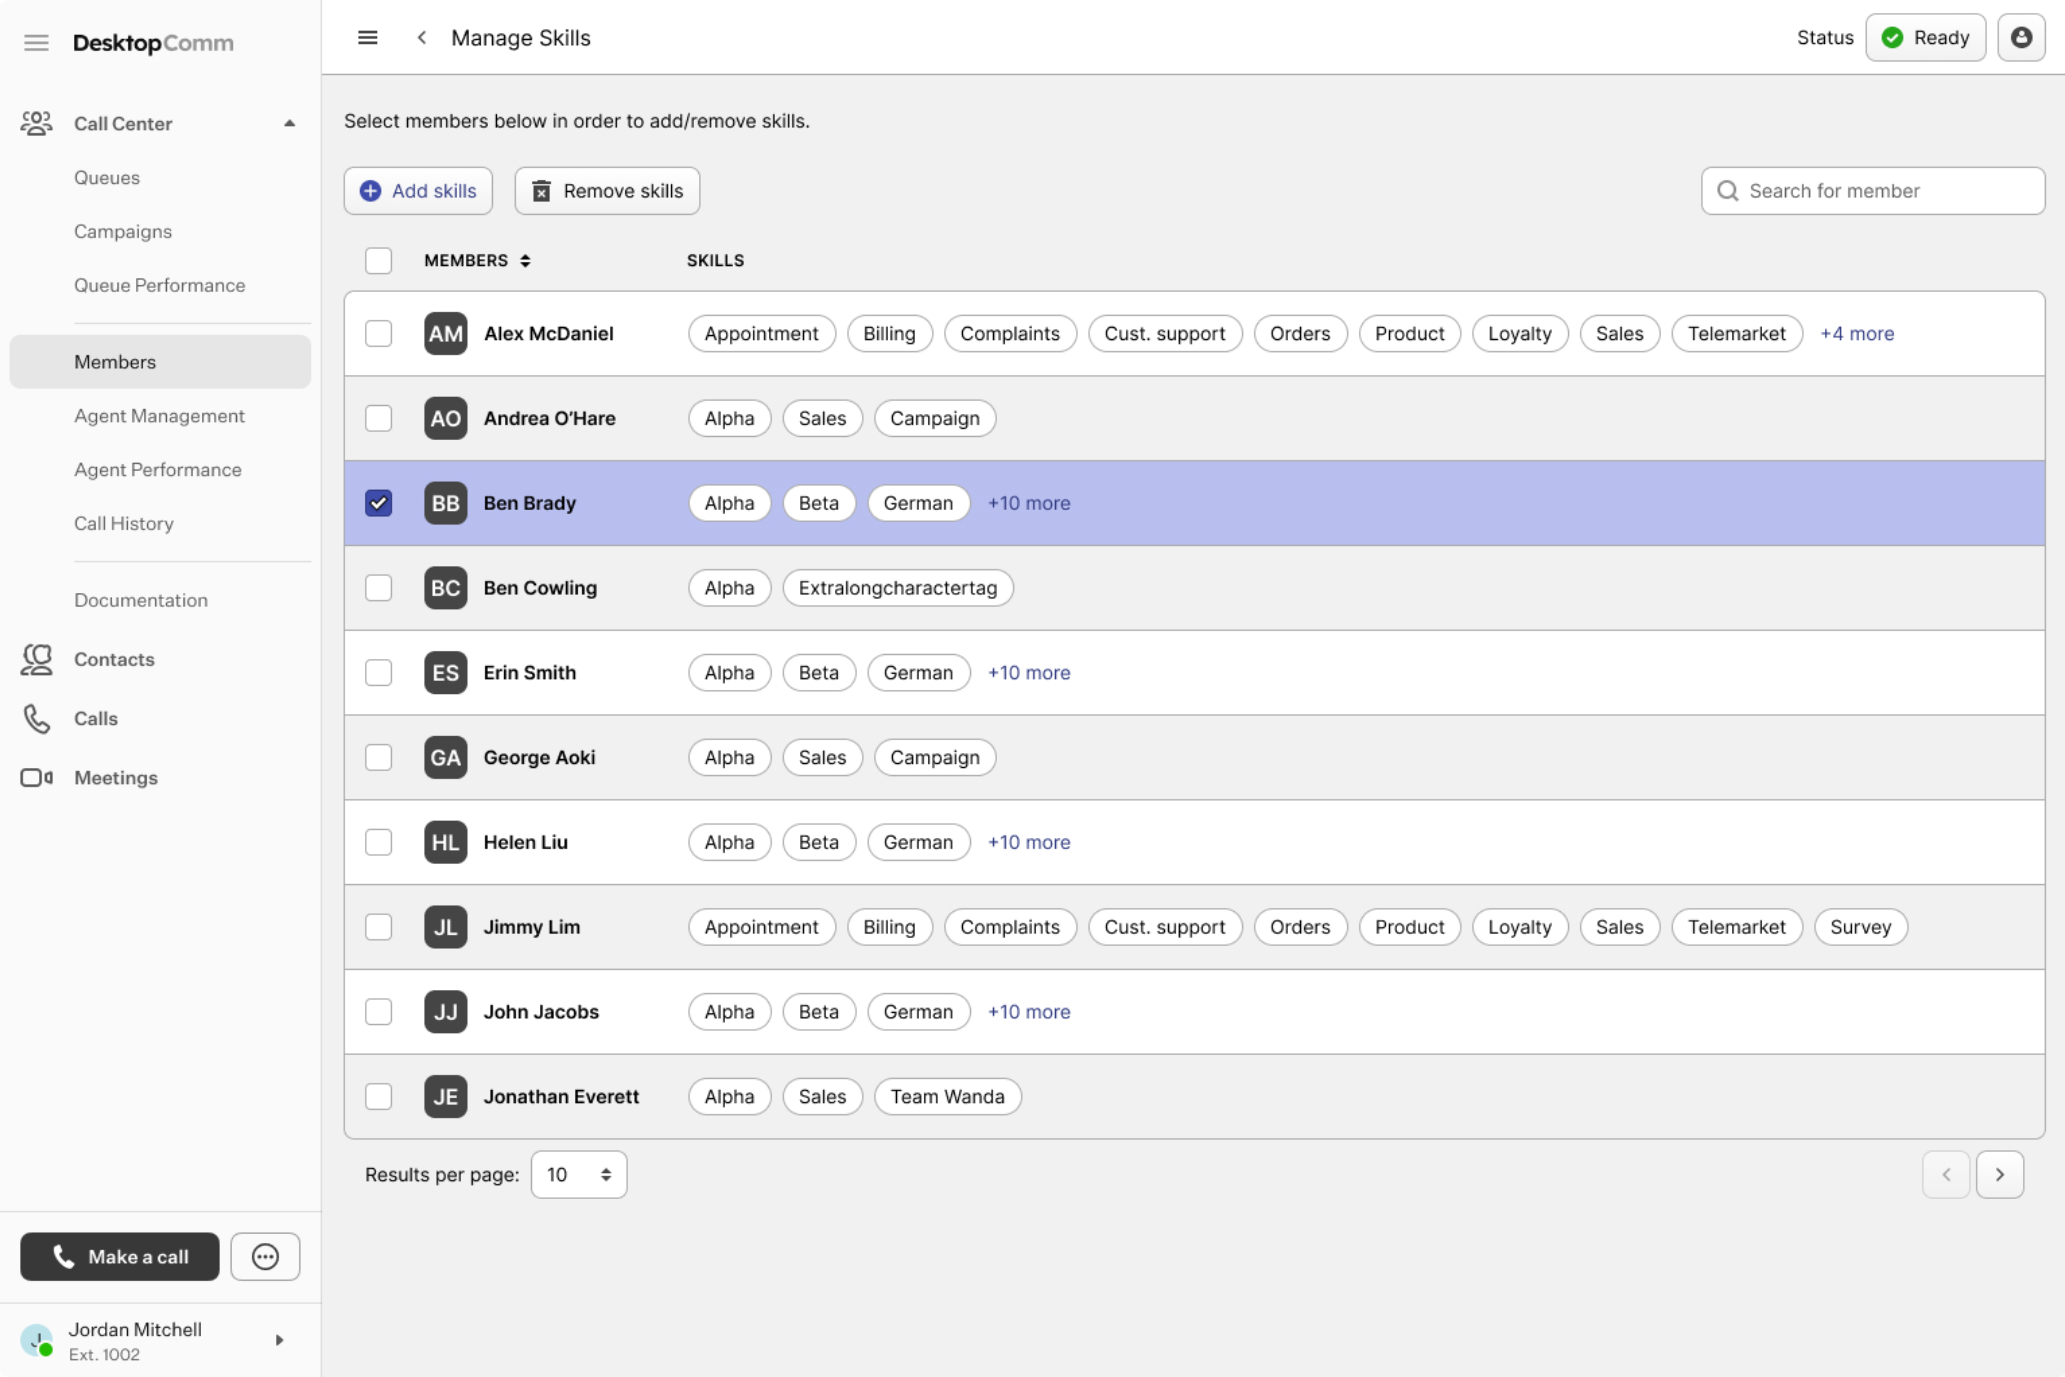
After selecting a member from the call center member list, two additional buttons will appear:
-
Remove Skills: this button lets you remove any skill currently assigned to that member.
-
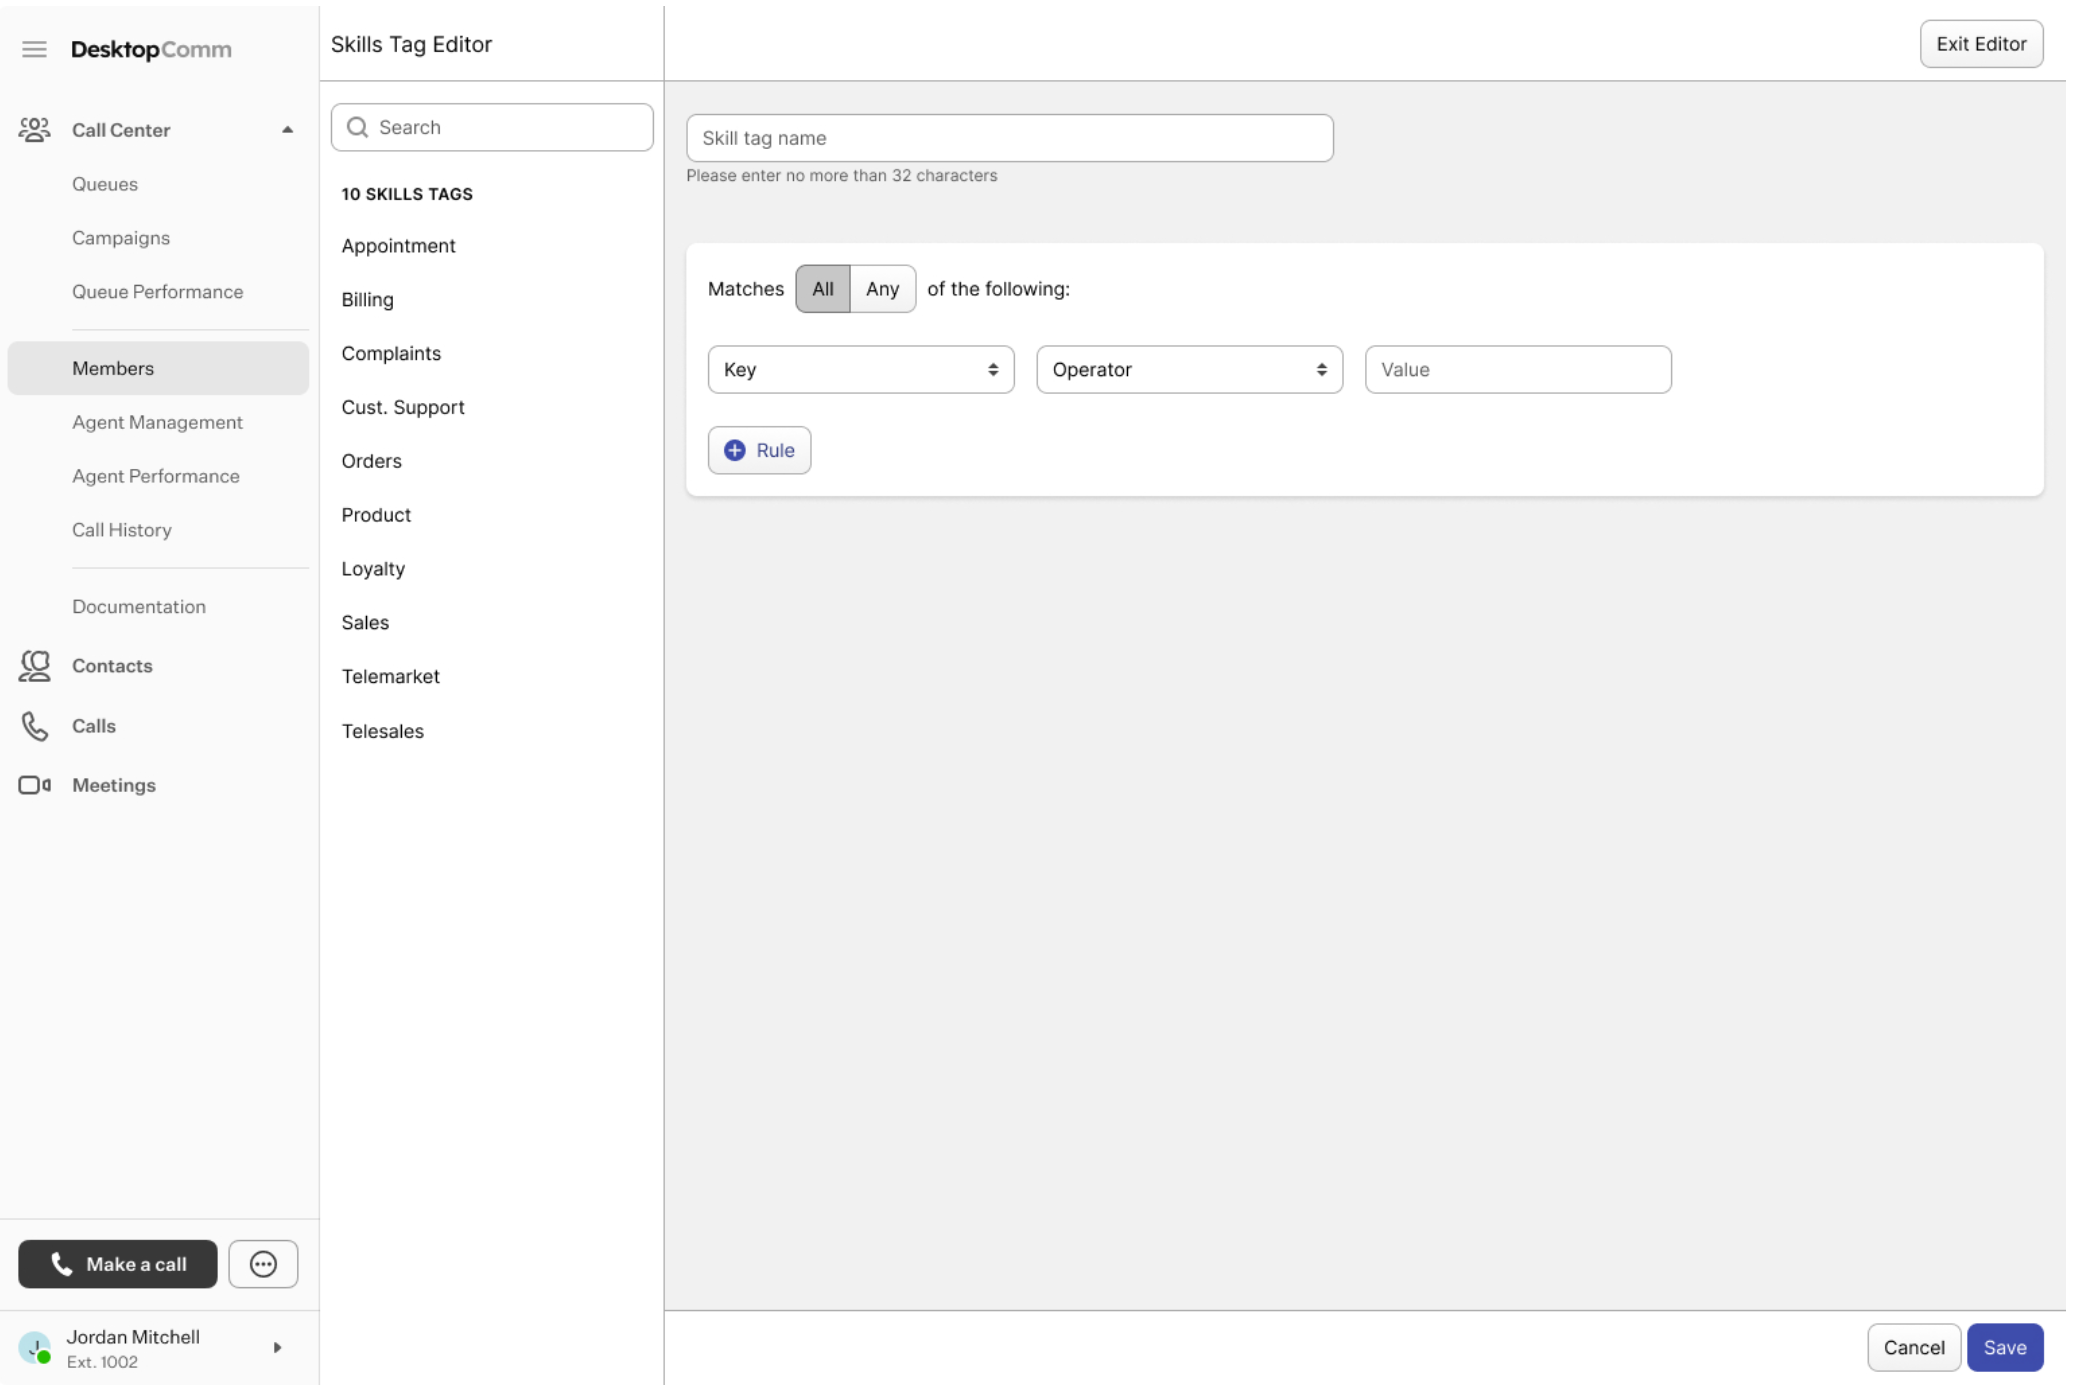
Add Skills: this button opens the Skills Tag Editor, where you can create, edit, or delete skills.
When the Skills Tag Editor opens, you can create a new skill tag by clicking the “New Skills Tag” button. You can also edit an existing skill tag by selecting it from the list of skill tags on the left.
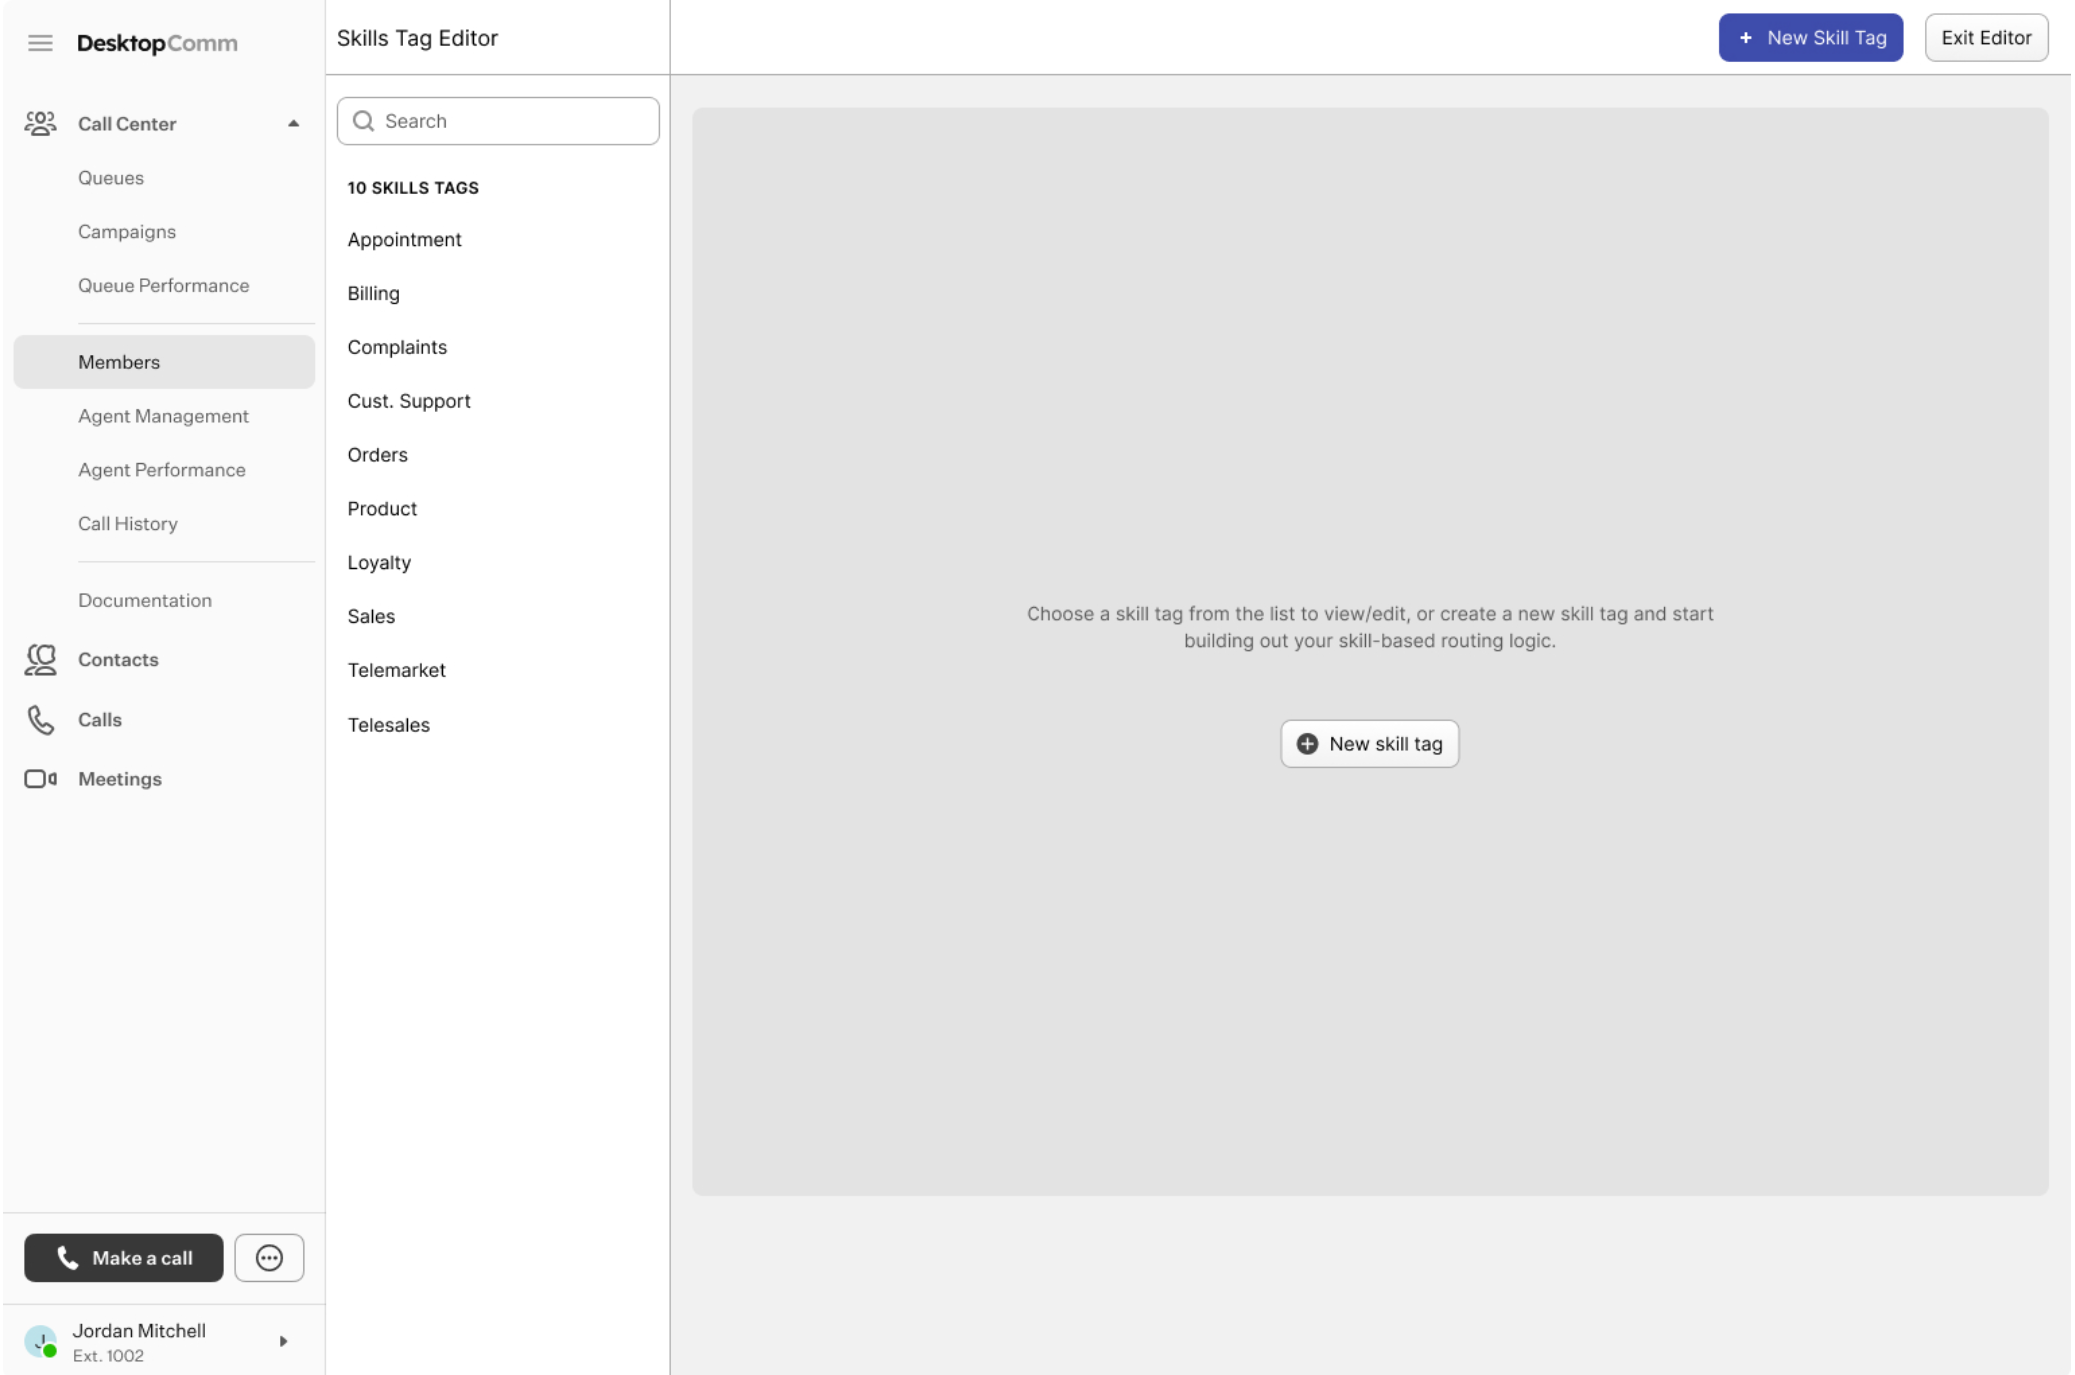
In either case, the editor will display the parameters of the selected or newly created tag, allowing you to modify the following fields:
-
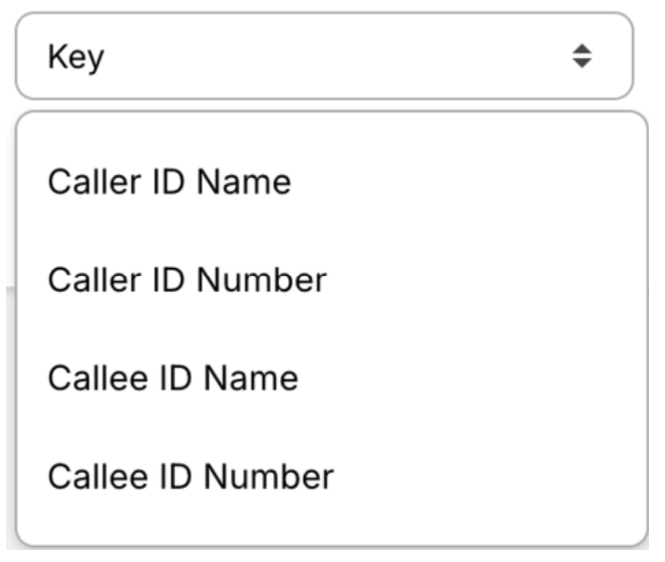
Key: here, you should determine which call field you are using to trigger the skill.
-
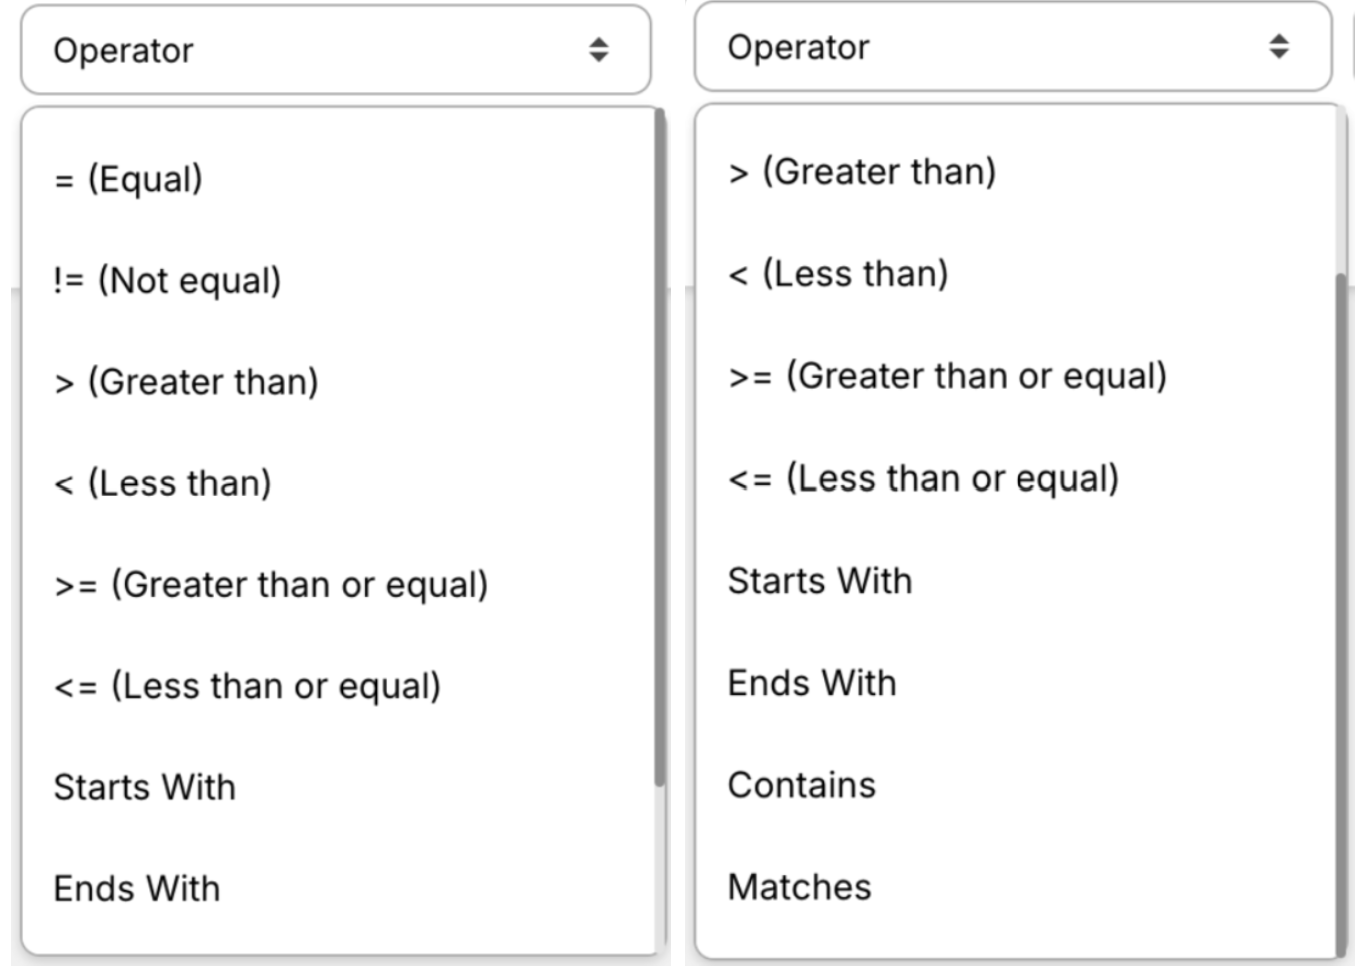
Operator: here, you should define how the value from the call is compared to the value you set.
-
Value: here, you enter the value to compare against.
Click the “Save” button to create or save changes to the tag, or click the “+Rule” button to add an additional rule to the skill tag.
A skill is assigned to an agent based on specific conditions that you define. It works like a filter: when a call comes in, the system evaluates the call’s parameters, such as caller ID, callee number, or name, to determine if the skill applies. This ensures that calls are routed to agents with the appropriate skills to handle them. A single skill tag can include multiple sets of rules, allowing for more complex criteria for when the skill should be applied.