User Portal - Team Chat Feature
When you access the Team Chat feature of the User Portal, you will encounter an interface that resembles the following screenshot.
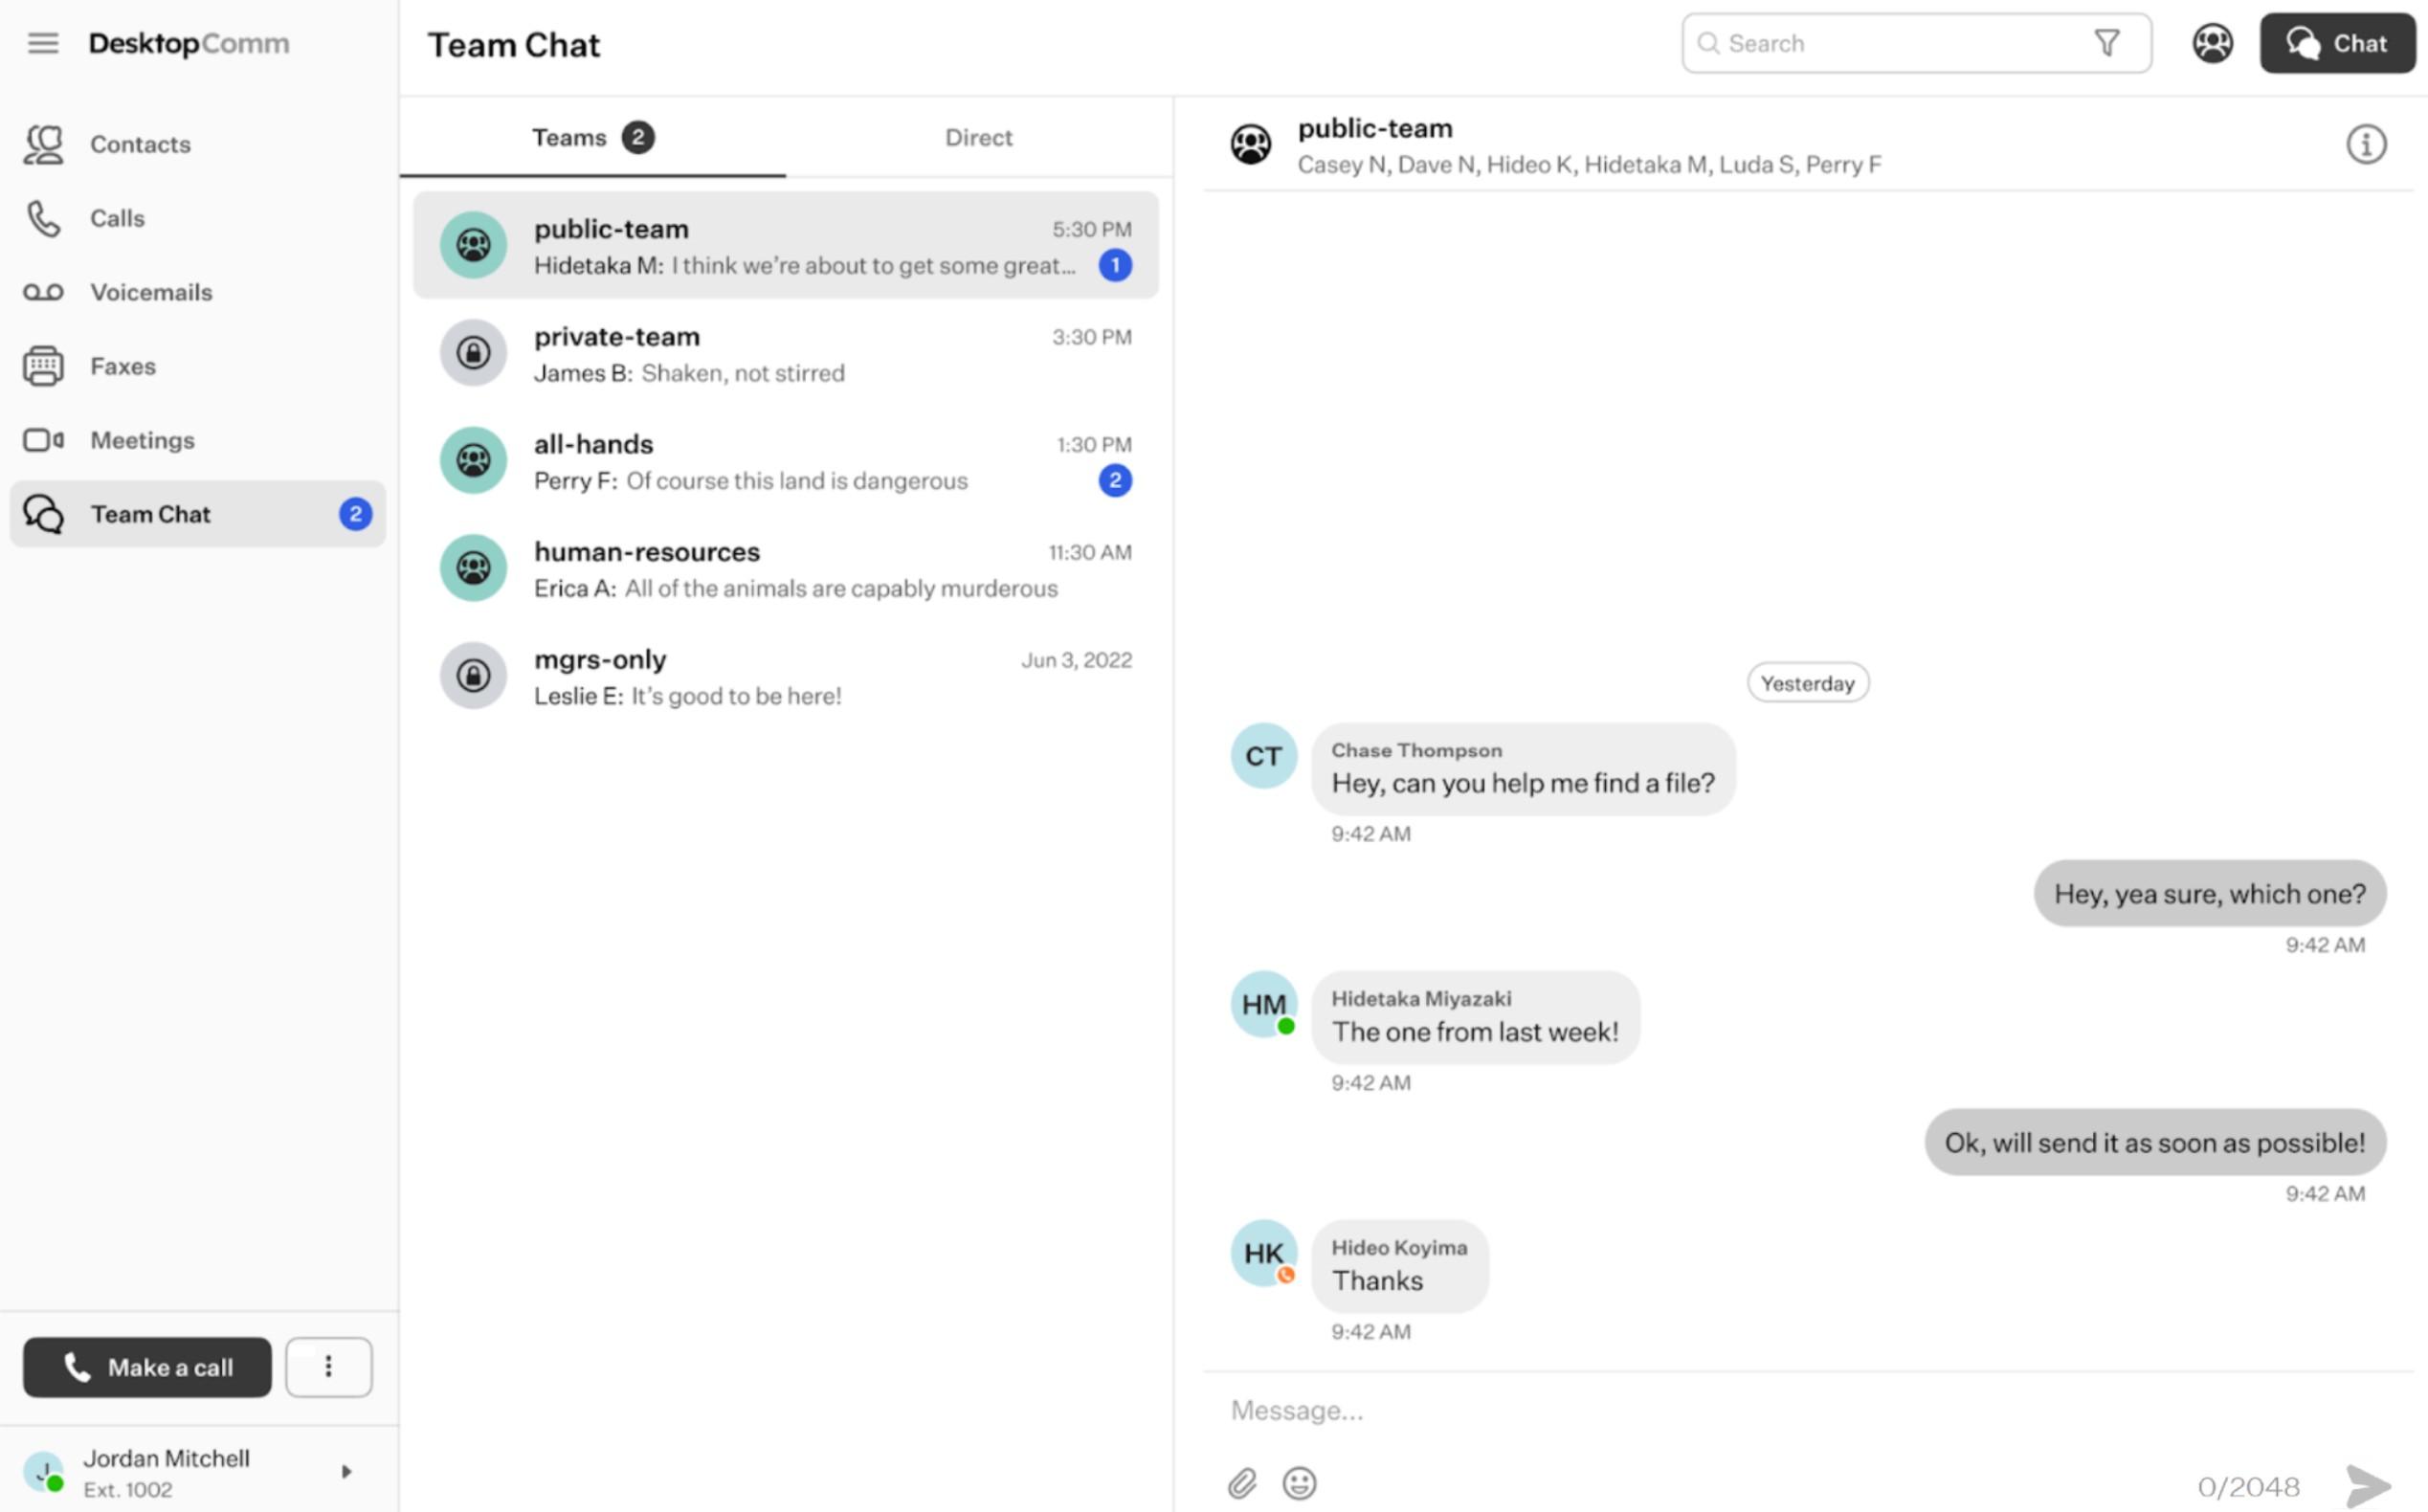
The feature interface is split into two main sections: a chat list, distinguishing between Teams and Direct tabs, and the conversation history of the chosen chat.
The top horizontal panel of the Meetings feature of the User Portal includes three functional elements:

-
Search bar: you can use the search bar to locate a desired chat.
-
“Create Team” button: when you press this button, a pop-up window will appear, guiding you through the process of setting up a new Team. First, you will need to provide a name for the new Team. You also have the option to include an additional description for the Team, although this step is optional.
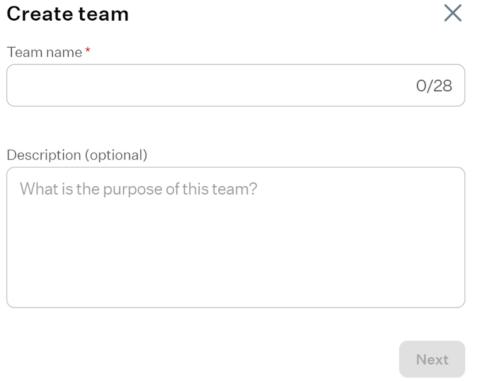
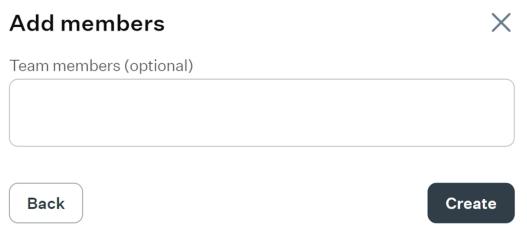
Upon clicking the “Next” button, the pop-up window interface will change, revealing a new field for adding members to the created Team. Once you click “Create” button, the Team will be created.
You will receive a notification from the User Portal once the creation process is finished.

The newly created Team will be listed under the Teams tab in the chat section. Its conversation history will be displayed on the right side of the feature page, functioning like a standard messenger.
-
“Chat” button: when you click this button, a new message form will appear in the Direct tab. Use the “To:” field to select the recipients and the message field to input your message. The interface is similar to the one in the Teams tab described earlier. The chat will be created once you send the first message.
Team Chat Interface
Every Team Chat functions like a standard messenger.
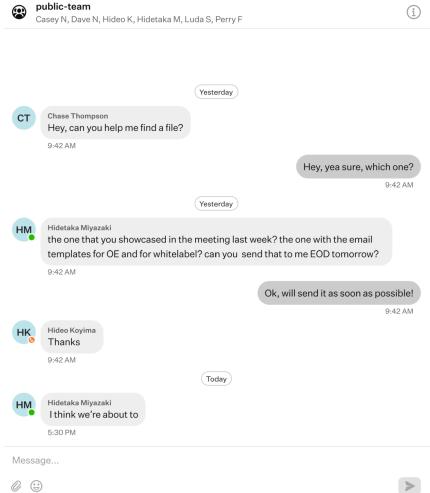
Select a chat from the list, type a message, and press the “Send” button to send it. Use the Paperclip badge to attach files to your messages. You can also send a single attached file without typing a message.
![]()
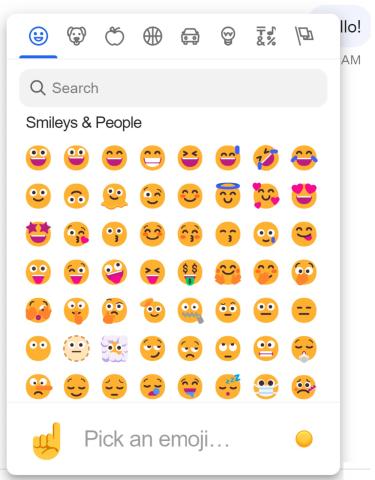
Clicking the Emoji badge will prompt a drop-up menu with various emojis to choose from. Select an emoji by clicking on it to include it in your message.
Above the conversation history, in the Team name line, you will see the Information badge.
![]()
Clicking on this badge opens a window on the right-hand side of the feature page. It displays key information about the selected Team, including its name, about info, members list, and several action buttons:
-
“Edit team details” button: clicking it grants you access to the first page of parameters you have set during the creation of the Team. Here, you can modify the Team’s name and its optional description.
-
“Archive team” button: by clicking this button, a pop-up window will appear, asking you to confirm that you want to archive the selected Team.
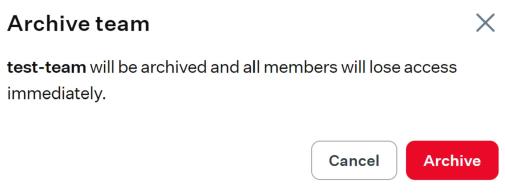
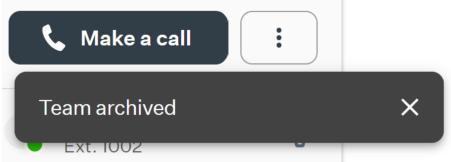
You will receive a notification from the User Portal once the archivation process is finished.
-
“Manage team members” button: clicking it grants you access to the second page of parameters you have set during the creation of the Team. Here, you can add or delete members assigned to the Team.