DesktopComm App - Call Park Feature
When you access the Call Park feature of the DesktopComm App, you will encounter an interface that resembles the following screenshot.
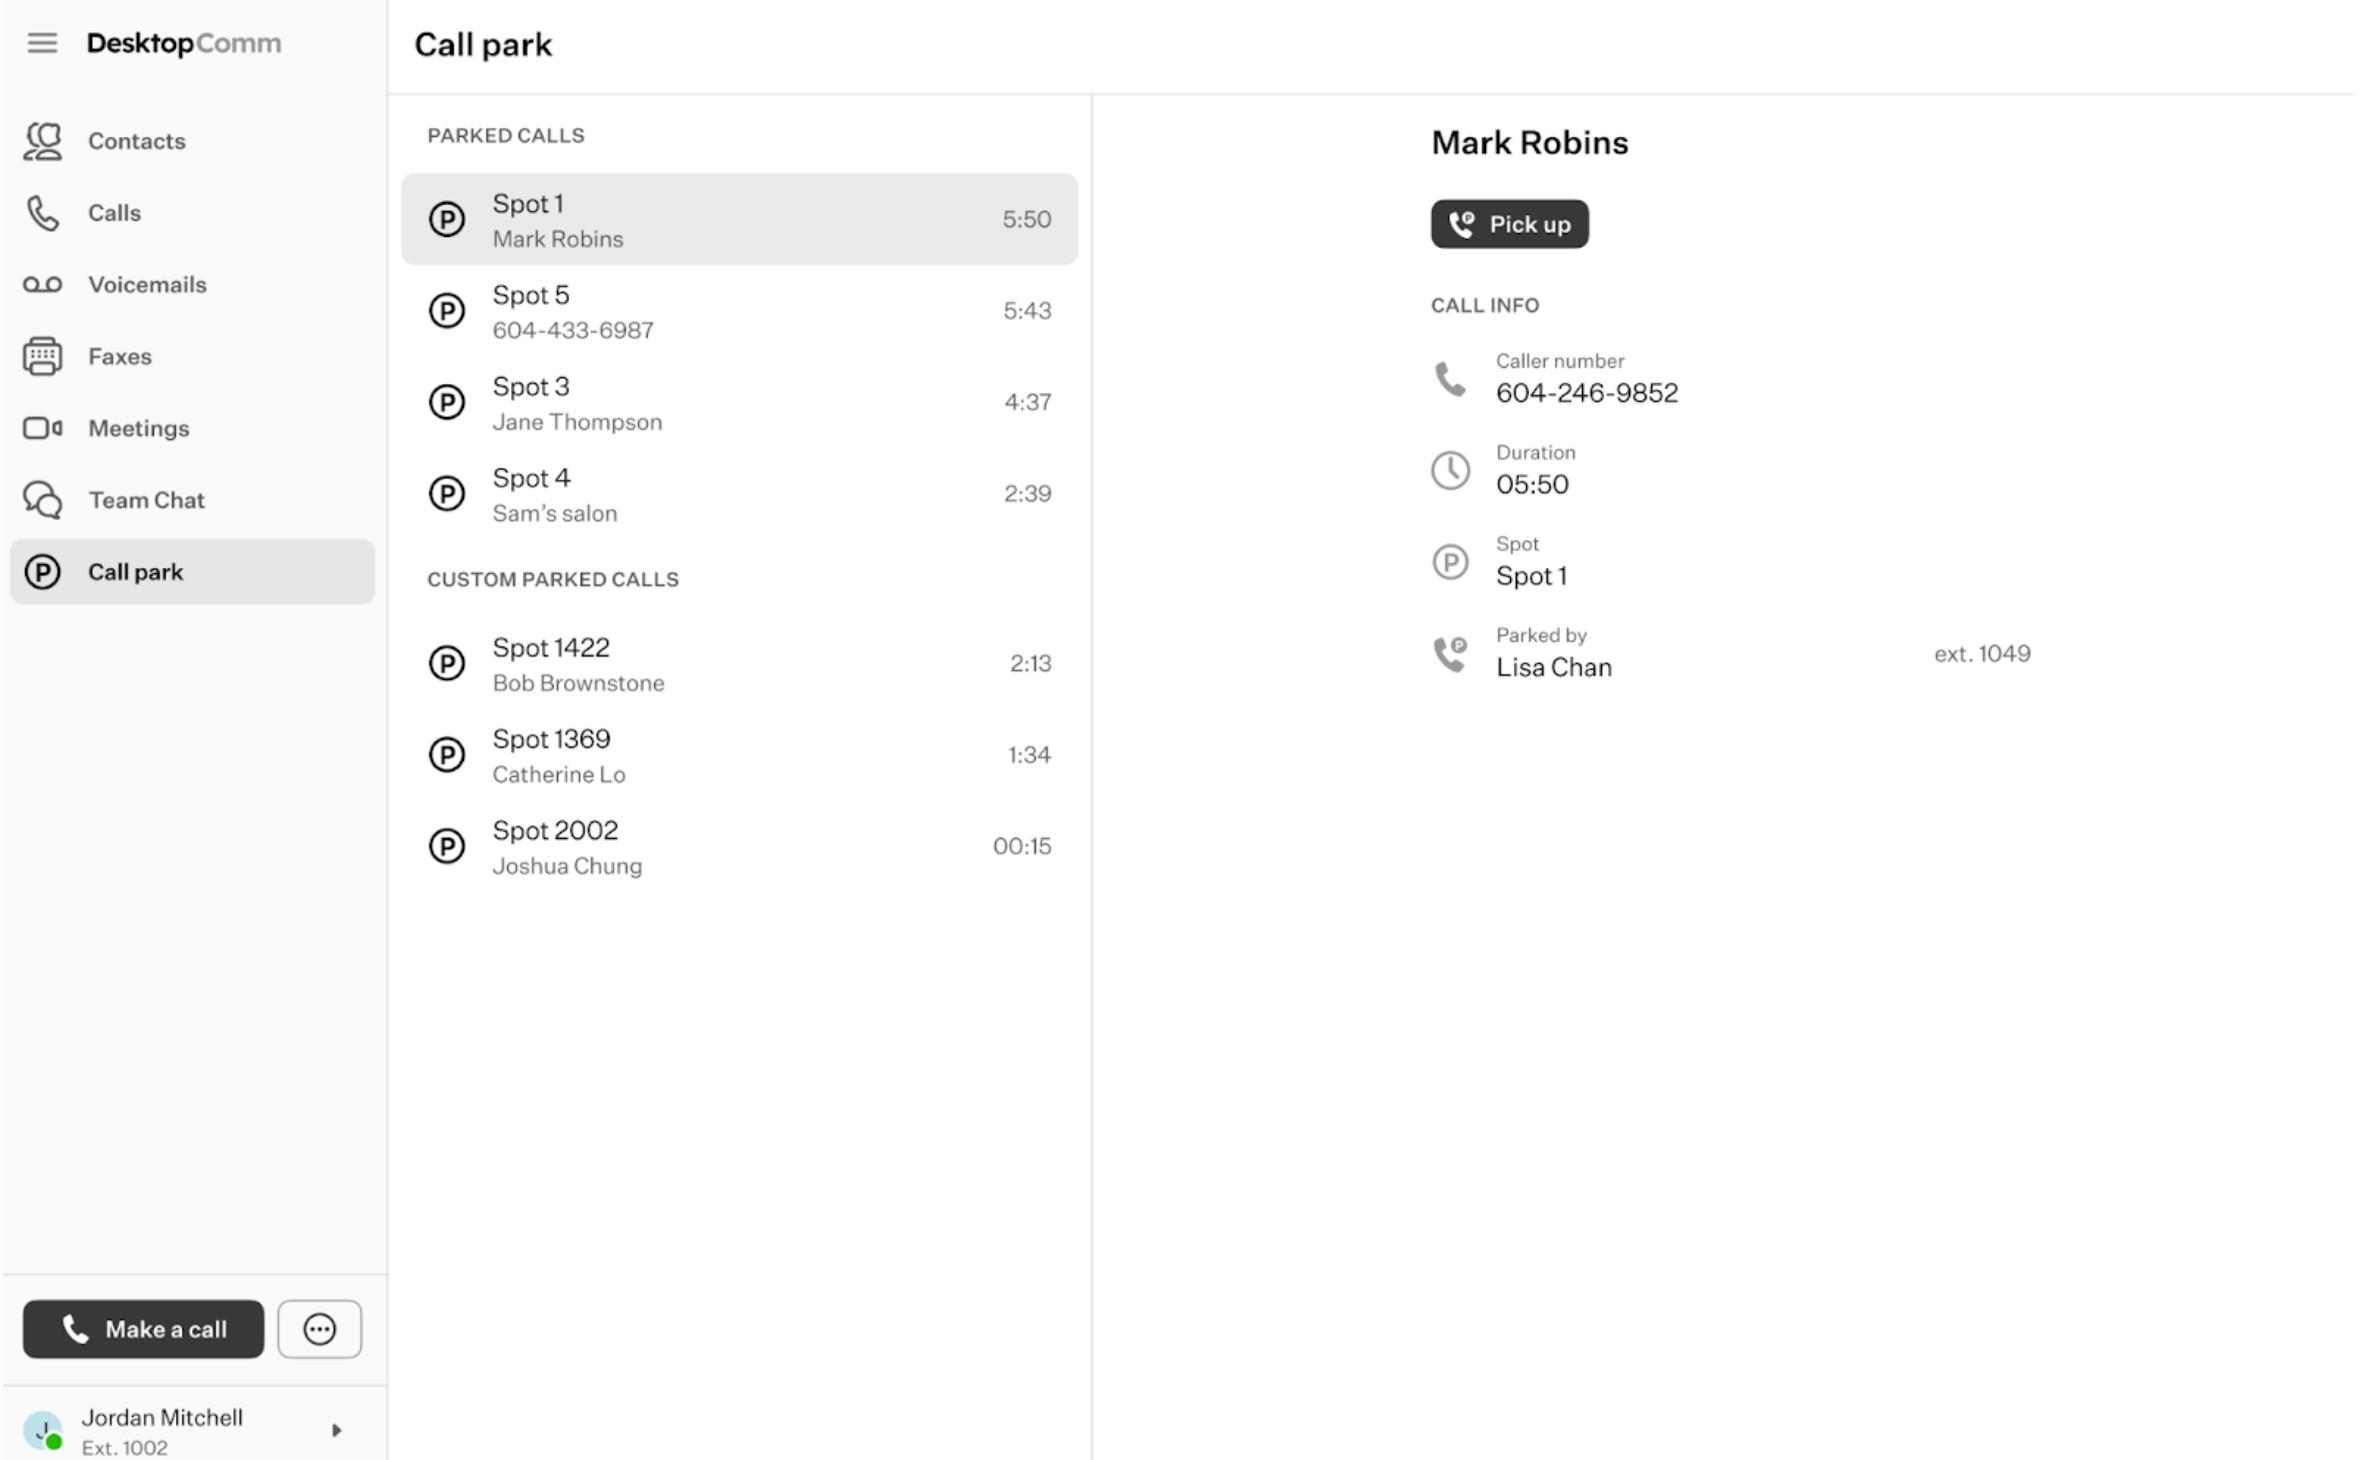
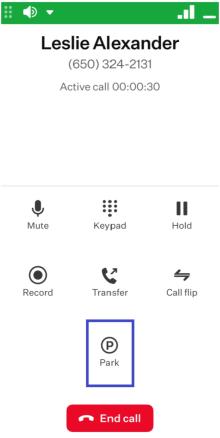
If there are no calls currently parked, the list of parked calls on this page will be empty. When you receive a call and wish to park it, simply press the “Park Call” button located at the bottom of the phone-like interface in the “Make a Call” feature while the call is active.
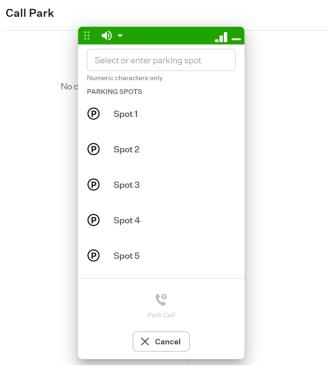
The interface of this window will be updated, presenting you with the “Select or enter parking spot” field along with a list of five Parking Spots for quick access.
You have the option to choose one of the available parking spots from the provided list or manually input the number of the desired parking spot into the top field.
Using one- to four-digit numbers is recommended to facilitate easy retrieval of the call by the other party.
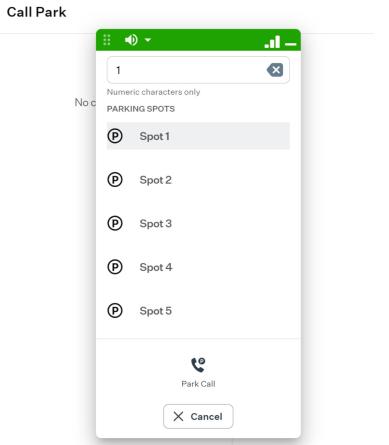
After selecting a parking spot, click the “Park Call” button again. Then, the call will be ended in the DesktopComm App, and you will receive an in-app notification confirming that the call has been parked in the chosen parking spot.

A corresponding badge indicating that you have a call parked will appear next to the Call Park feature name in the left-hand panel of the DesktopComm App.
![]()
To retrieve a parked call, access the Call Park feature from the left-hand panel of the DesktopComm App. Once on the feature page, you will find the list of parked calls.
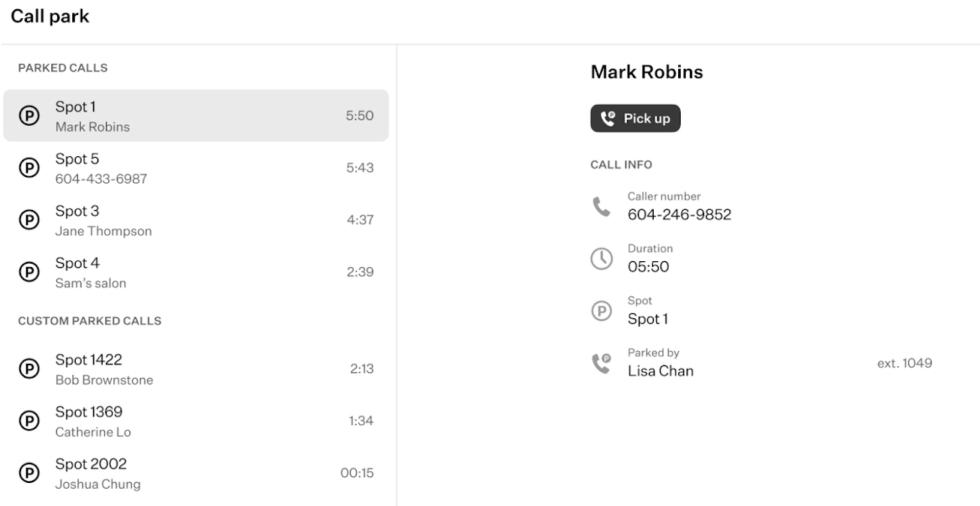
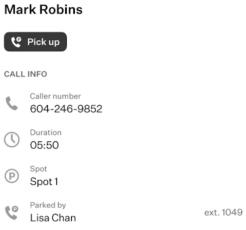
Select the parked call from the list to view its details on the right-hand side of the page. To retrieve the call, click the “Pick Up” button located in the same section on the right-hand side of the page.
Once the call is retrieved, the badge indicating that a call is parked, located next to the Call Park feature name in the left-hand panel of the app, will disappear.
