User Portal - Faxes Feature
When you access the Faxes feature of the User Portal, you will encounter an interface that resembles the following screenshot.
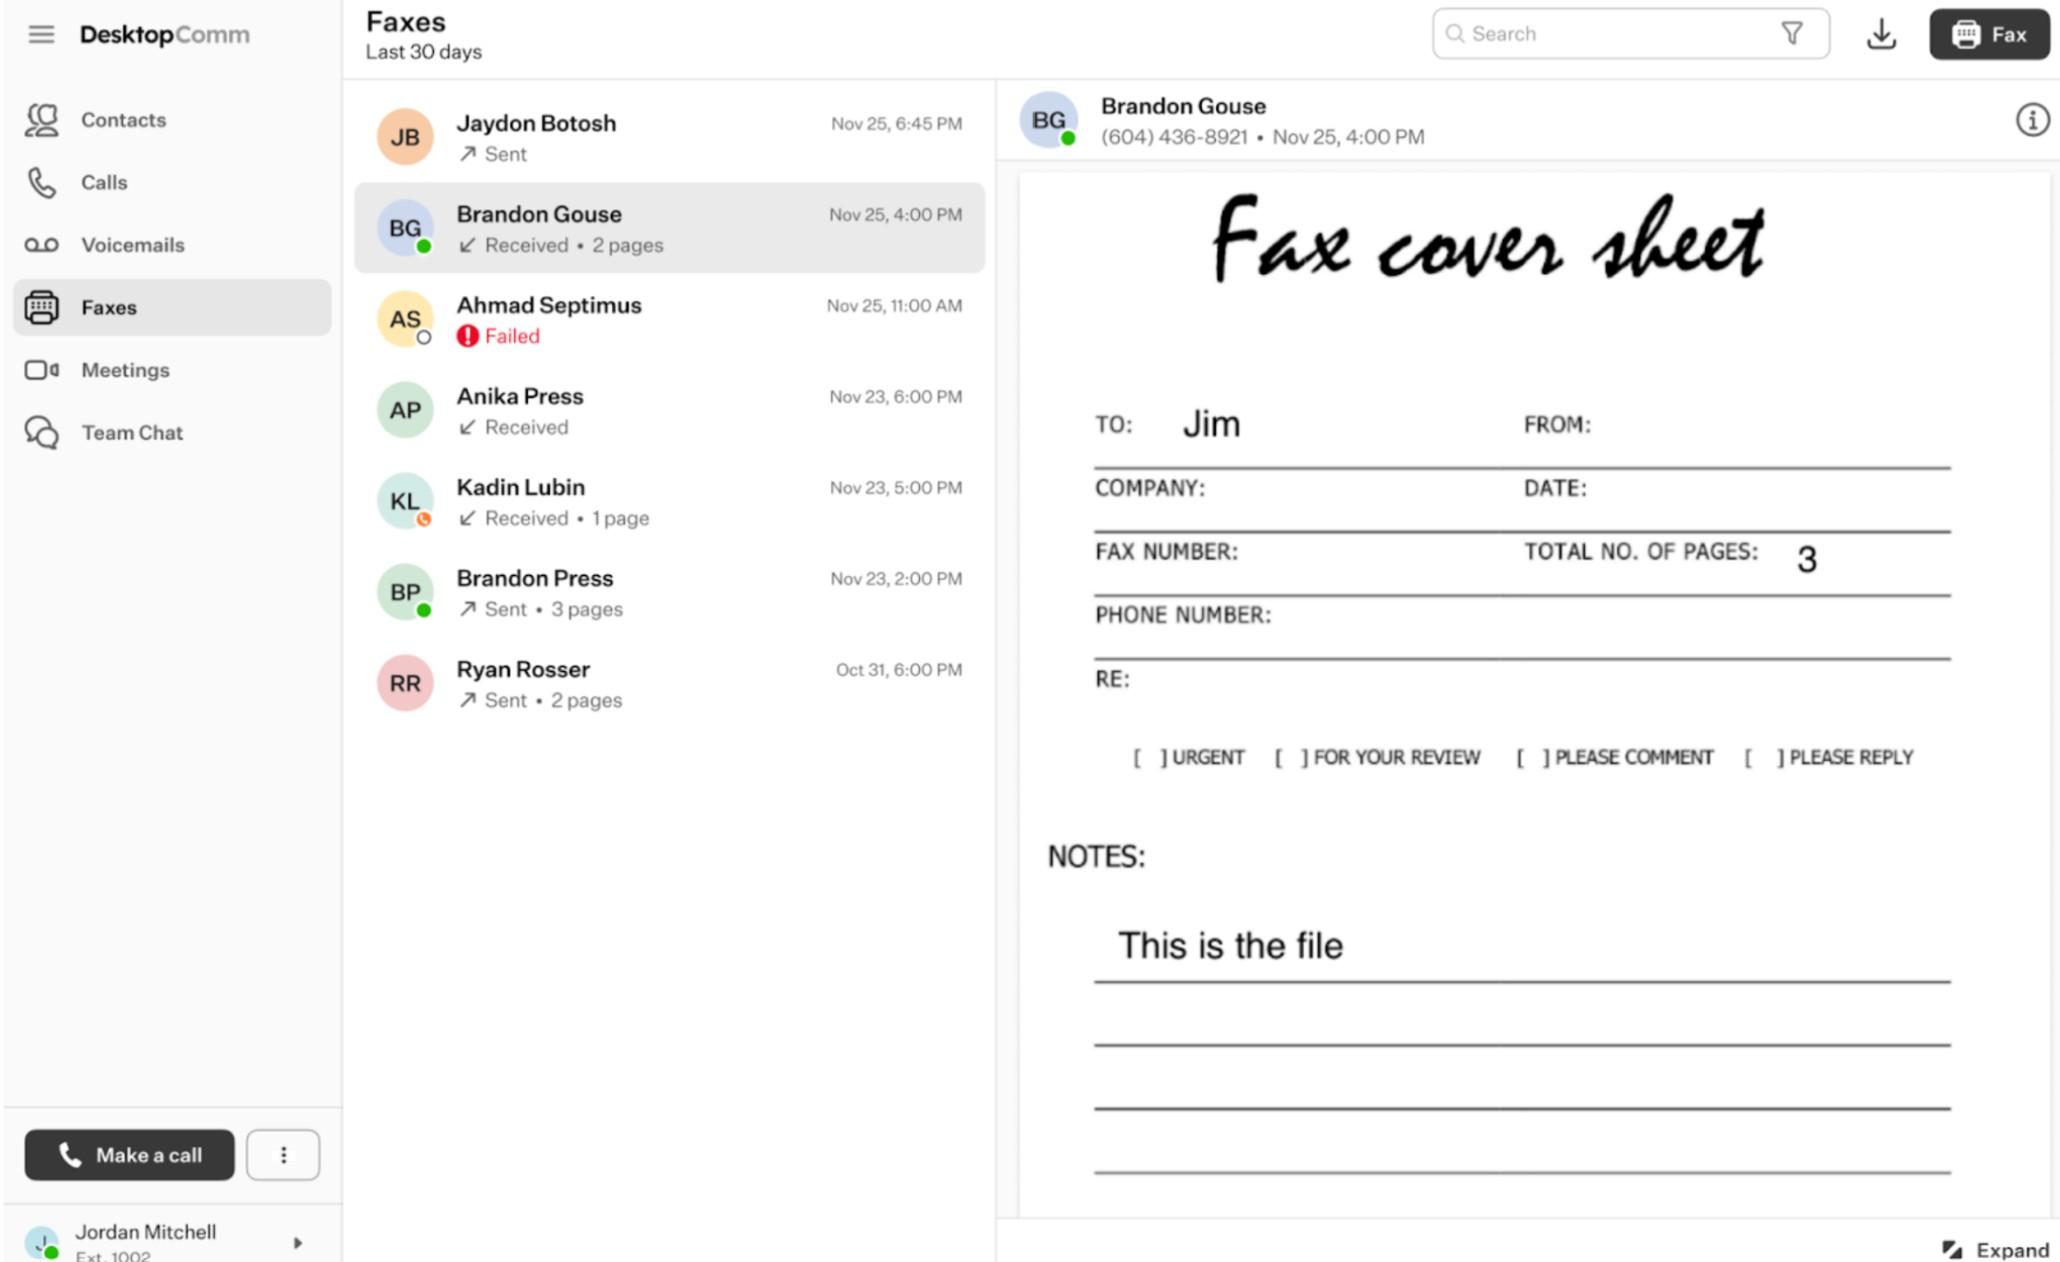
The feature’s interface within the main space of the app comprises two sections: the list of faxes and the preview window. The preview window displays the sender information and a preview of the selected fax file. Clicking on the sender’s name will bring up a pop-up contact card.
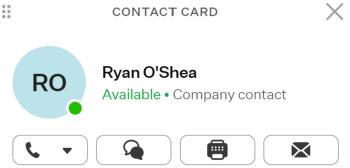
The contact card includes not only the contact information but also four action buttons:
- “Call” button: when you click this button, a dropdown list of all numbers associated with the selected contact will appear. Upon selecting any of them, that number will be dialed.
- “Team Chat” button: clicking this button redirects you to the Team Chat feature tab, where a new chat with the selected contact will be automatically created.
- “Fax” button: when you press this button, the Faxes feature tab will be opened and the process of creating a new fax message will be initiated.
- “Email” button: pressing this button will open your device’s default email client and start composing a new email. This button is visible if the selected contact has an email address in their contact card.
The top horizontal panel of the Faxes feature of the User Portal includes three functional elements:

-
Search bar: you can use the search bar to locate a fax in the list of faxes.
-
“Download” button: clicking this button will download the selected fax.
-
“Fax” button: clicking this button will initiate the process of creating a new fax.
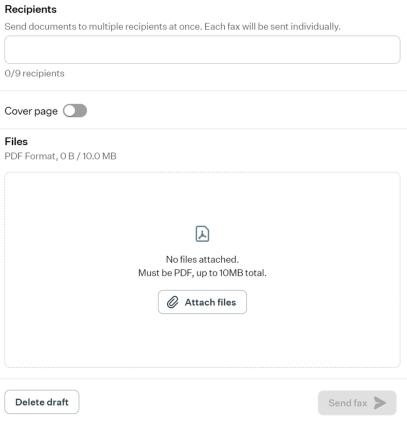
The New Fax form will open, containing three fields that need to be completed before sending the fax:
-
Recipients: within this field, you can list up to 9 recipients of this fax.
-
Cover Page: enabling this toggle switch adds an additional page before the main fax file, which serves as a cover page.
You can configure this cover page by clicking the “Edit” button and filling out the fields in the pop-up form that appears above the main space of the app.
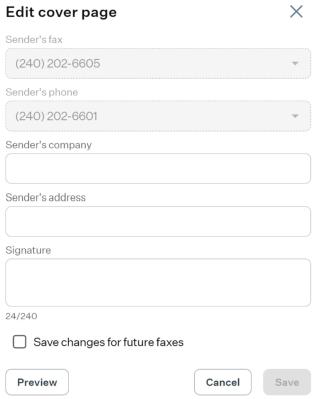
To preview the cover page with the entered information, press the “Preview” button, which is available both in the Cover Page pop-up form and in the New Fax form.
-
Files: here, you will find a list of files that will be sent with the configured fax. To add a file, click the “Attach files” button. Clicking this button will open a file explorer, prompting you to select the location on your PC where the desired file you want to send as a fax is stored.
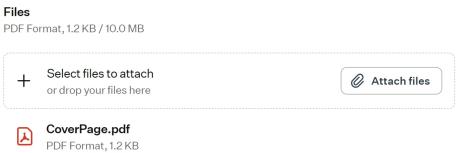
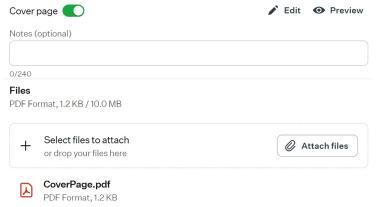
If you added a Cover Page, it will be included in the file list, and the entire interface of this section containing more than one file will resemble the one depicted in the image below.
-