DesktopComm App - Meetings Feature
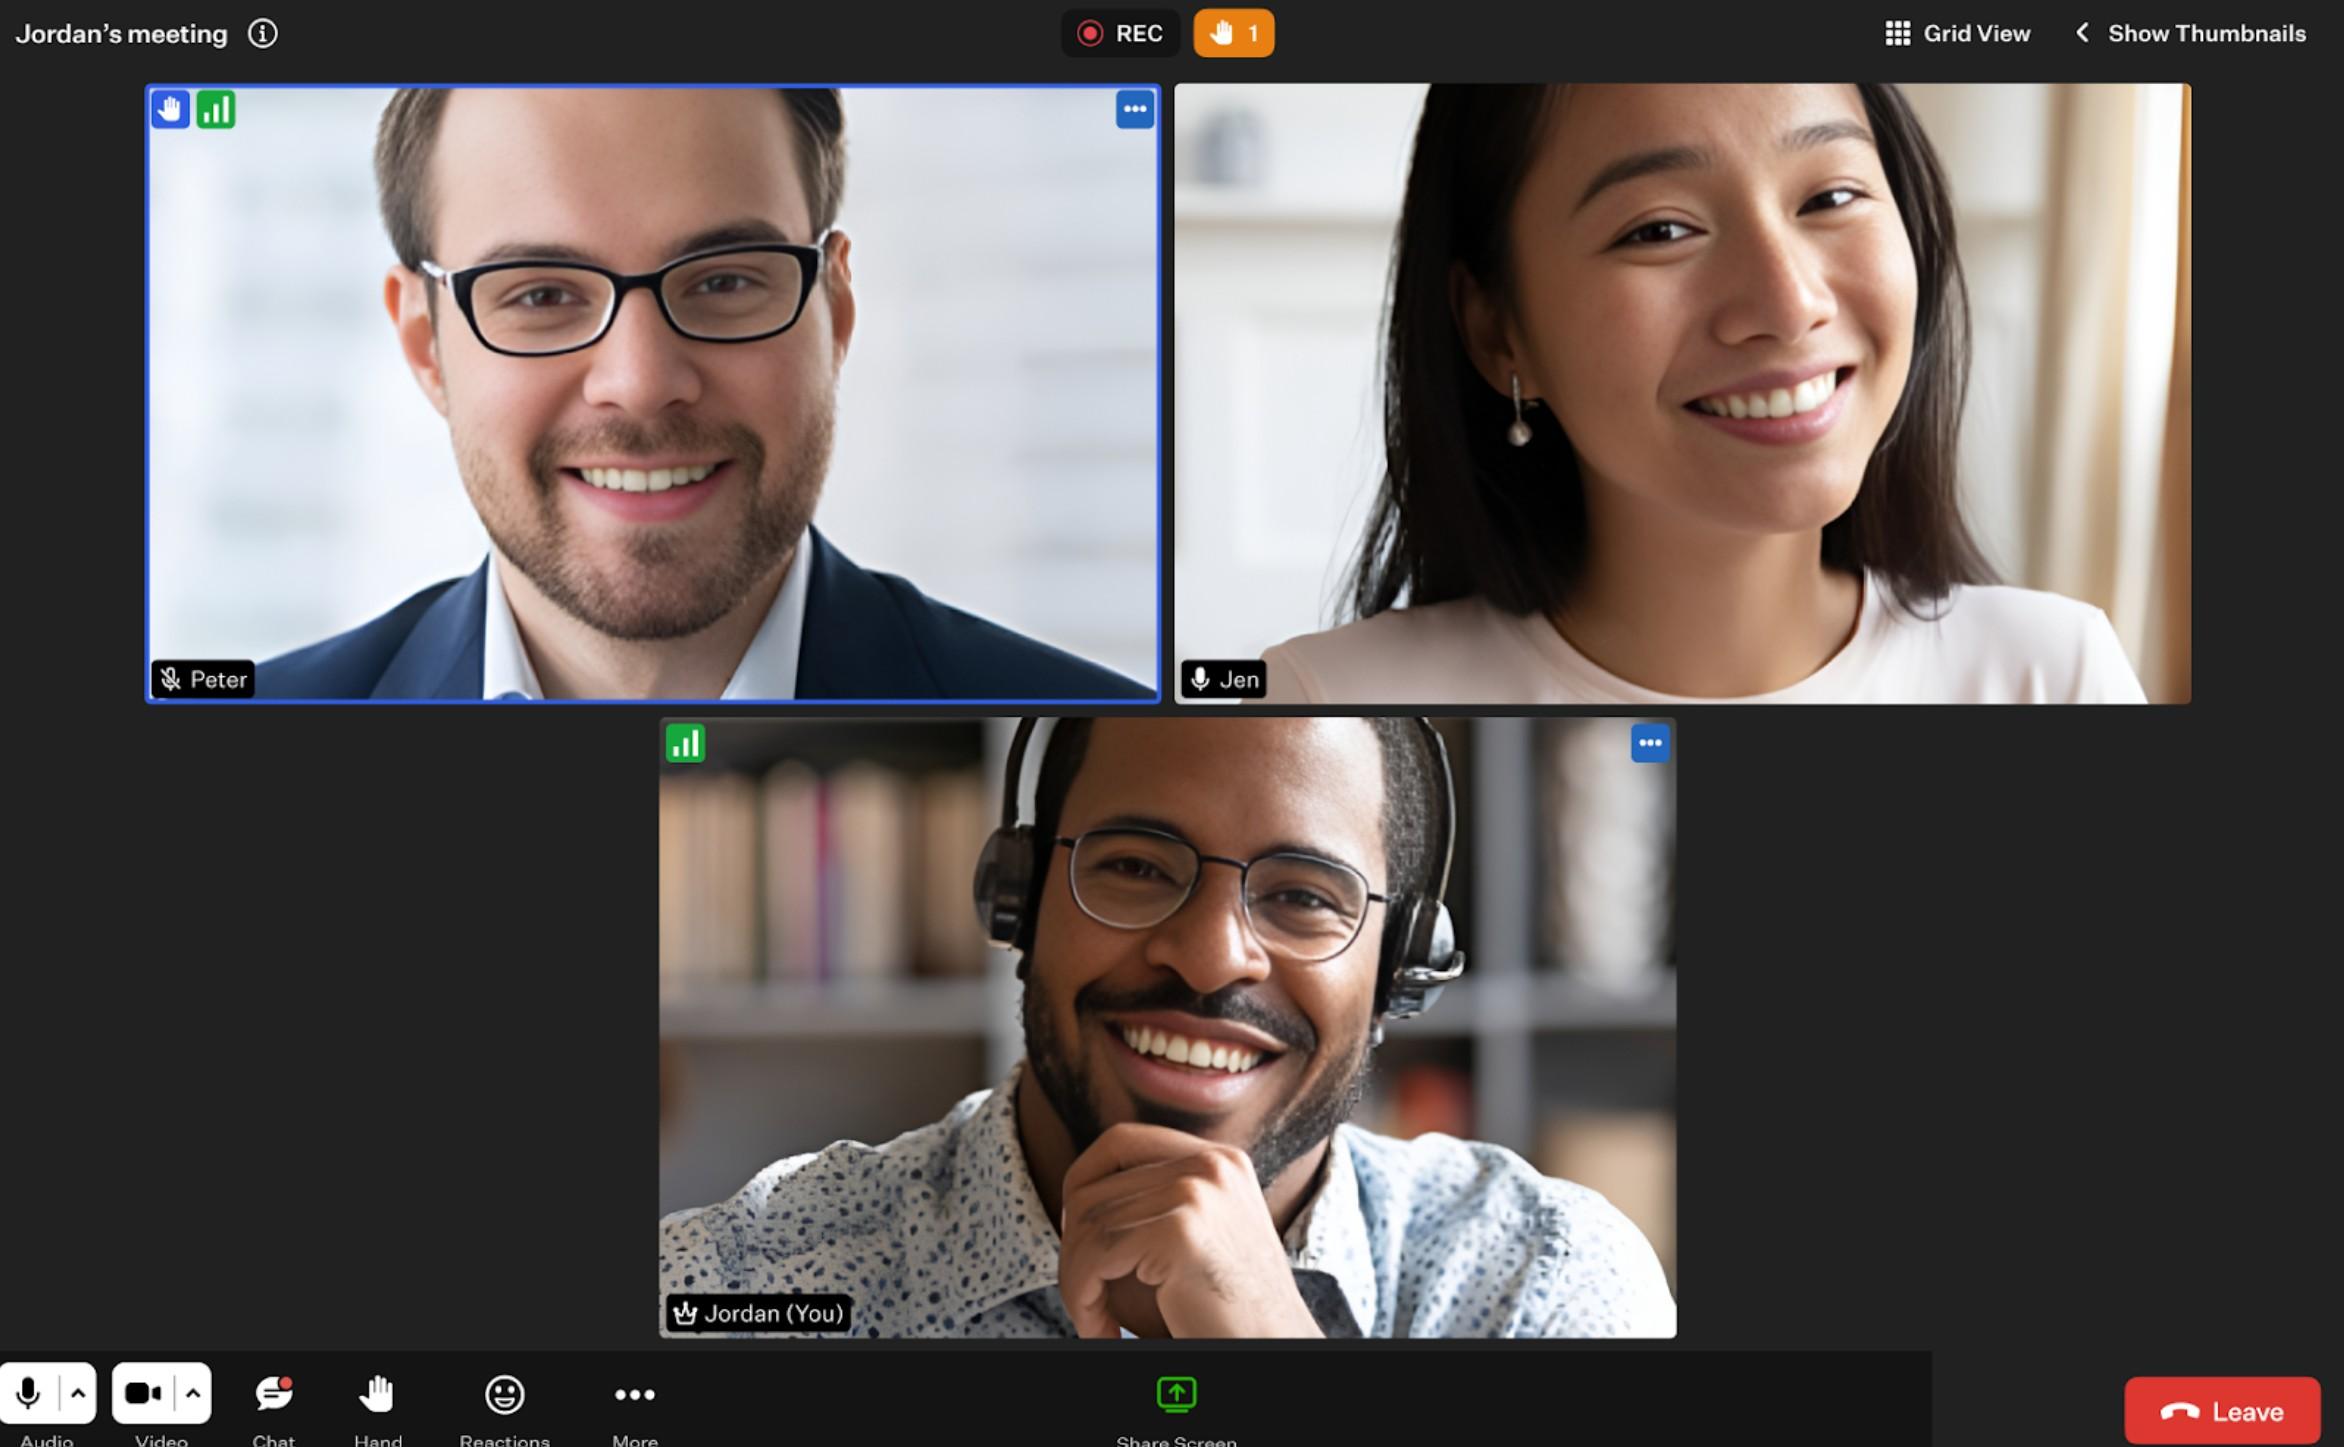
When you access the Meetings feature of the DesktopComm App, you will encounter an interface that resembles the following screenshot.
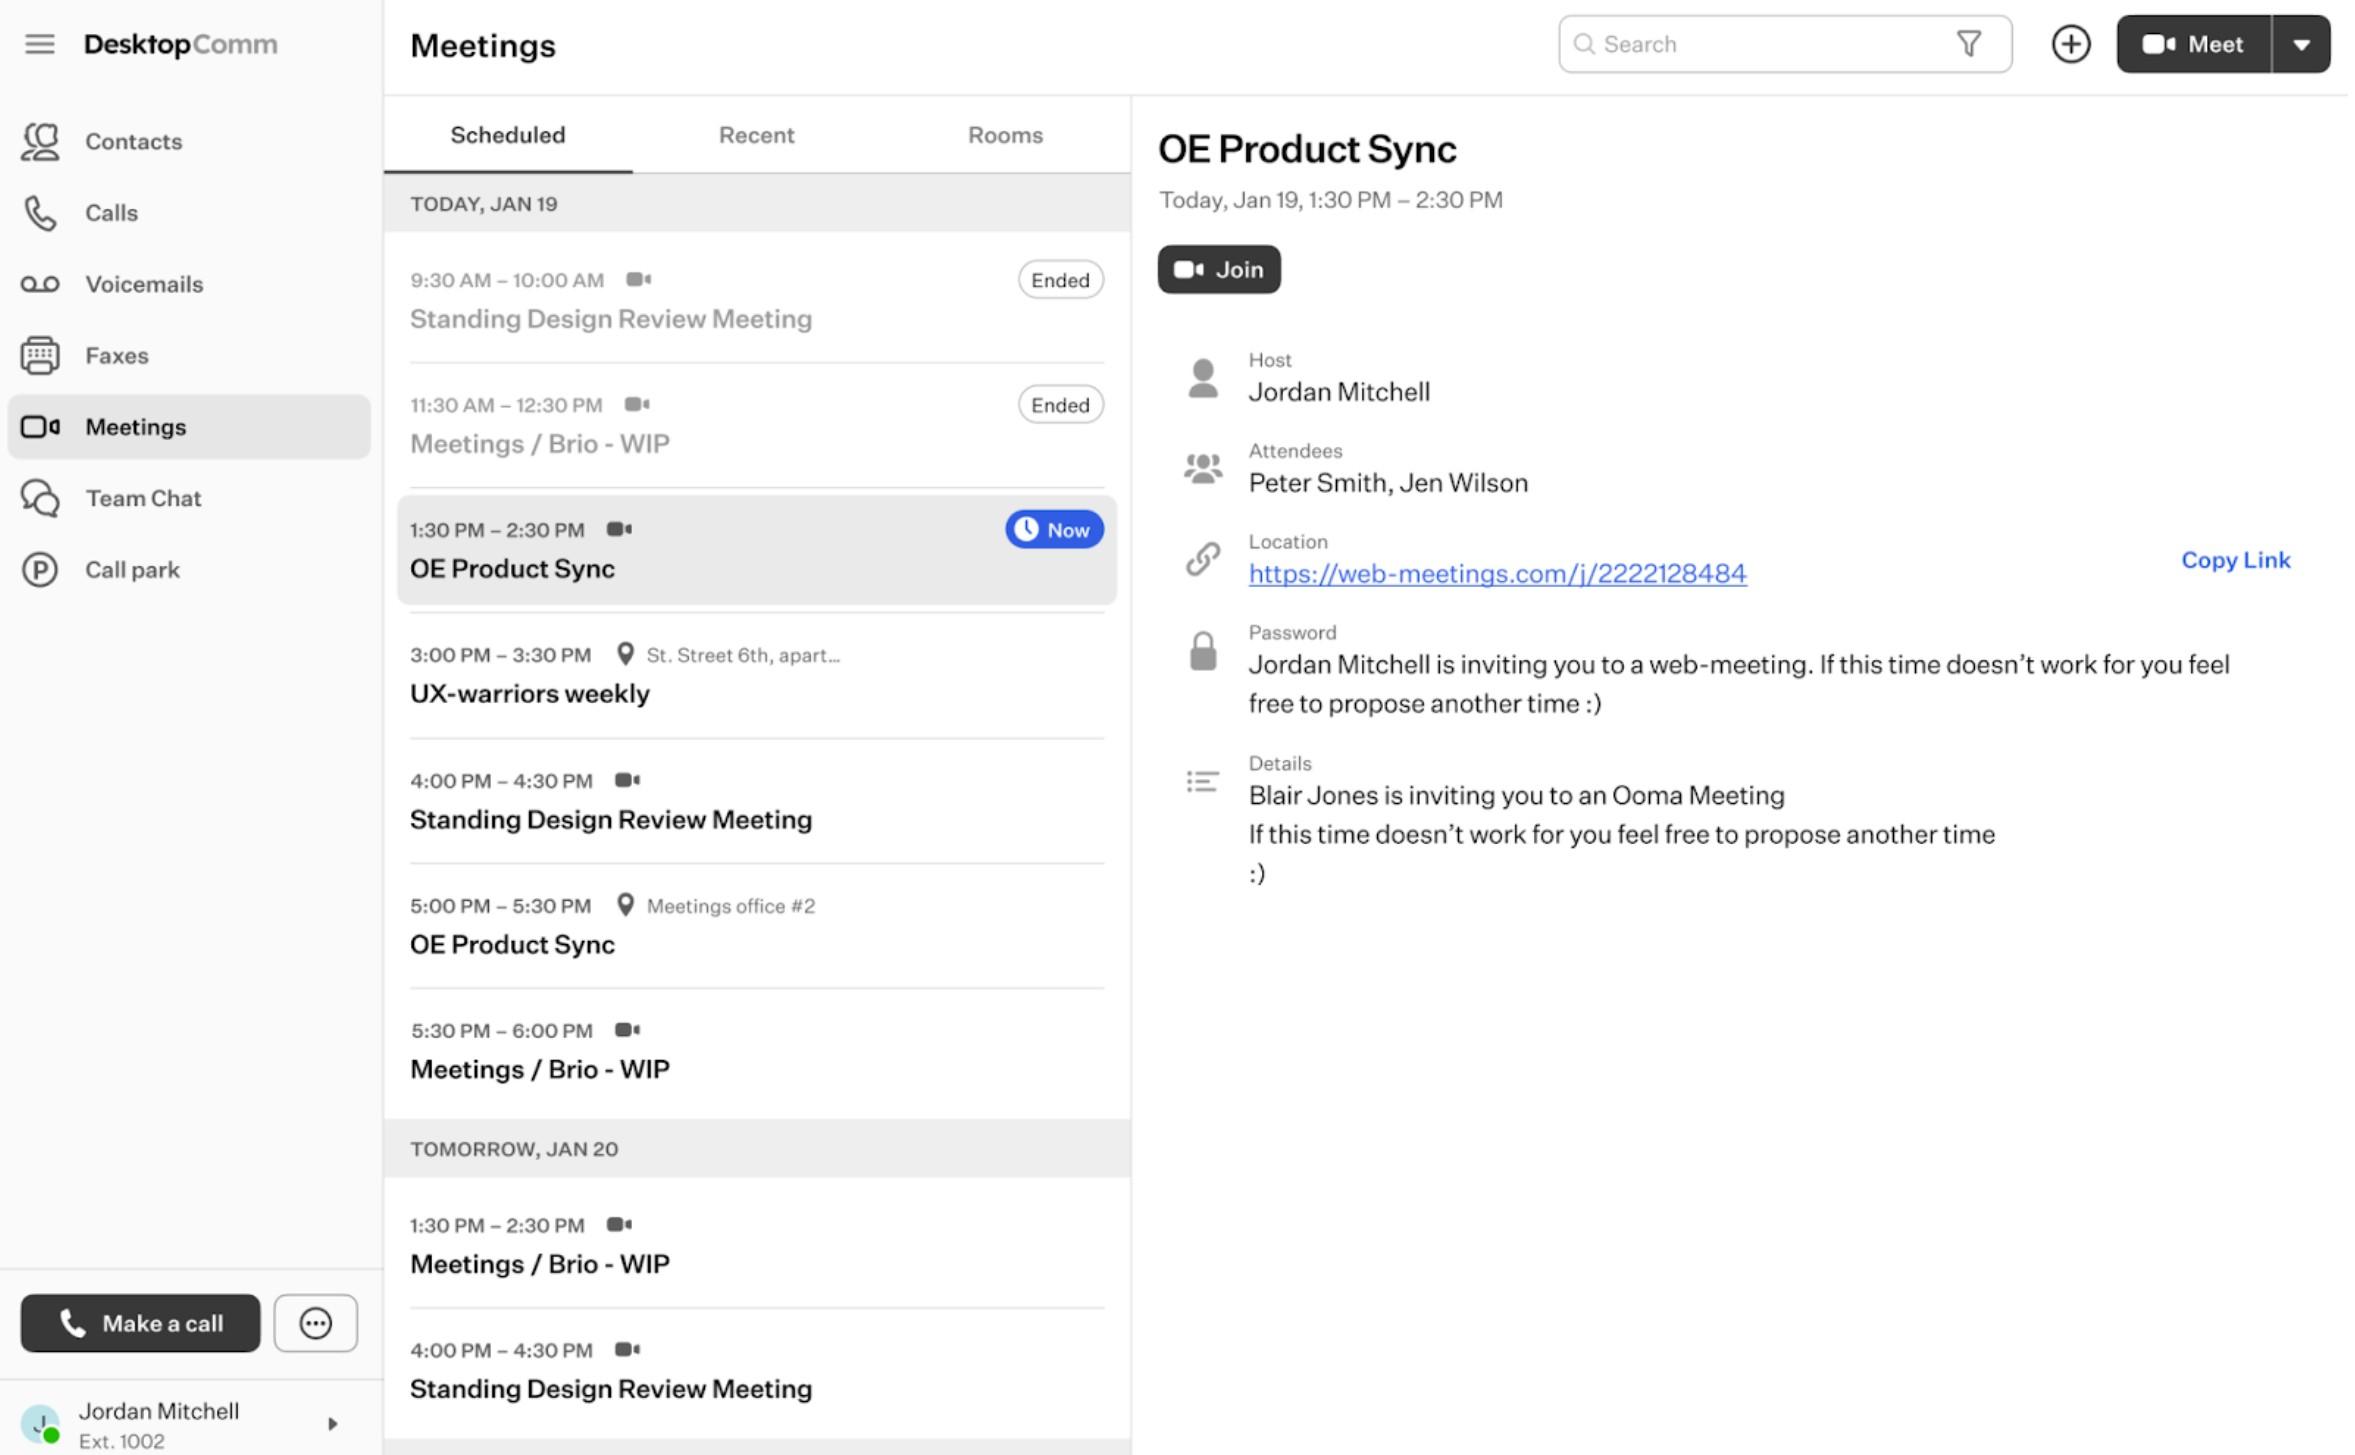
The feature’s interface within the main space of the app comprises two sections: the list of Meetings divided into Meeting Tabs and the preview window. The preview window displays the information about the selected meeting.
There are three Meeting Tabs:

-
“Scheduled” Tab: within this tab you will find a list of scheduled meetings. Initially, this list is empty. Once you have at least one scheduled meeting, the interface of this tab will resemble this.
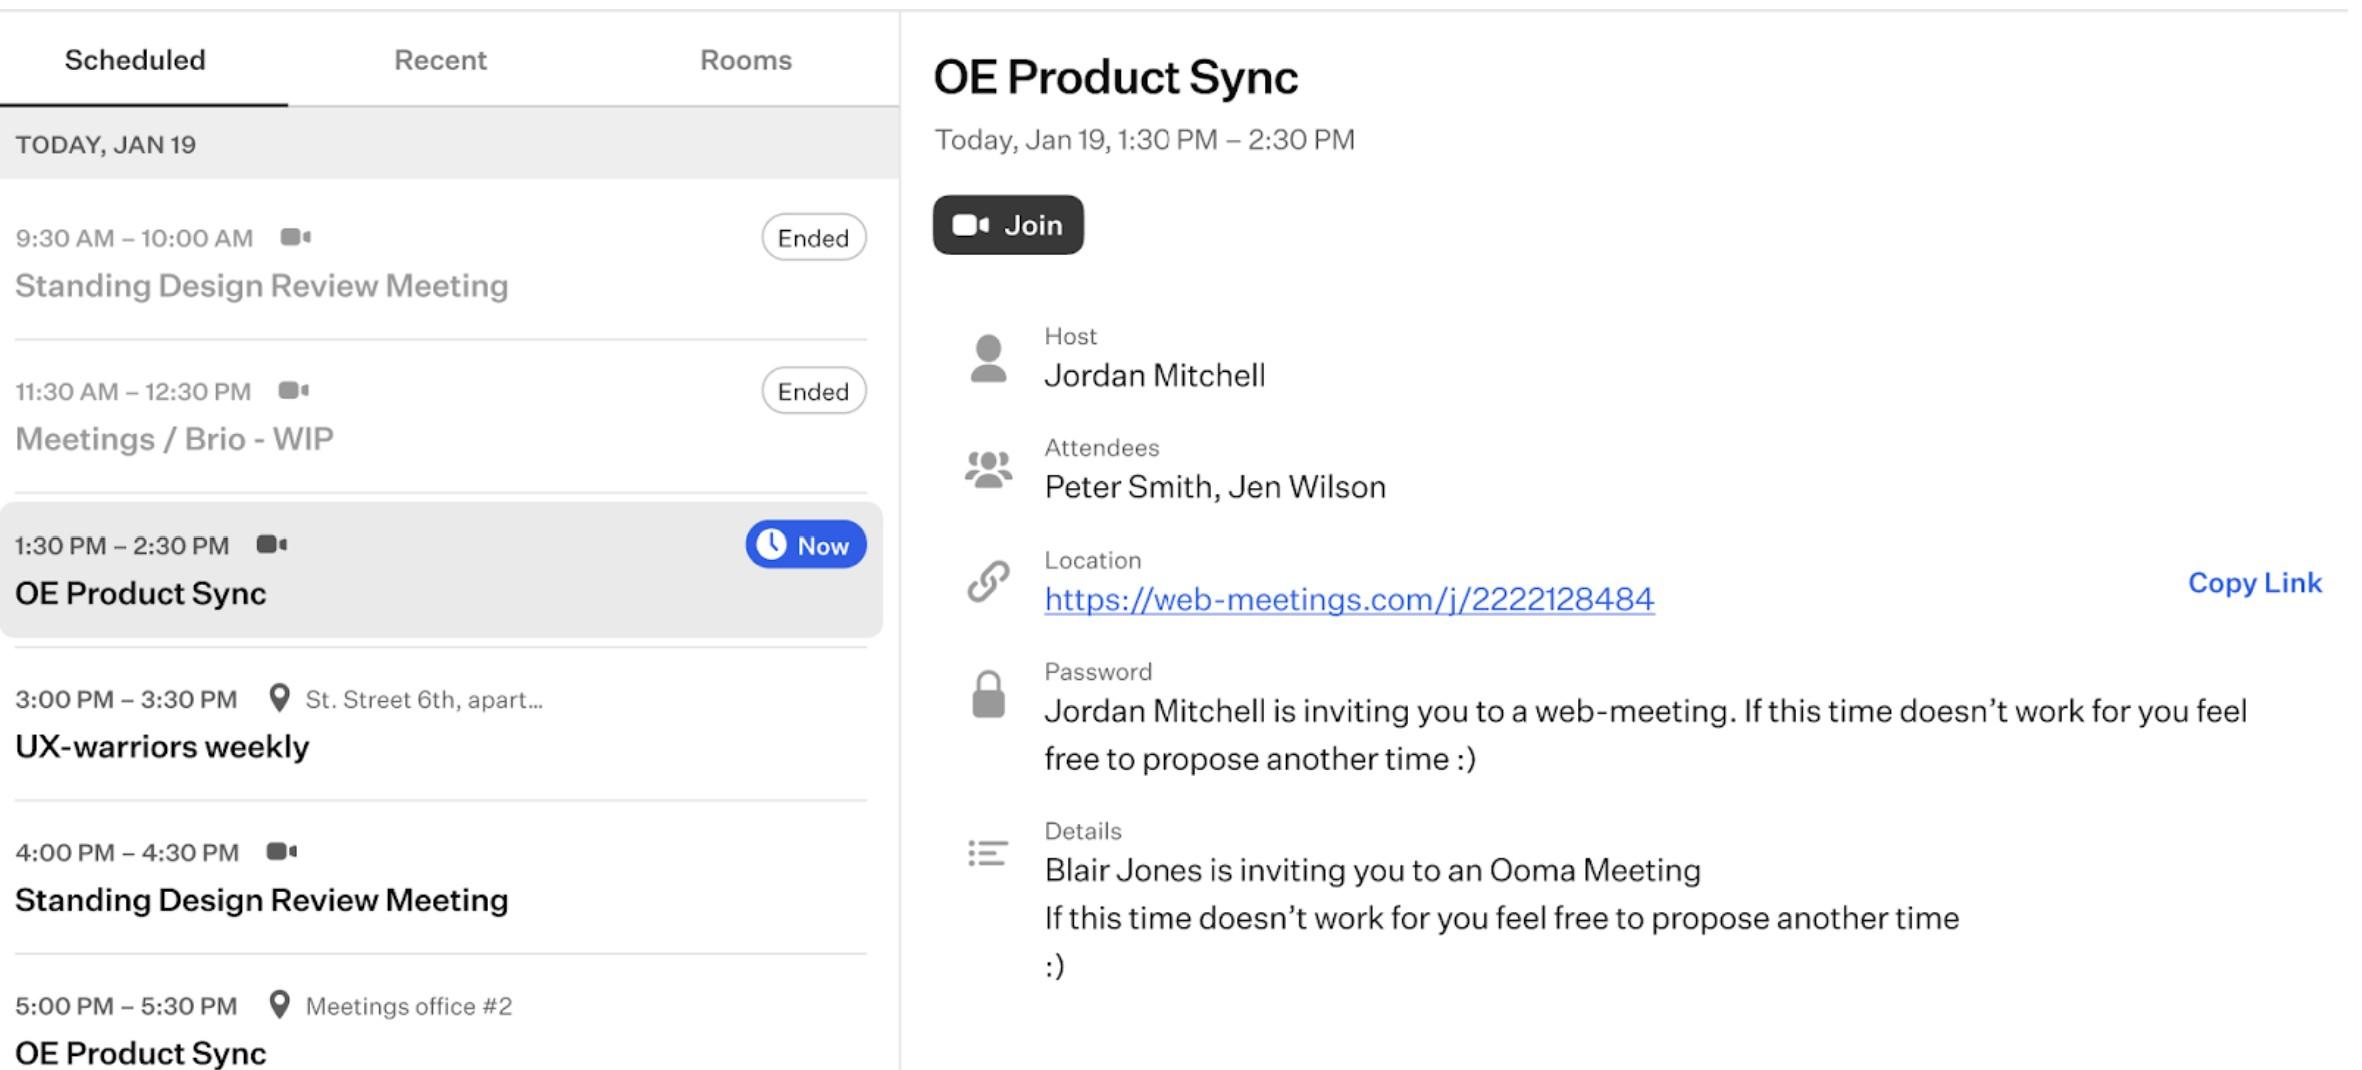
When you select one of the meetings from the list, the preview window will showcase its information. In this section, there’s only one action button:
- “Join” button: once you click this button, you will enter the selected meeting.
-
“Recent” Tab: in this tab, you will discover a list of meetings you have recently participated in.
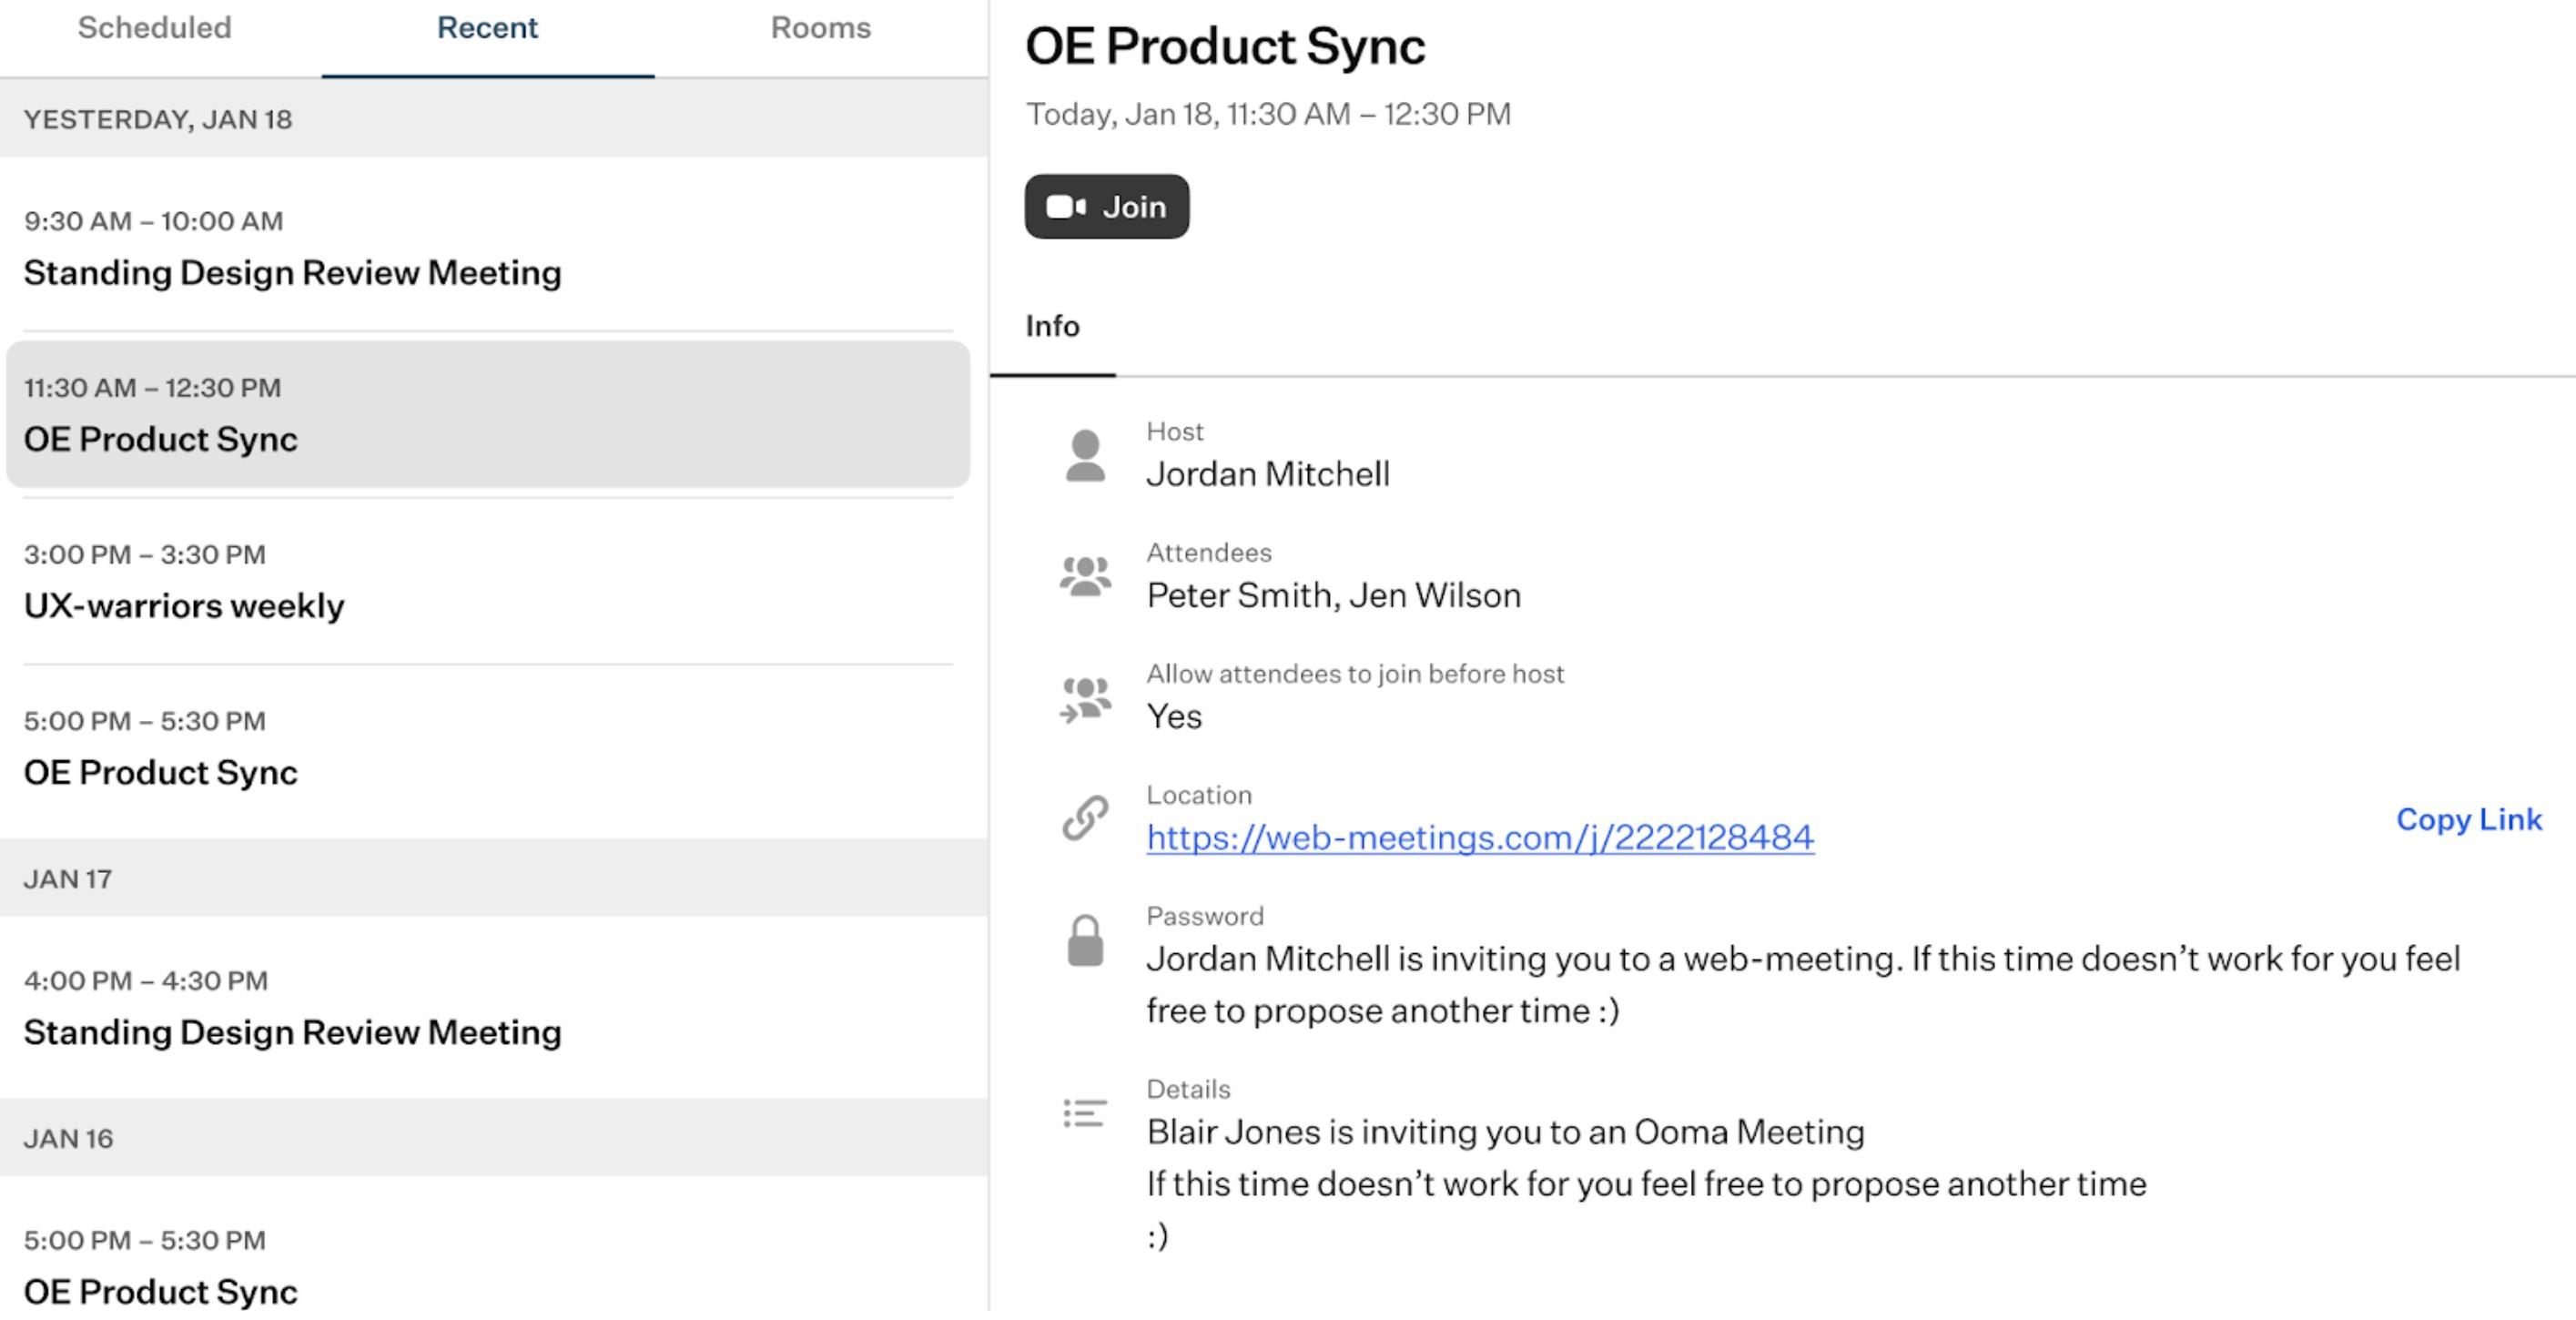
When you select a meeting from the list of recent meetings, the preview window will display the main details of the meeting and only one action button:
- “Join” button: once you click this button, you will enter the selected meeting.
-
“Rooms Tab: in this tab, you will find a list of meeting rooms you have access to.
In the DesktopComm App, a Meeting Room or Room refers to a virtual environment where users can hold meetings, collaborate, and communicate. It functions as a digital meeting space, allowing for multiple purposes. Users have the flexibility to create numerous rooms to suit their needs.
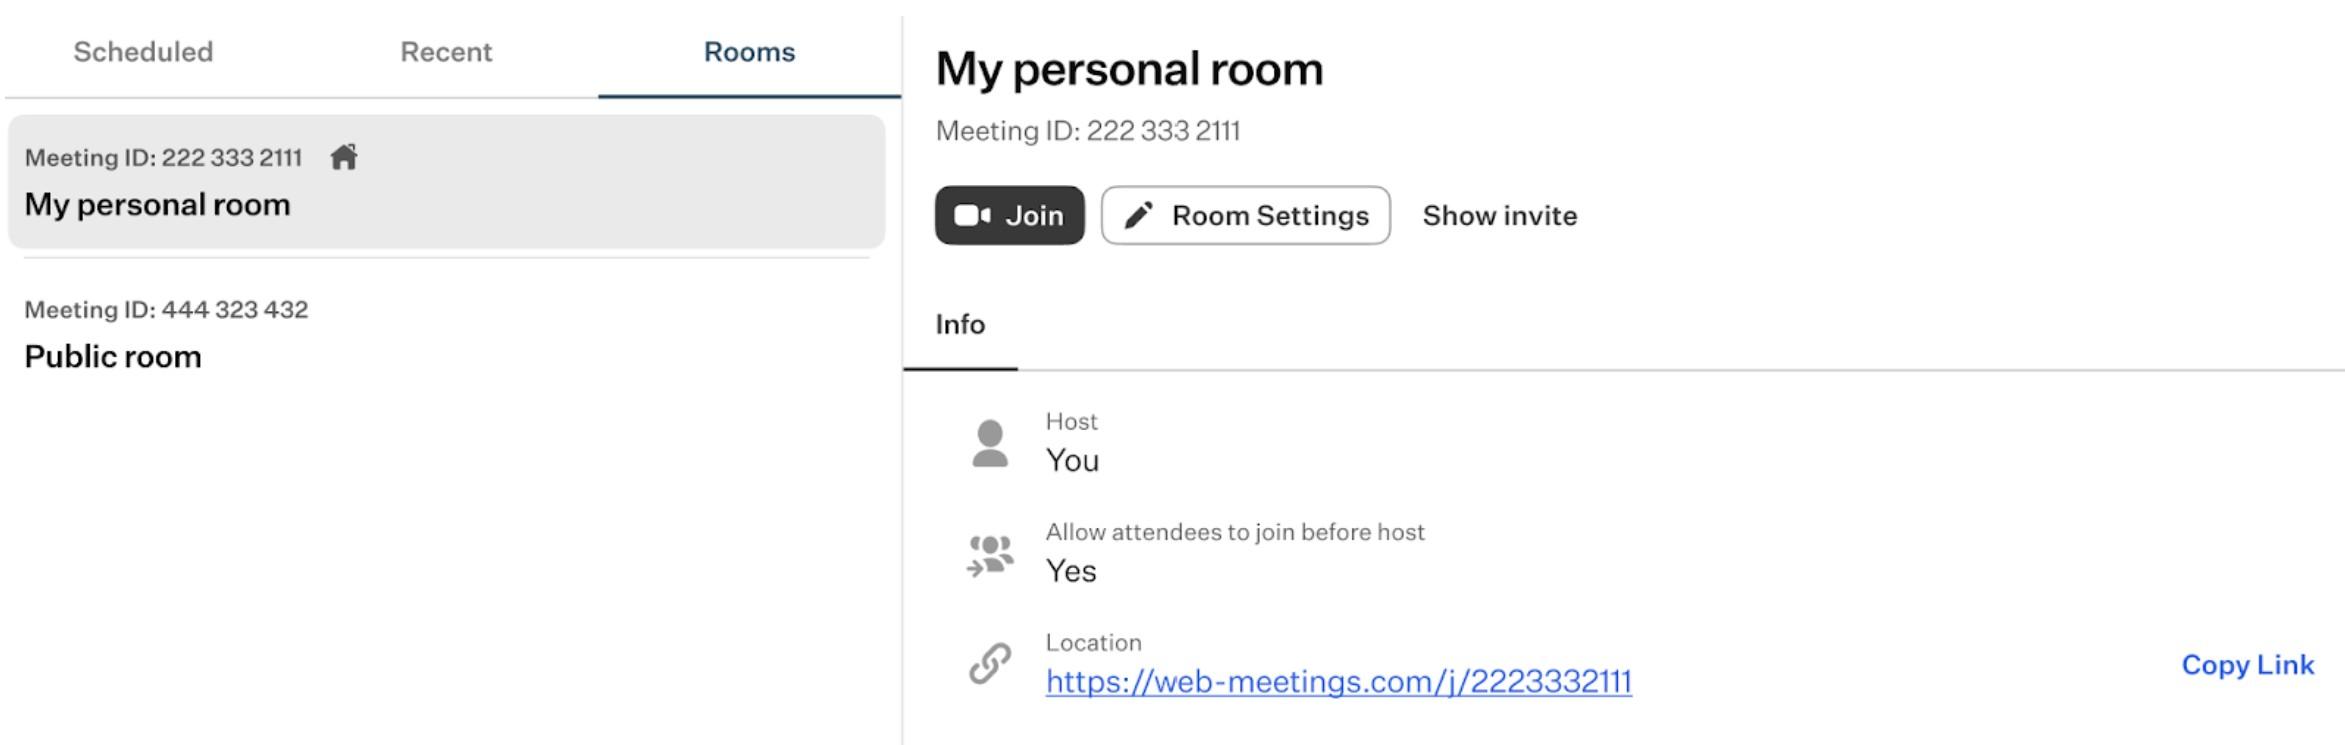
By default, the DesktopComm App provides you with a personal meeting room for your individual use. In the list of Rooms, this meeting room is labelled with a House badge.
When you select a room from the list of meeting rooms, the preview window will display two action buttons:
-
“Join” button: once you click this button, you will enter the selected meeting.
-
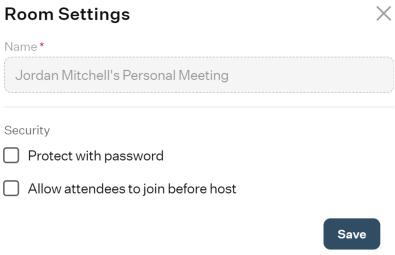
“Room Settings” button: when you press this button, a pop-up window will emerge, presenting a list of parameters associated with the selected meeting room:
-
Name: here, you can set the name for the selected meeting room.
If you edit the parameters of your default personal meeting room, you cannot change its name.
-
Protect with password: enabling this toggle switch will reveal a new field, prompting you to set a password for the configured meeting room.
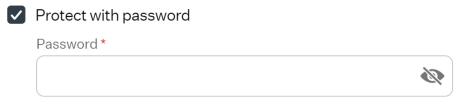
All users attempting to access this meeting room will be required to enter the password to gain entry.
-
Allow attendees to join before host: this toggle switch controls whether participants can enter a meeting room before the host arrives. When enabled, attendees can join the meeting room and wait for the host to start the meeting. If disabled, attendees can only enter the meeting room once the host has already joined.
-
-
“Show Invite” button: upon clicking this button, a pop-up window will appear with the invitation details, allowing you to copy the link and share it with a third party.
-
The top horizontal panel of the Meetings feature of the DesktopComm App includes two functional elements:

-
Search bar: you can use the search bar to locate a desired meeting or a meeting room.
-
Plus button: by clicking this button, you will see a drop-down list of additional options available in the Meetings Feature:

-
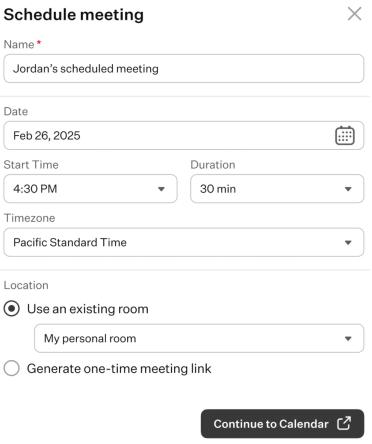
Schedule a meeting: when you click this button, a pop-up window will appear containing a list of basic parameters for a meeting you want to schedule.
-
Name: use this field to set a custom name for the meeting.
-
Date: after clicking this field, a drop-down menu will appear, presenting the calendar page of the current month for you to select a day for the meeting.
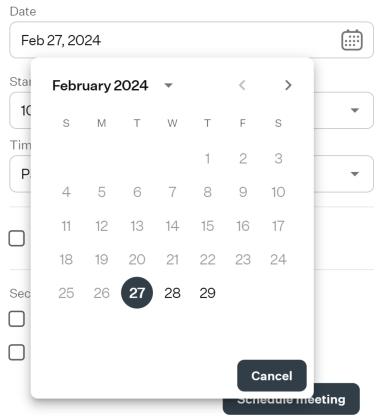
You can use the left/right arrow buttons to navigate to the previous/next month. Additionally, you can click on the month name to access a drop-down list of all months for faster selection.
-
Start Time: upon clicking this field, a drop-down menu will appear, presenting a list of start time options with a 15-minute interval.
-
Duration: upon clicking this field, a drop-down menu will appear, presenting a list of meeting duration options with a 15-minute interval.
-
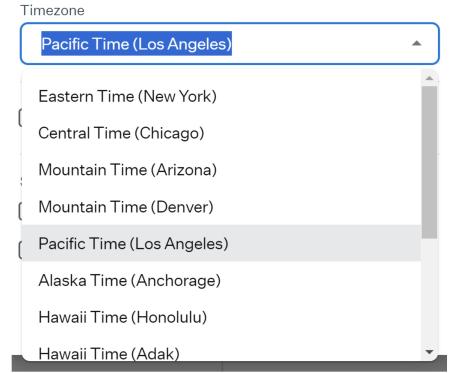
Timezone: when you click on this field, a drop-down list of time zones will appear, allowing you to select the timezone in which the meeting will occur.
-
Use an existing room: by selecting this option, the configured meeting will occur in the meeting room of your choice, which you can select from the drop-down menu options of the existing meeting rooms.
-
Generate one-time meeting link: by choosing this option, you allow the DesktopComm App to generate a one-time link for the configured meeting.
-
-
Create a room: when you select this option, a pop-up window will appear containing a list of basic parameters for a new meeting room you wants to create.
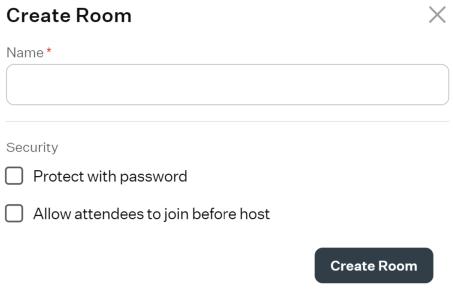
After clicking the “Create Room” button, the new room will be displayed in the list of meeting rooms within the corresponding tab of the Meetings feature.
-
-
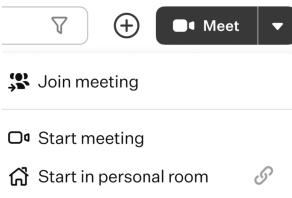
“Meet” button: when you press this button, a drop-down list of actions will appear.
-
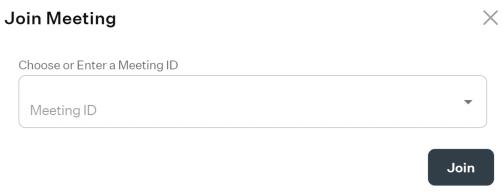
Join Meeting: selecting this option will prompt a pop-up window to appear, featuring a field for selecting or inputting a meeting ID, along with the “Join” button to connect to the selected meeting.
-
Start meeting: when you select this option, a new meeting will be launched with a randomly generated meeting link and password. Provide this information to other potential participants to join the meeting.
-
Start in personal room: selecting this option will trigger a pop-up window to appear, displaying the launching parameters of your personal meeting room.
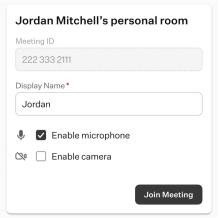
Within this window, you can set your custom display name and choose to enable or disable your camera and microphone upon entry.
-