DesktopComm App - Make a Call Section
Upon accessing the DesktopComm App, you will encounter the “Make a Call” section, which comprises primary functional buttons. These buttons offer access to the main functions of the app with no need for activating the corresponding feature tabs and pressing the “create new call/message/fax/meeting” buttons.
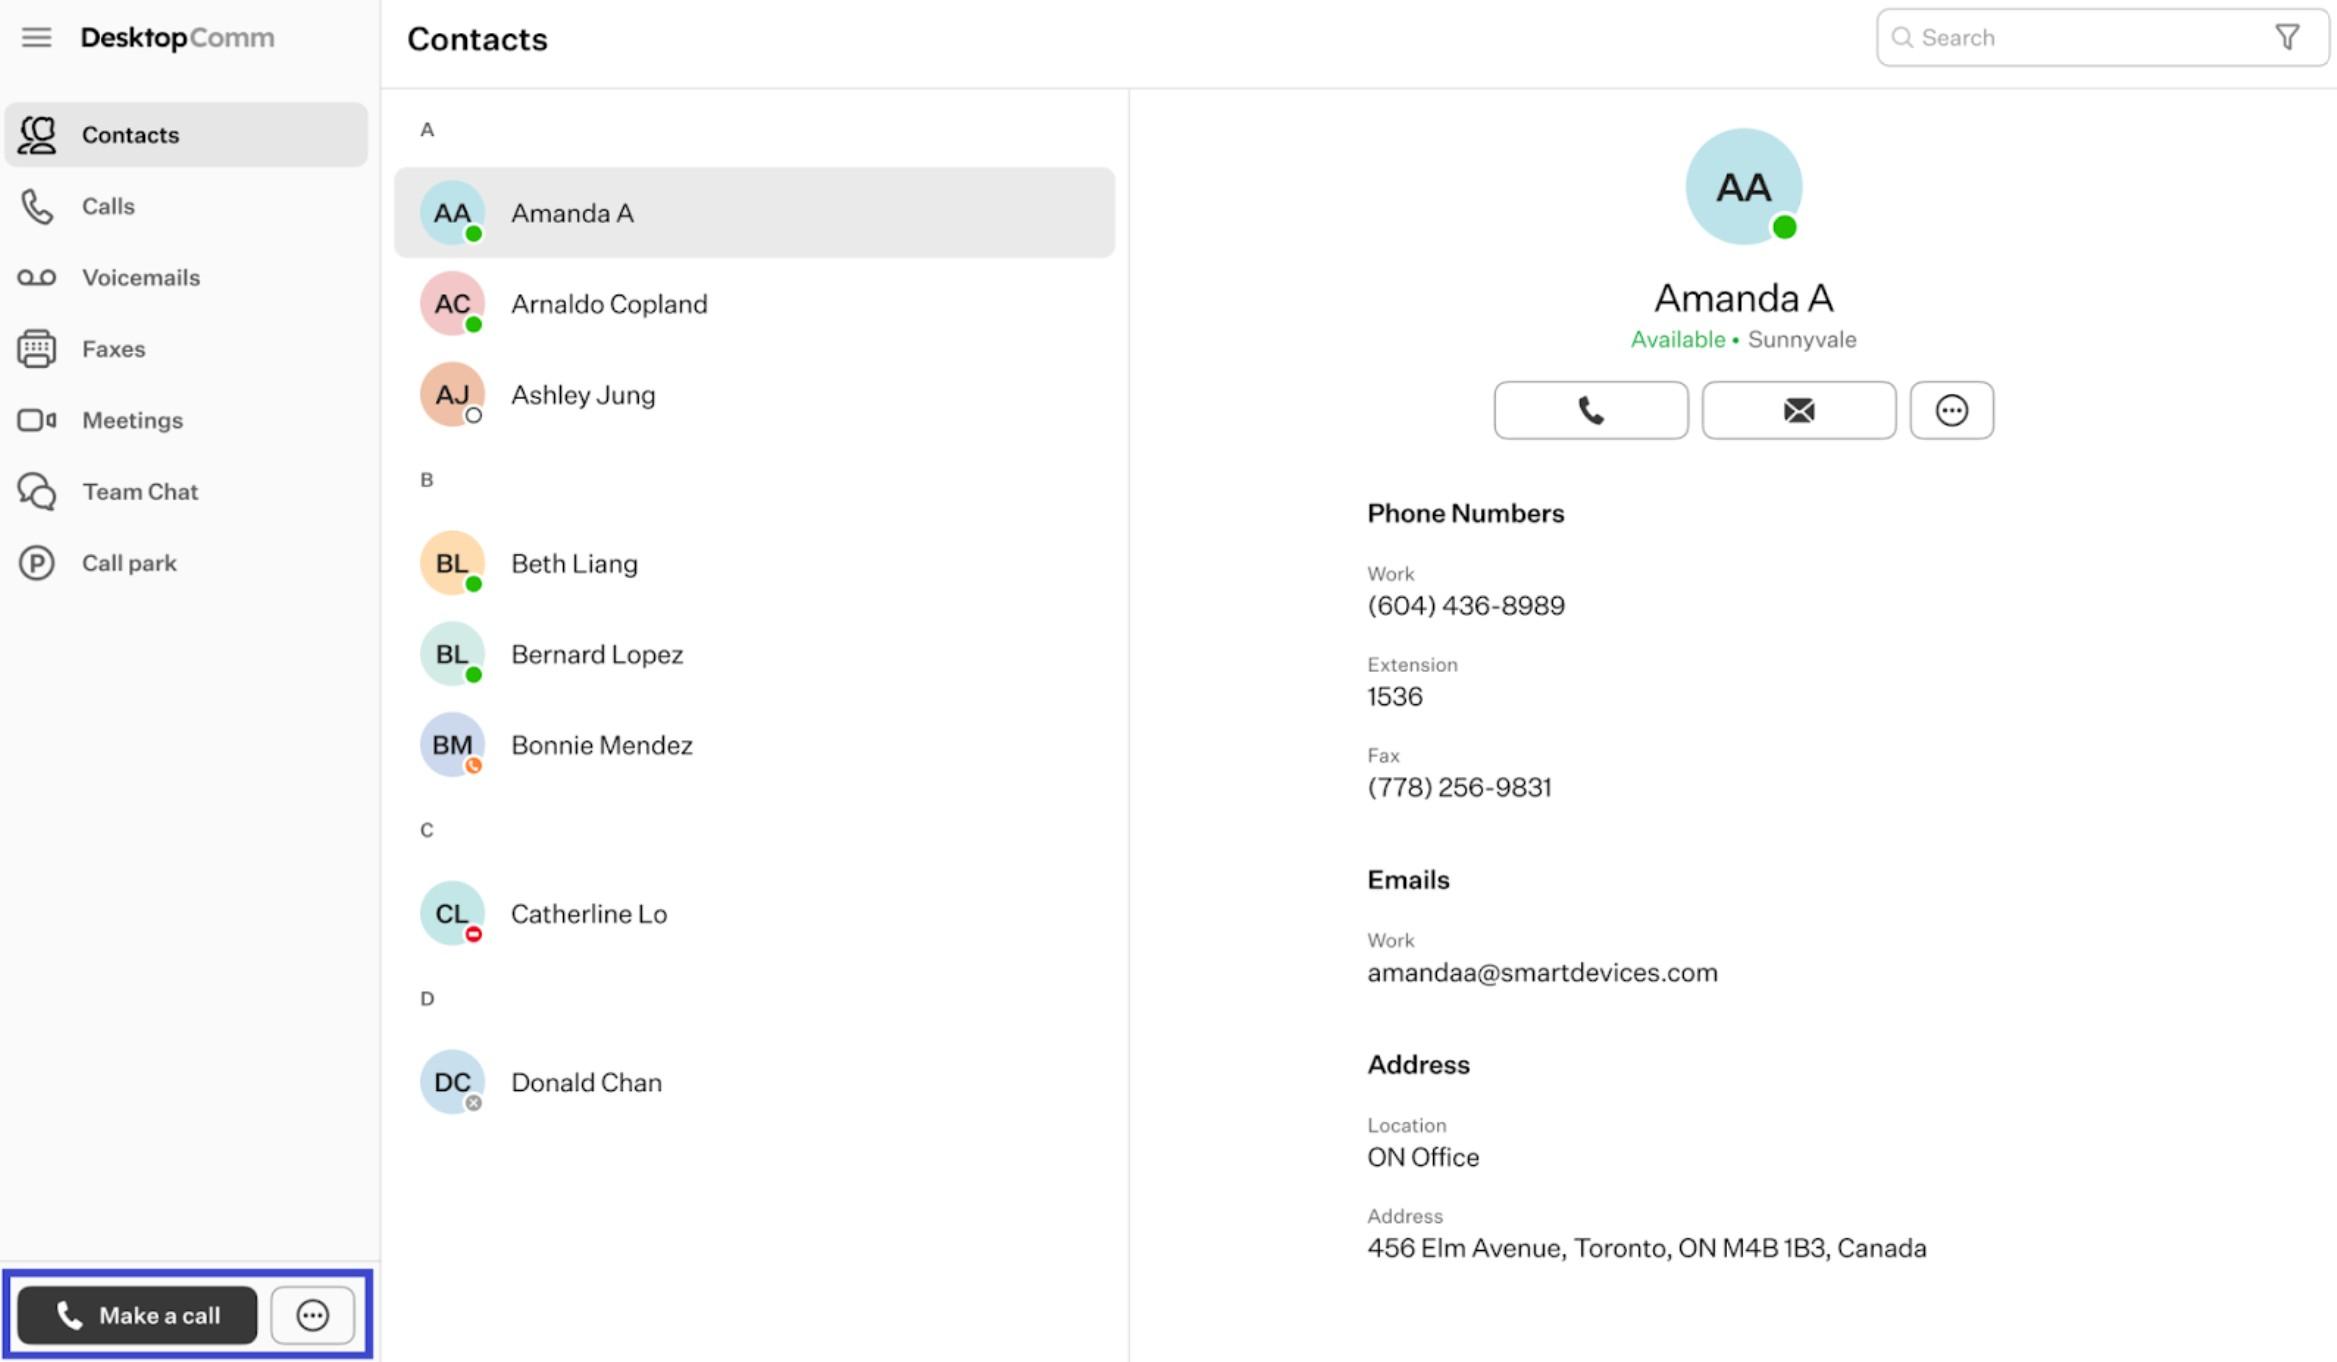
Let’s discover these buttons and their functions separately.
-
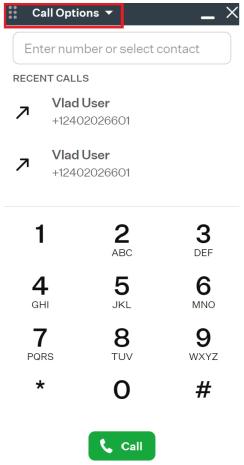
Make a Call: when you click this button, a pop-up window will appear above the app, displaying a phone-like interface similar to the screenshot below.
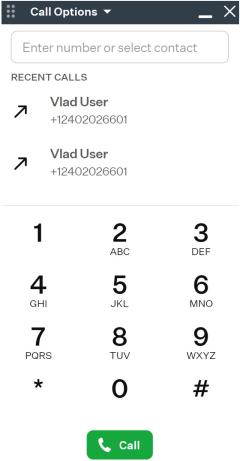
It comprises several functional sections.
-
Keypad: you can input the desired number by clicking the keypad buttons with the mouse, which will be displayed in the top field.
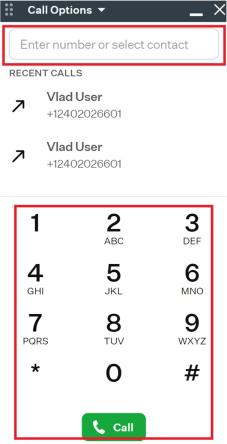
Alternatively, you can use your PC’s keyboard to enter the number directly into this field.
-
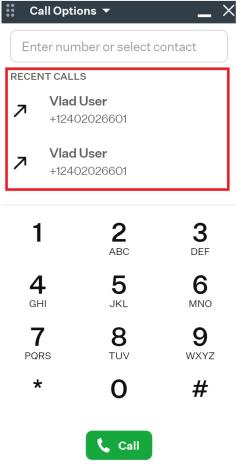
Recent Calls: this functional section displays a list of recent calls made, received, or missed within the app.
-
Call Option button: clicking the button located in the top menu of this window will reveal a drop-down menu.
The drop-down menu offers two options:
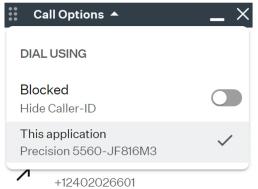
- Blocked: by enabling this toggle switch, you can hide your Caller-ID.
- This application: here, you can locate the model of the device where the DesktopComm App is installed and launched.
-
-
The Three-Dot Button: by pressing this button, you gain access to additional options for sending a new message, fax, or initiating a conference, without the need to activate the corresponding feature tabs or press the “create new call/message/fax/meeting” buttons. Clicking this button will reveal a drop-up menu.
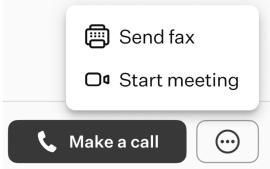
This menu offers two options:
-
Send fax: when you press this button, the Faxes feature tab will be opened and the process of creating a new fax will be initiated.
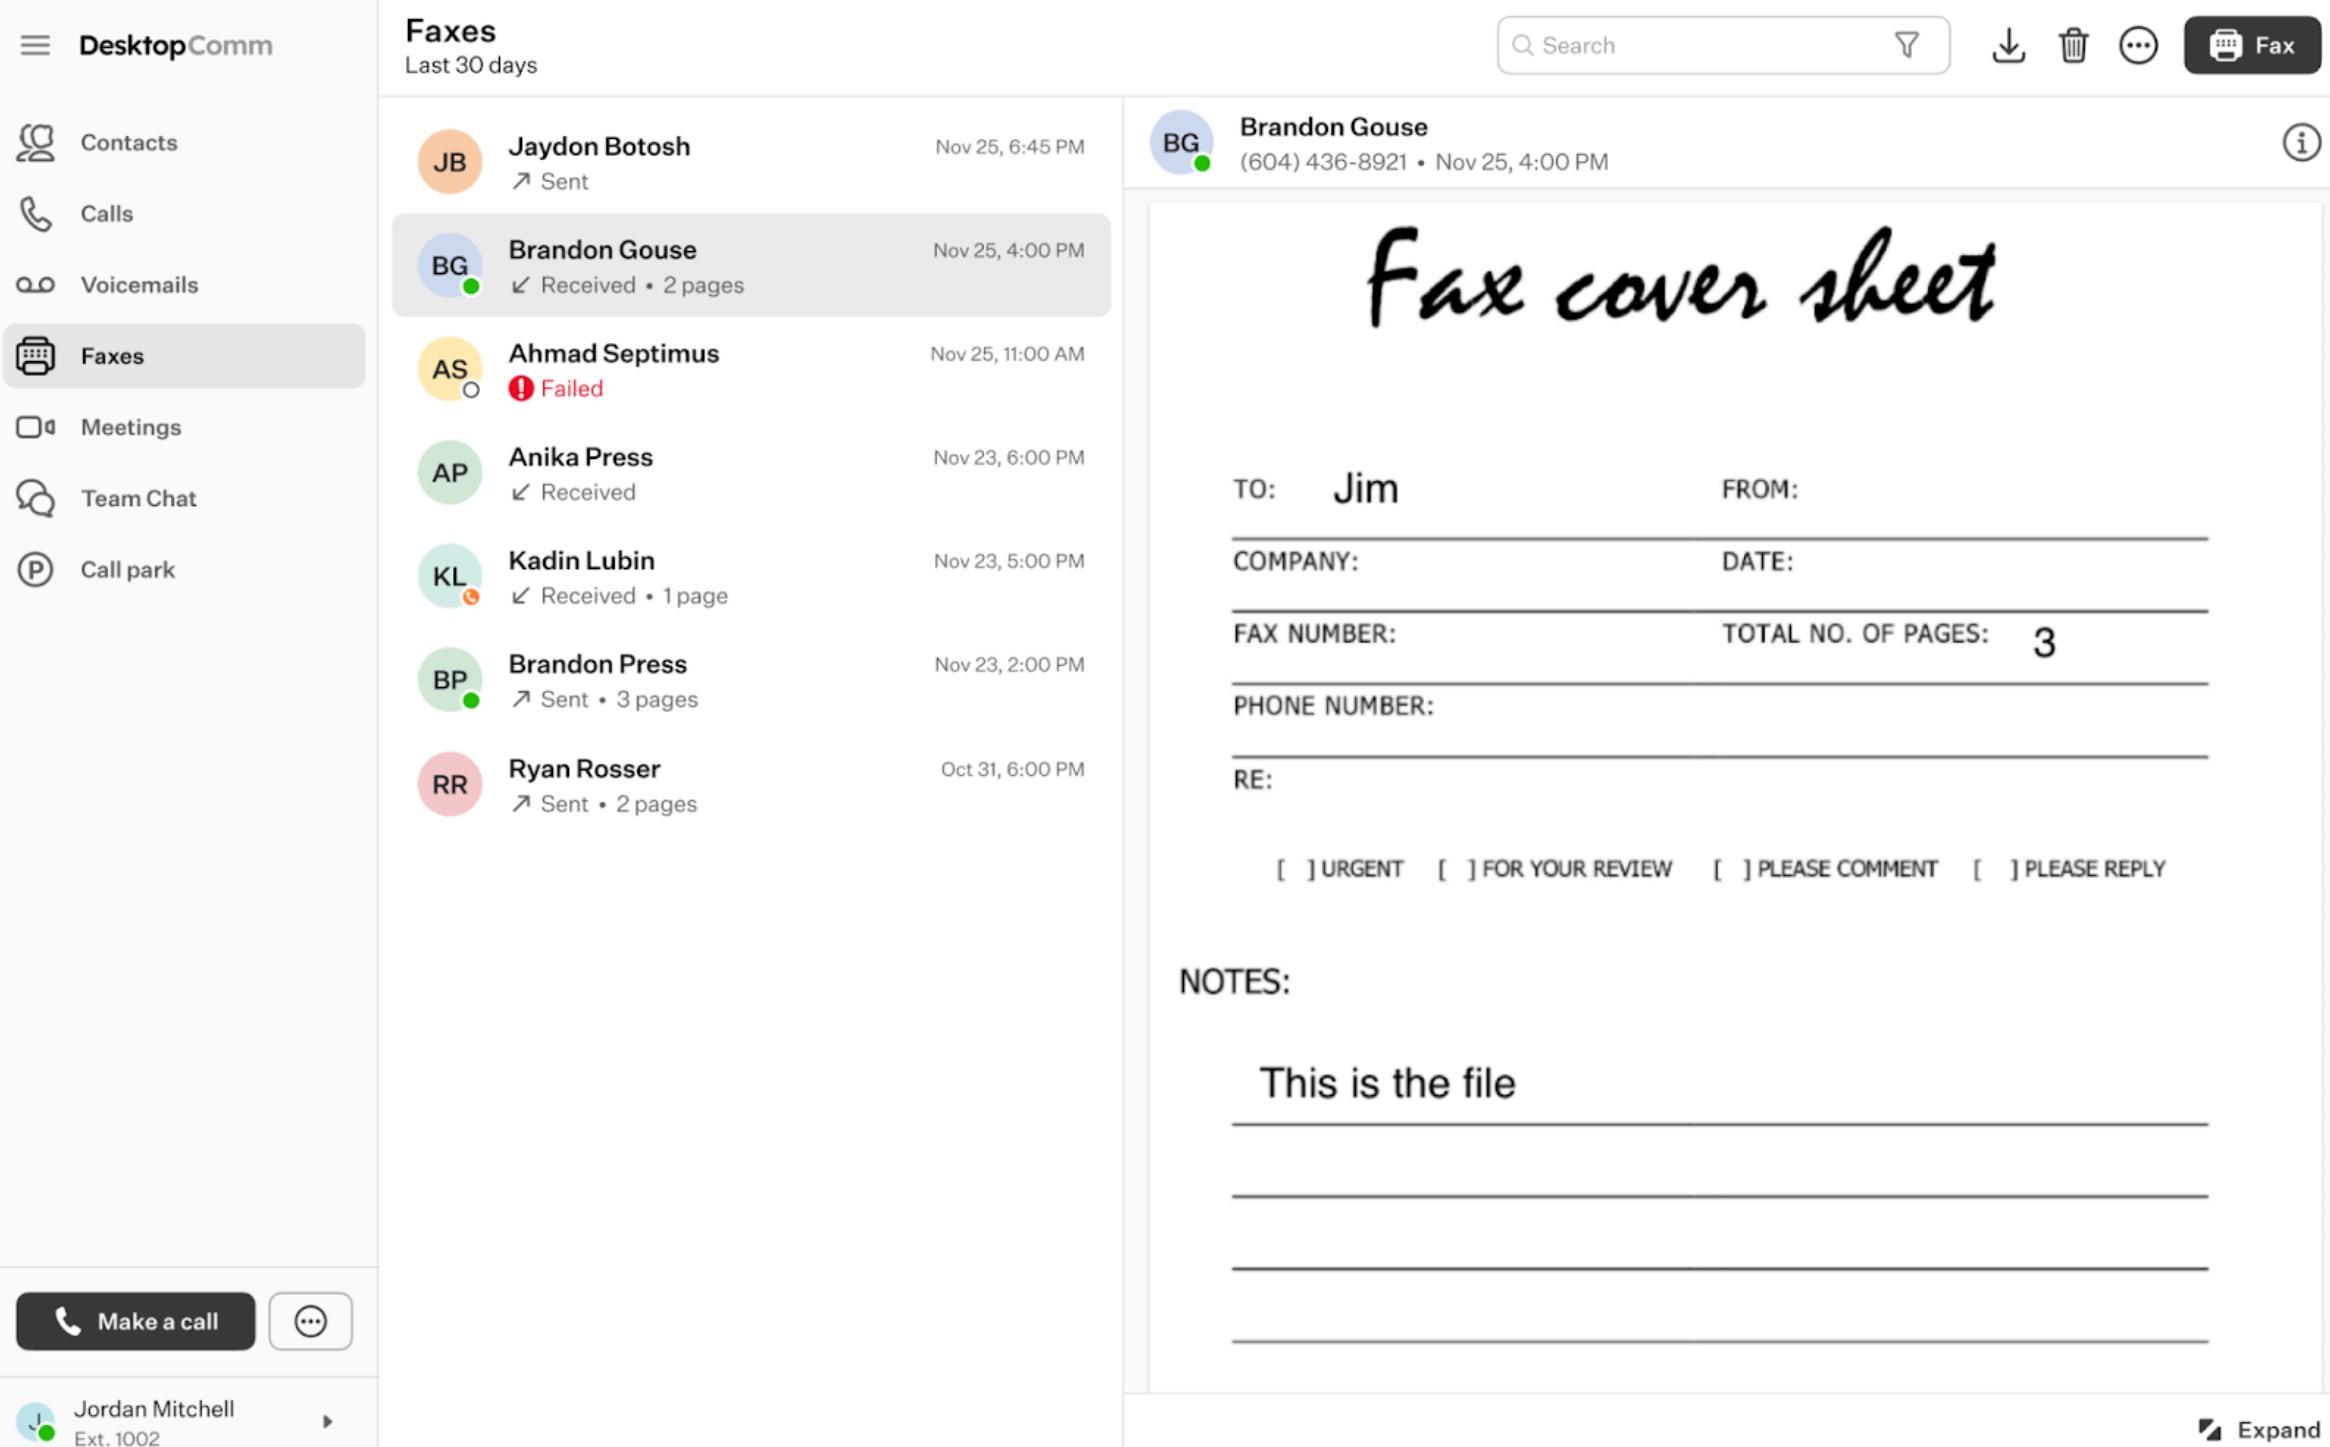
For further details on this process, please refer to the corresponding article accessible through this link.
-
Start meeting: when you press this button, a new conference call will be initiated, and you will be the host.

For further details on this process, please refer to the corresponding article accessible through this link.
Please note: upon using any of the aforementioned options to send a new message, fax, or initiate a conference, the process of creating a new message or fax will commence on the opened feature page. This process will persist even if you switch between feature tabs until you either complete or cancel it.
-
During a call
During a call, the dialer window interface will update to display seven action buttons, allowing you to perform various functions in real time.
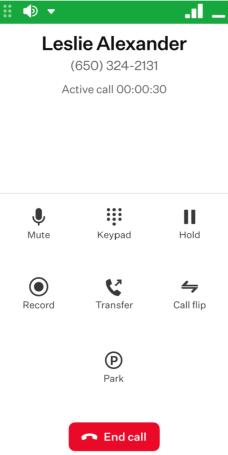
Here’s a list of those action buttons:
- Mute: use this button to mute the call.
- Keypad: use this button to access the dialer’s keypad. You may need it to input extensions, PINs, or other numeric information during a call.
- Hold: use this button to put the call on hold. To continue the conversation, press Resume.
- Record: use this button to start recording the call. The recording will be accessible in the Calls feature tab.
- Transfer: use this button to transfer the call. Upon clicking Transfer, you will need then to select a contact from your contact list. You can select from the following transfer types:
- Transfer to Voicemail sends the call directly to the contact’s voicemail.
- Blind Transfer transfers the call immediately without notifying the recipient.
- Attended Transfer connects you to the recipient first, allowing you to speak before completing the transfer.
- Call Flip: use this button to transfer the call to another device seamlessly.
- Park: use this button to park the call. Upon clicking Park, you will need then to choose a parking spot from the list. After the call is parked, the dialer window will close, so to retrieve a parked call, you should navigate to the Call Park feature tab.