MS Teams User Guide
This article talks about MS Teams Connector Portal (TeamMate) and the MS Teams Integration App in comm.land 2.6
Getting Started
We’ve partnered with TeamMate Technology to provide MS Teams direct routing integration to our Hosted, Private, and Global customers. We’ve also made managing Teams devices easier with our Integration app within comm.land 2.6 and above. Continue reading to learn how to sign up as a Teams Connector Reseller and how the new Integration app will make your life easier.
Before using the Integration app to manage devices, you need to be a MS Teams Connector Reseller in our Teams Connector Portal (TeamMate)
To sign up to be a Teams Connector reseller with us please see the this form.
Once we receive the completed form and process your request, you will receive an invitation email from us containing a link and pin number for registering to the Teams Connector reseller portal.


Pricing
Once you’re registered MSTeams using TeamMate technology you will see additional charges to your account. This will be based on the number of users you sign up for the integration:
- Your KAZOO user/device license plus $2.50 for each Teams integration
- Includes the costs of TeamMate
- Does NOT include Microsoft Phone system licenses for end users
- A Microsoft Phone System license or comparable add-on license is needed. Get more info on that here.
- If you can commit to a volume of 1,000 Teams integrated users/devices, please contact sales@2600Hz.com for a volume discount.
Understanding the Portals
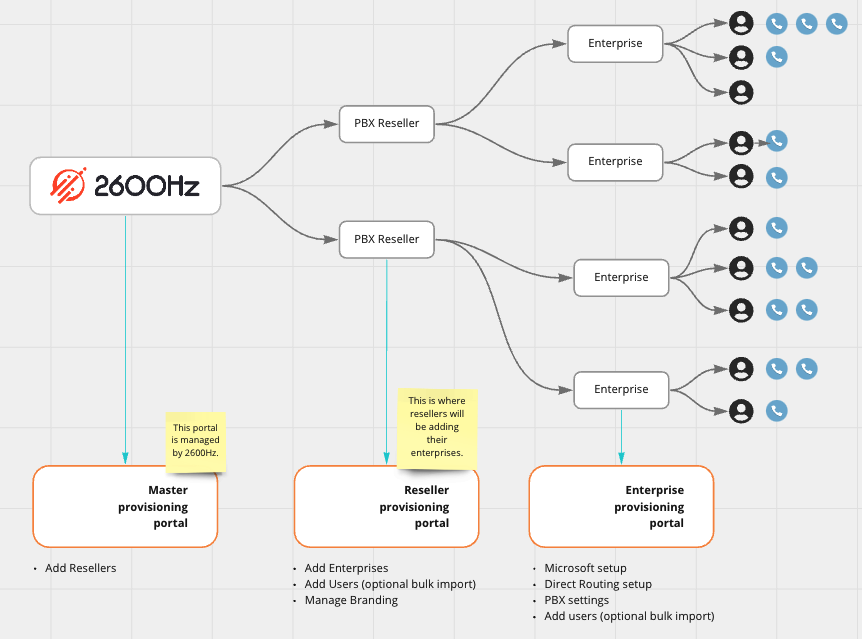
How to set up a new enterprise
This is a how-to guide for setting up a new enterprise and having it linked to our MS Teams Integration app in comm.land 2.6 (and higher) for easy device management
Resellers can guide Enterprise MS Office administrators in the following configurations. There are a few preliminary steps we suggest you and your customers take before beginning the registration process, please visit the following link.
YOU MUST CREATE ENTERPRISE ACCOUNT IN COMM.LAND MS TEAMS INTEGRATION APP TO AVOID ANY ERRORS
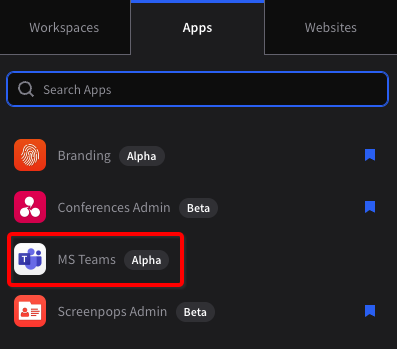
Once you are ready to set up a new enterprise, open up the MS Teams Integration app in comm.land
IF the app is not present, login to comm.land as an admin, select account settings, app selector, to enable the app for the desired users.
Upon opening app for first time on an account you will be presented with a welcome setup screen.
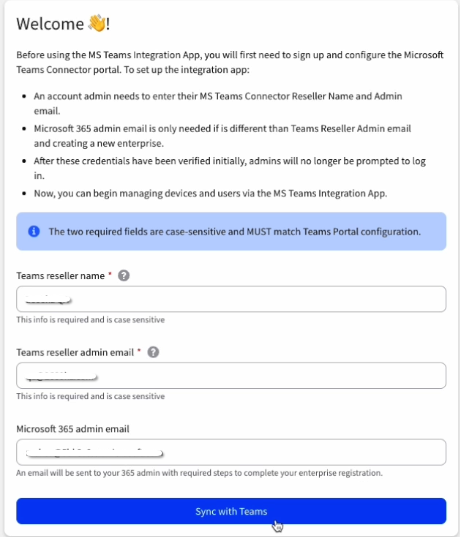
At this point you need to enter the following info
- Teams reseller admin email
- email address of the admin of reseller account
- Found in Teams Connector Portal>admins
- Microsoft 365 Admin email
- Teams reseller name
- This is found in the Teams Connector Portal (most likely your company name)
- The Microsoft 365 administrator for the account. This is only needed if different than your reseller admin email. We will assume the teams reseller admin email is the same if this field left blank.
After all that info is entered, go ahead and hit “Sync with Teams”

You will then see a message, letting you know an email has been sent to the Microsoft 365 admin to finish setting up the Enterprise.

The global administrator will click the link provided in the email they receive, log in to the Enterprise portal with their Global Administrator credentials, and authorize the requested permissions. There are two permission screens that are mandatory and will need to be granted before the enterprise can log into the connector. Once logged in there are prompts on the dashboard to grant optional additional permissions that enhance ConnecttoTeams’ call troubleshooting and presence syncing.
Confirm Microsoft licensing. Upon logging in, the Global Administrator will use the sidebar menu to navigate to Direct Routing Management>> Direct Routing. Confirm there is one available Microsoft license free to be assigned.
- What if the portal says there are negative licenses available?
- What if the portal says I don’t have any available licenses when I know that I do?
Configure Direct Routing. Click the “Direct Routing” tab. Select the desired Gateway then Click “Complete Direct Routing,” ensure the verification process succeeds, and then click “Complete.” Wait for the notification on the dashboard that lets you know set-up is complete. If the process takes longer than an hour open a ticket with Connect-to-Teams so we can unfreeze the process, as this indicates Microsoft’s servers were under heavy traffic and timed out. The global administrator will receive an email when it is complete.
Decide if allowing SIP REFER or Media Encryption is desired for the Direct Route. If desired it is possible to configure additional Direct Routes. Decide if the enterprise wants to opt into Microsoft’s secondary routes for redundancy.
- What if I have already set up Direct Routing in Teams before and it is blocking the new configuration process?
- What if I previously used the Microsoft Calling Plan and it is blocking the new configuration?
- What if the Direct Routing user is created but the Direct Routing fails to be established?
- Why is the domain I chose not working?
Configure PBX settings. Navigate to the “PBX Settings” tab. Input data from the enterprise’s PBX provider. This task can be delegated to someone other than the Microsoft
Global Administrator. Generally this is completed by the Service Provider/Reseller as they have correct information.
- Necessary PBX information includes:
- PBX SIP Domain (required) - this will be the account realm information.
- PBX SIP Proxy (if used)
- PBX Type - 2600Hz Freeswitch
After those steps are completed and your enterprise is setup, head back to comm.land and open up the MS Teams Integration app again, it should auto bring down your users from the Connector portal and match them to users on the account by email address.
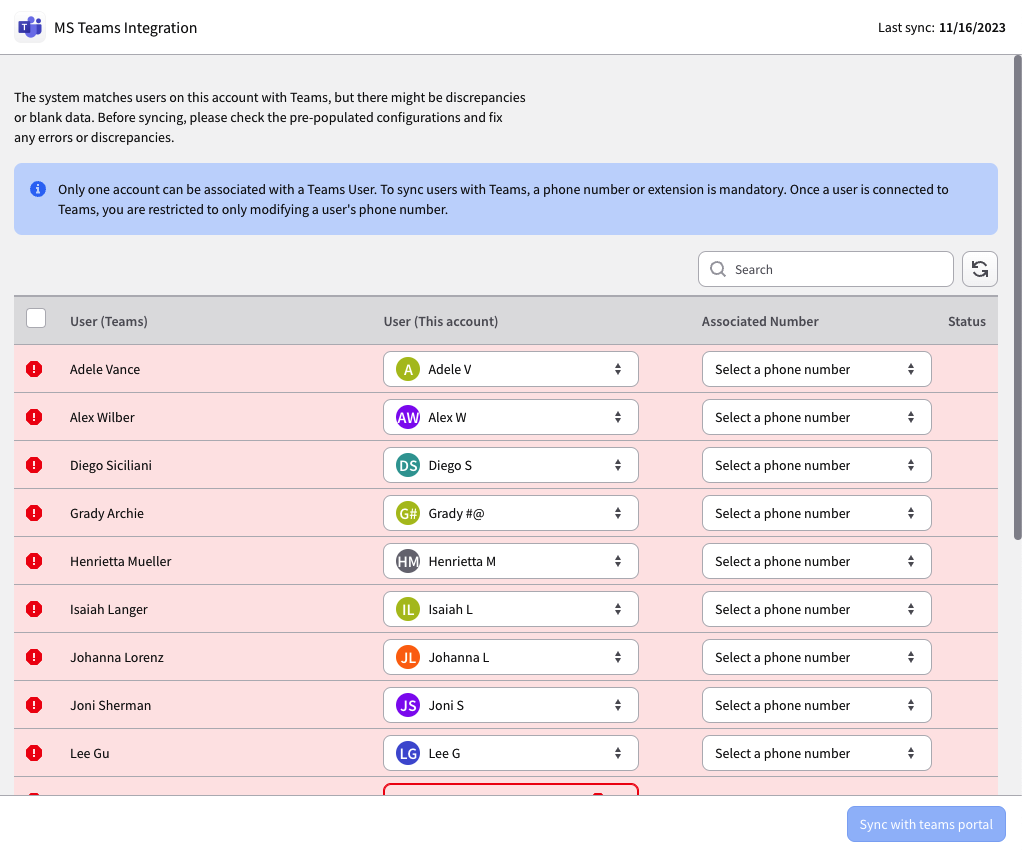
NOTE: You may need to hit “Check again” to pull down users.

Look over your users, ensure they are matching to who you are wanting to assign a Teams device, select a phone number or extension, and slide status toggle for users you wish to enable.

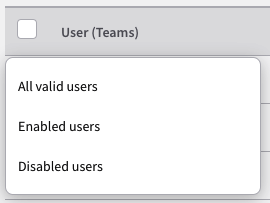
or you can easily select “All Valid Users” via the checkbox at the top. Then select “Enable” to slide all the status bars to enabled at once.

Once you make your selection on who you want to enable - you will see your changes are “staged” - nothing has gone to your Connector Portal quite yet…
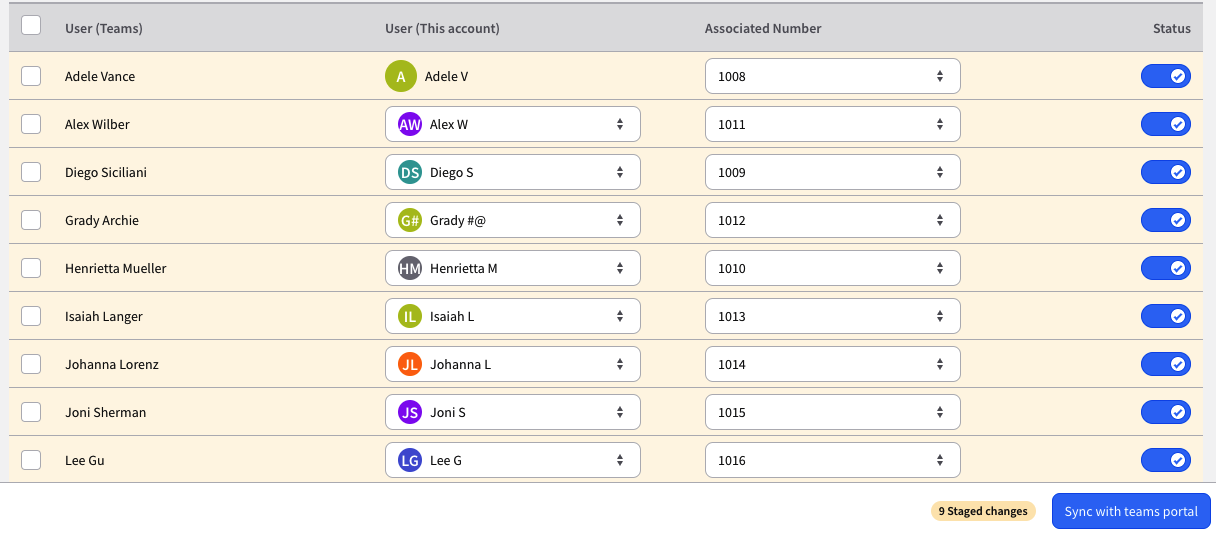
Go ahead and hit Sync with teams portal to make the changes - this will enable the user in the Connector Portal and make a device in KAZOO and assign it to the user.
You will see a notification, letting you know the users were enabled.
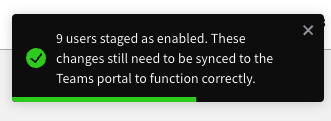
After the users are enabled, the account’s Microsoft 365 admin will need to log into the Connector Portal and “sync” the new users to finalize.
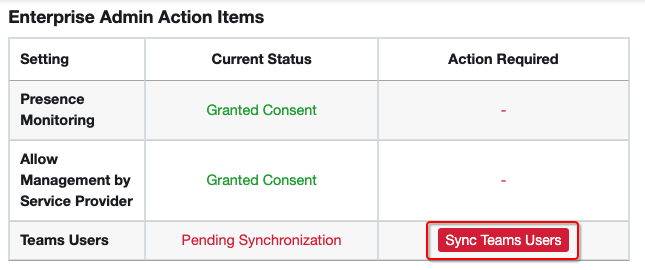
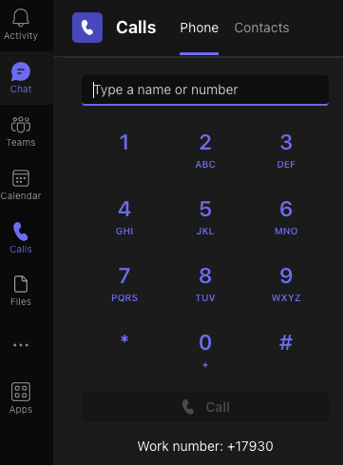
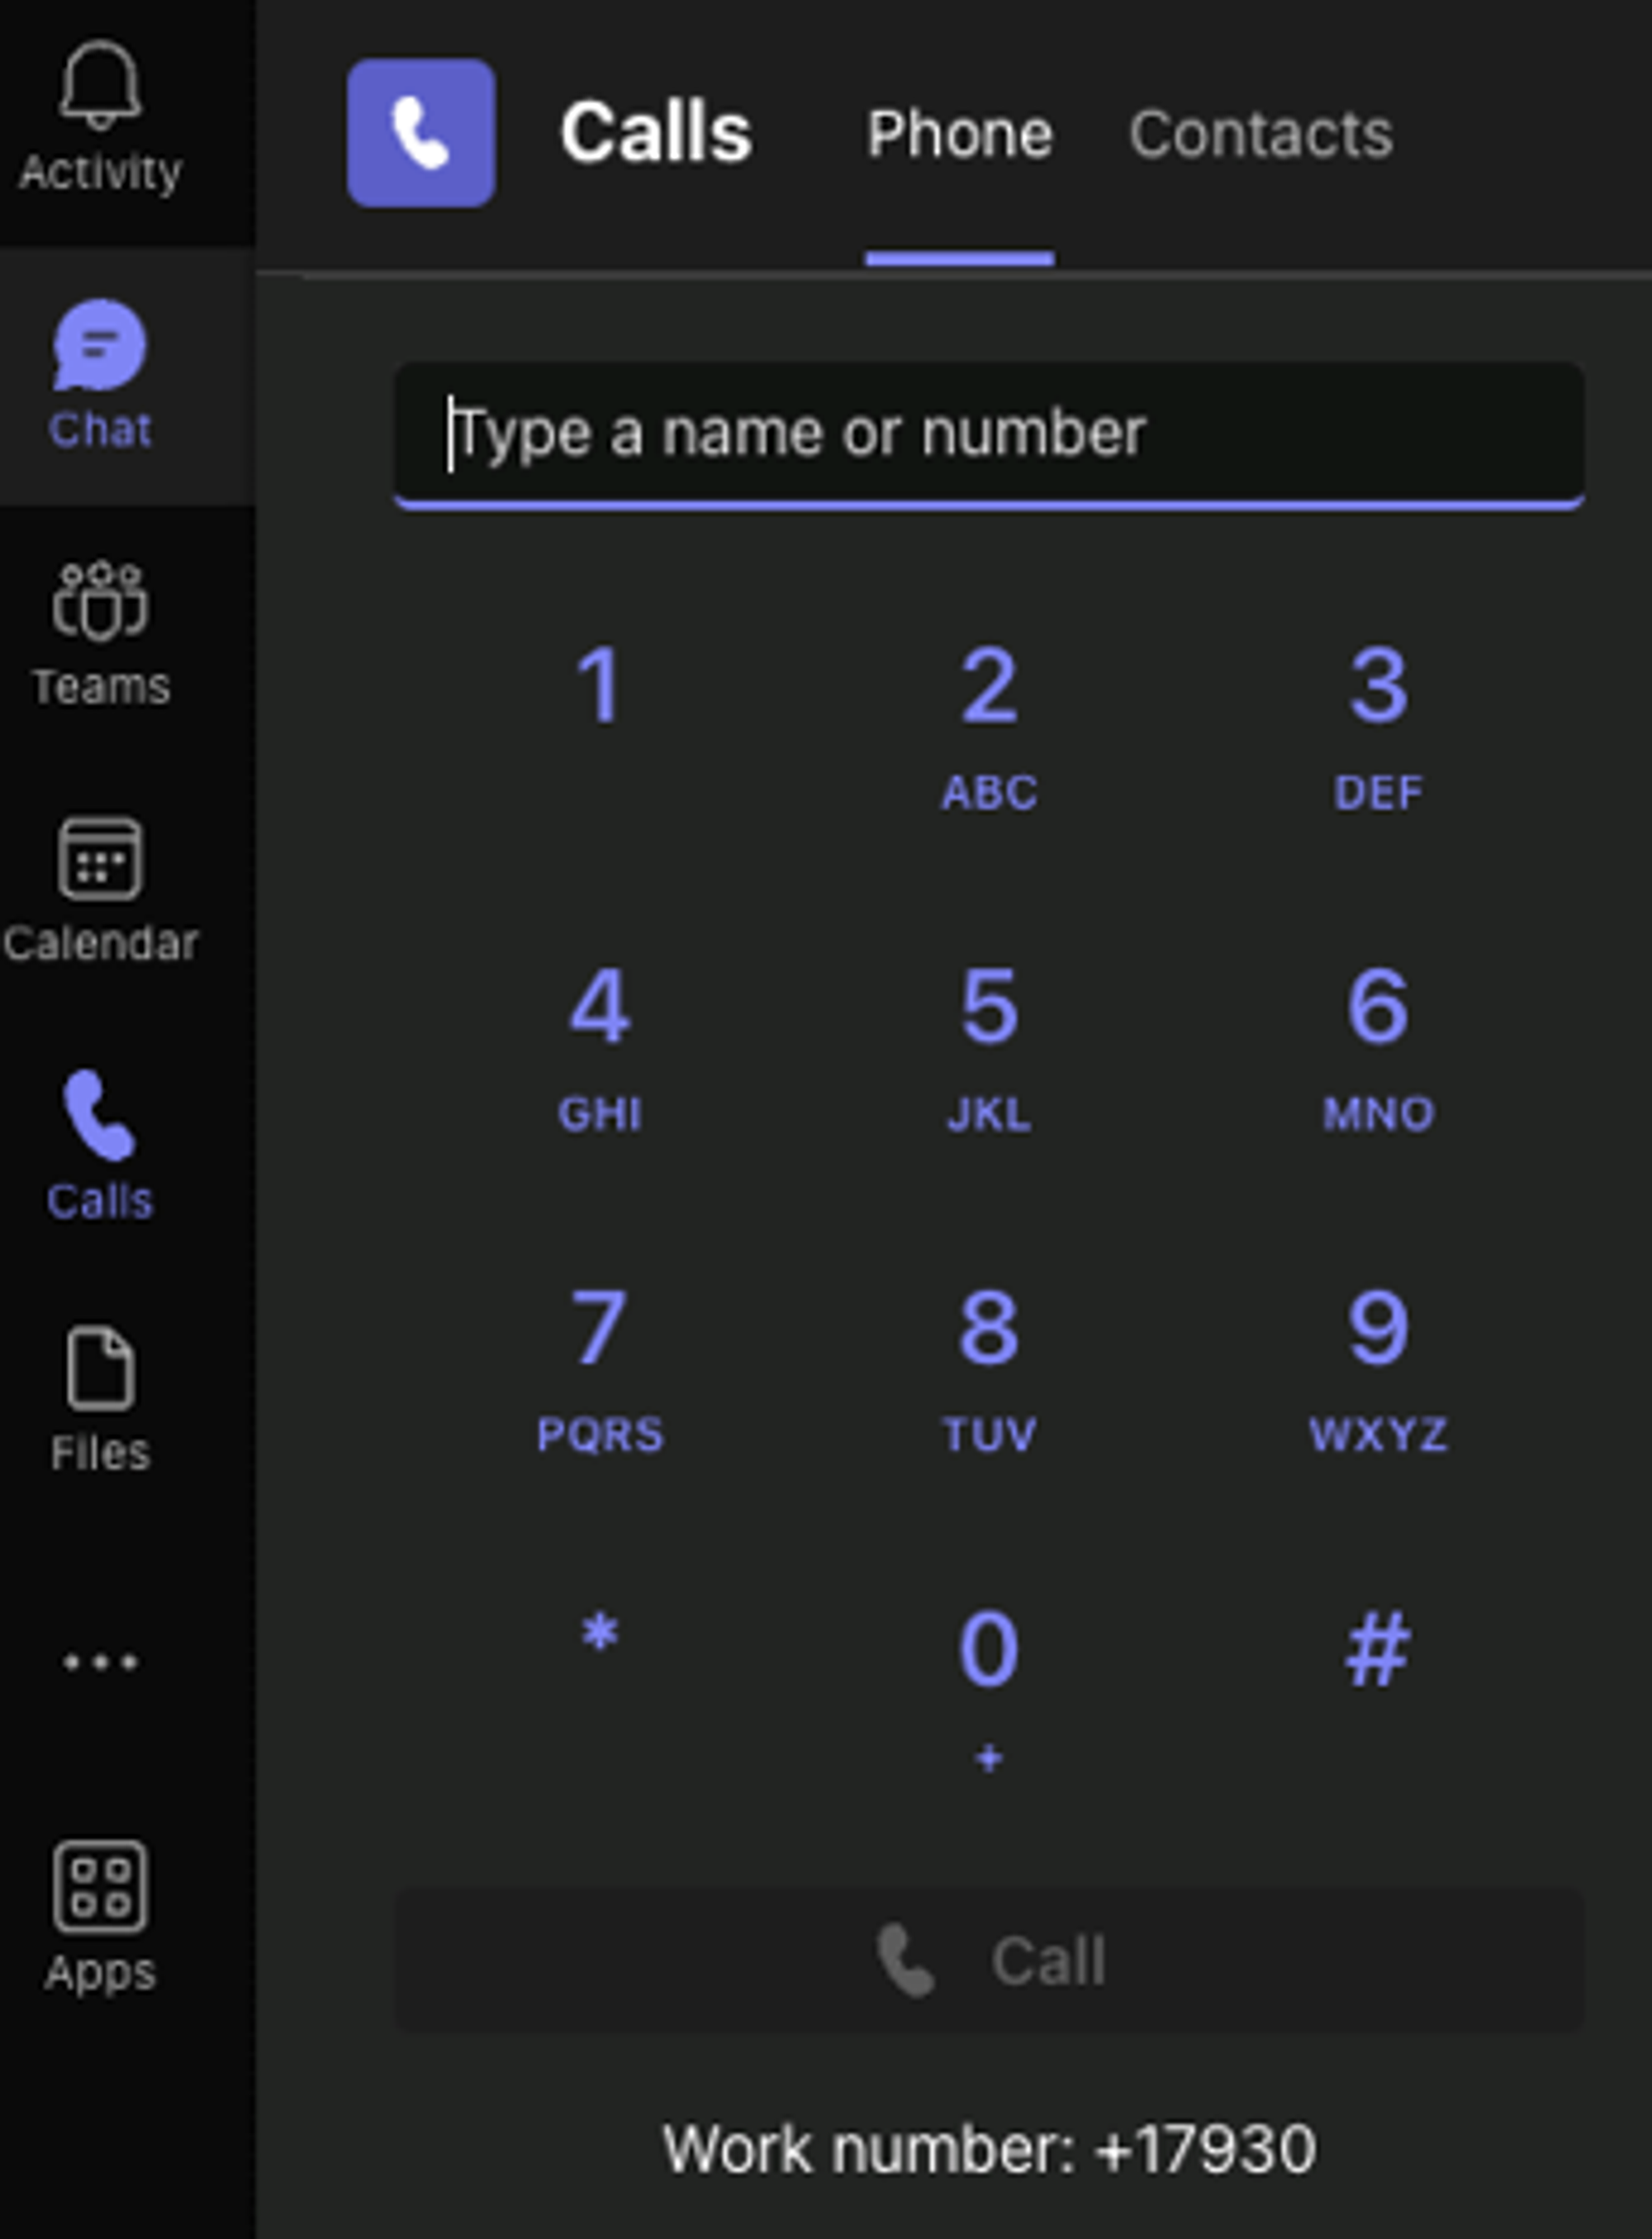
Give it some time to sync, then have the users login to Teams, they should now have the Teams native dialer.
Additional Resources
TeamMate Technology provides extensive documentation on the MS Teams Connector Portal. Here are a few that we found most helpful:
- An excellent walkthrough of the process: TeamMate Provisioning
- All reseller documentation: https://connecttoteams.elevio.help/en/categories/3-reseller
- Documentation on the reseller portal: https://connecttoteams.elevio.help/en/articles/3
- Knowledge base: https://connecttoteams.elevio.help/en
- Branding tutorial: TeamMate Reseller Branding Settings
- Step-by-step guide: https://connecttoteams.elevio.help/en/articles/4
