Callflows
Callflows is an application that exposes our APIs in a GUI format, enabling complex, custom call routing plans when needed. It is used in addition to the SmartPBX app to supplement the basic call routing configurations available there.
NOTE: This documentation refers to the Monster UI implementation
Callflow use cases
- An account has multiple geographic locations and needs to create
- Unique office hours and holiday schedules
- Different language defaults
- Different answering notices depending on incoming call source and time of day
- A series of sub-menus and selections (press 1 for support, then 2 for apps and 3 for service issues)
- An account wants to set up multiple call center queues (for support and sales for example)
- An account wants to customize incoming call sequences based on unique variables, such as phone number, holidays, etc.
- An account wants to route incoming fax calls based on time of day or prepend number
Before You Start
Before you start to implement custom callflows, confirm your settings in SmartPBX.This will ensure you have the newest fields and settings configured for your account.
In addition the Callflows application accesses and writes settings data that can affect many other applications. It is important the manager working with Callflows has a strong knowledge of how these applications work together and what ripple effects can occur when working with and changing these settings.
Access the callflows app
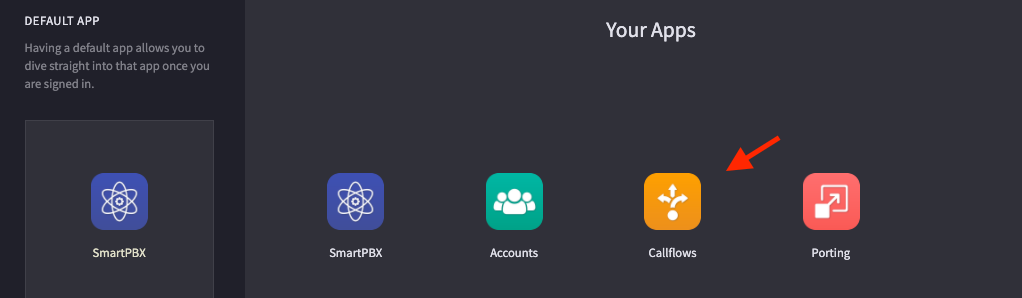
Once your account is created in SmartPBX, go to the applications menu and select Callflows.
If it’s not displayed,
- Try searching for it in the Search Apps field to your left.
- Select the App Exchange button, find Callflows there, and select it. Then use the toggle to enable it.
- If you still don’t see it, contact your system administrator.
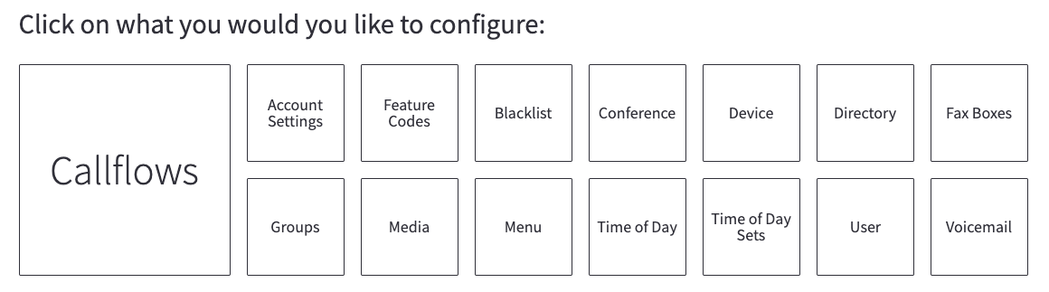
Your Callflows Dashboard
The “home page” to the Callflows dashboard will look like this. The large Callflows selection brings you to the home screen where you can build a callflow. The smaller selections help define attributes for each “flow.” You can access them here, or when you select one of these actions, by picking Edit / Advanced options.
Build a Callflow
When you click on Callflows you will see a brief tutorial for creating a new process and to the left a list of existing callflows assigned to your account and the option to add a new one.
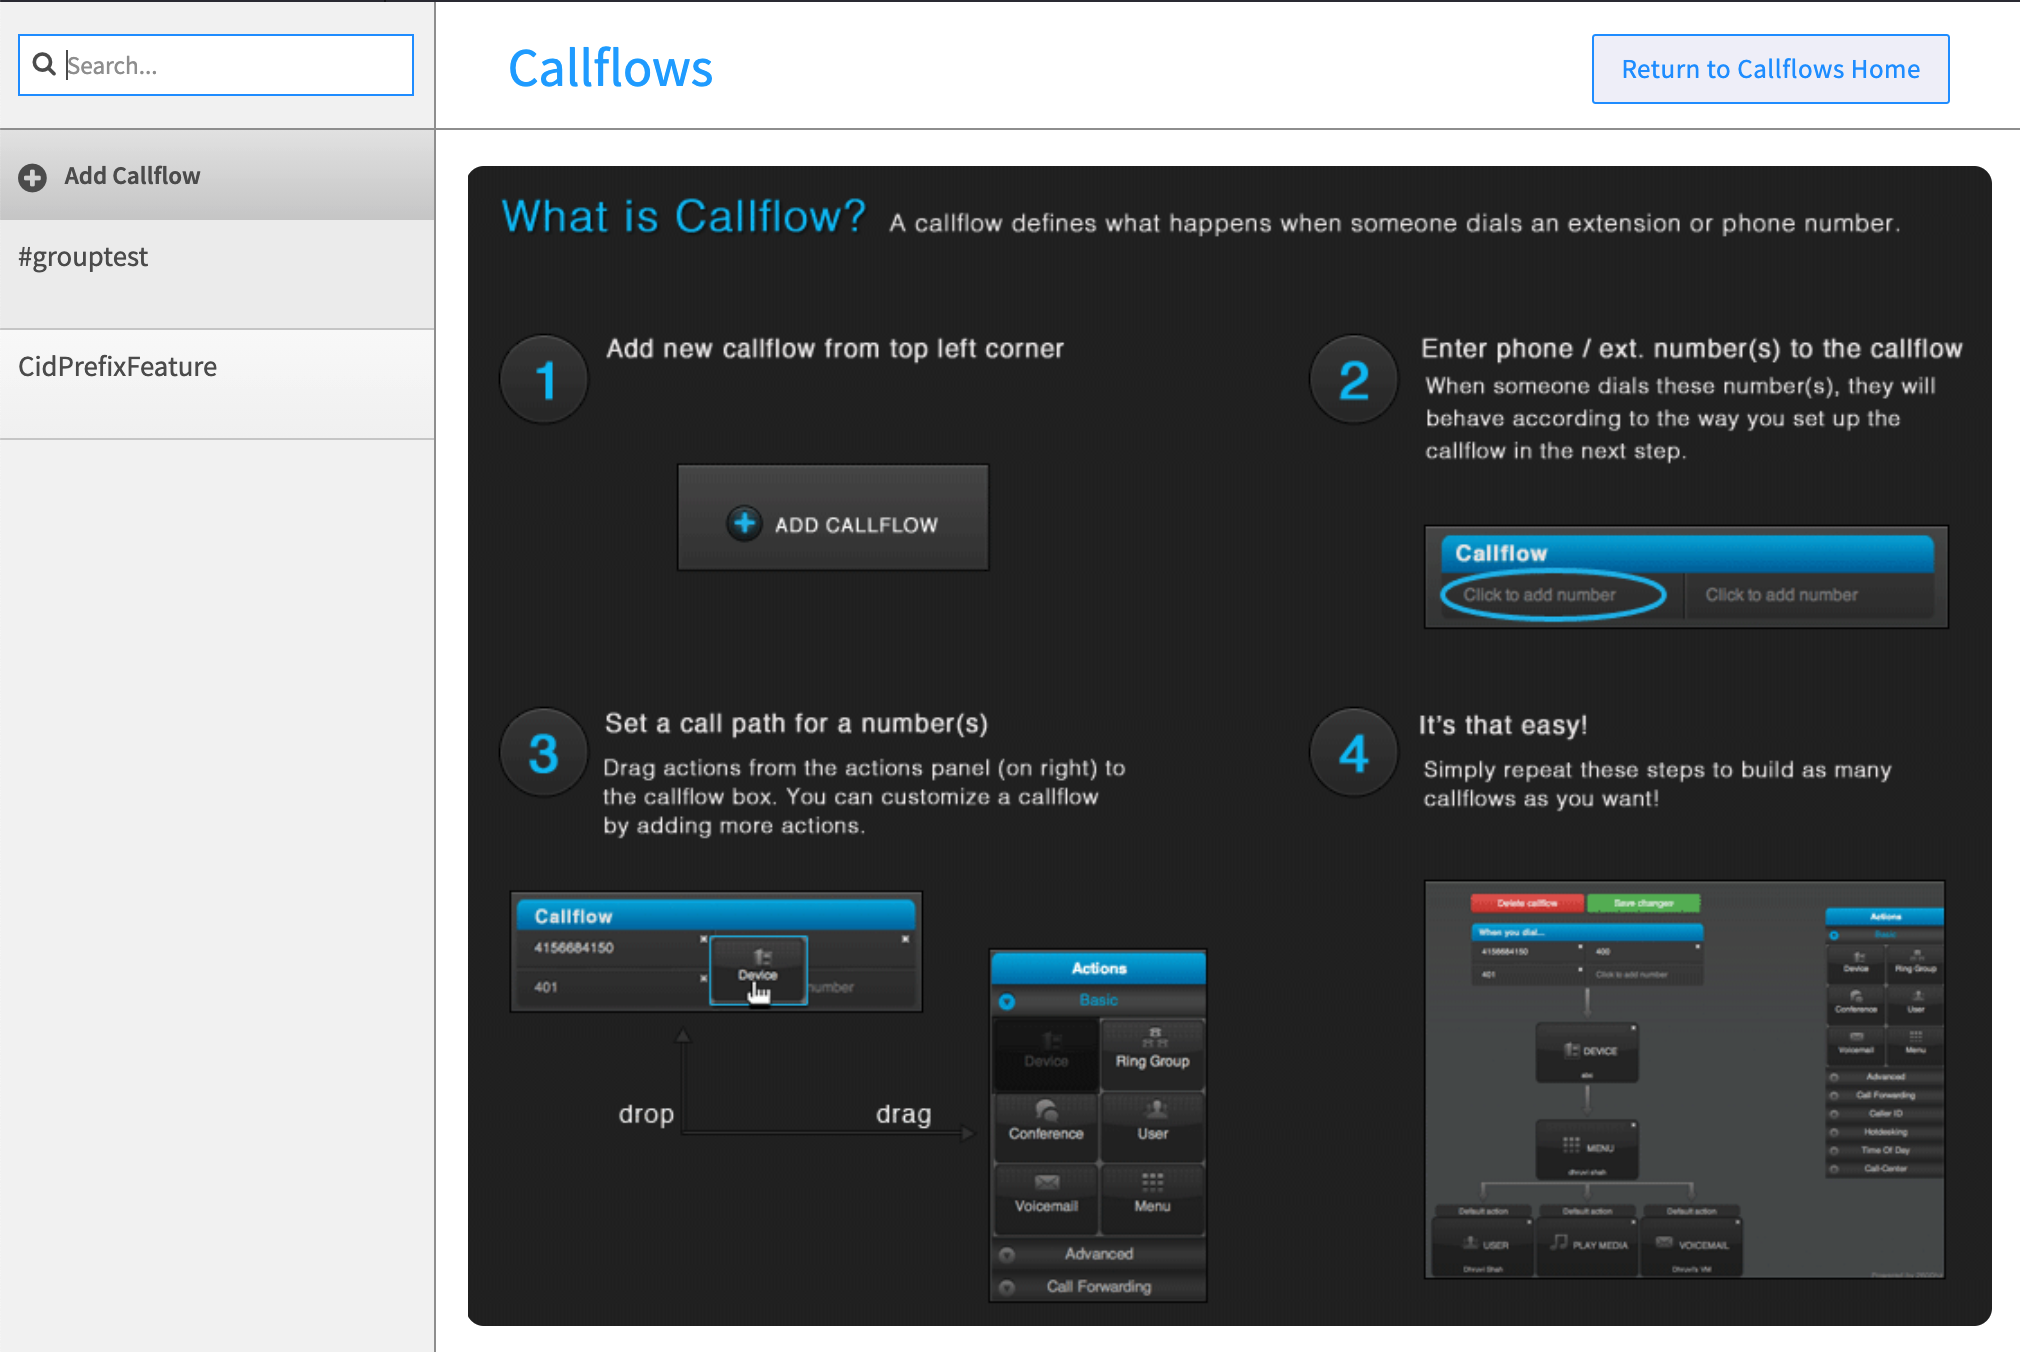
It outlines the following steps:
- Add a Callflow (create new)
- Enter phone number / extension(s) tied to this process
- Drag your action into the diagram
- Save your changes
A more detailed look at these steps is outlined below:
Add a Callflow
-
Select the Add callflow button in the left menu bar. You will see a “blank screen” waiting to be filled, and the Actions menu to the right.
-
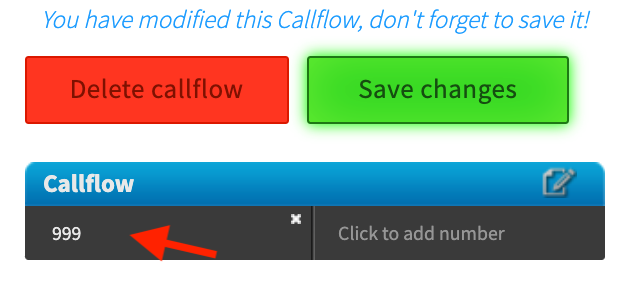
Click the black bar to assign a number to your callflow. NOTE: if you want to edit an existing callflow, select the edit pencil in the blue bar, upper right.
-
Select either: either

- a phone number in your account (you can buy one also)
- an existing extension shown in the dropdown
- enter a new extension
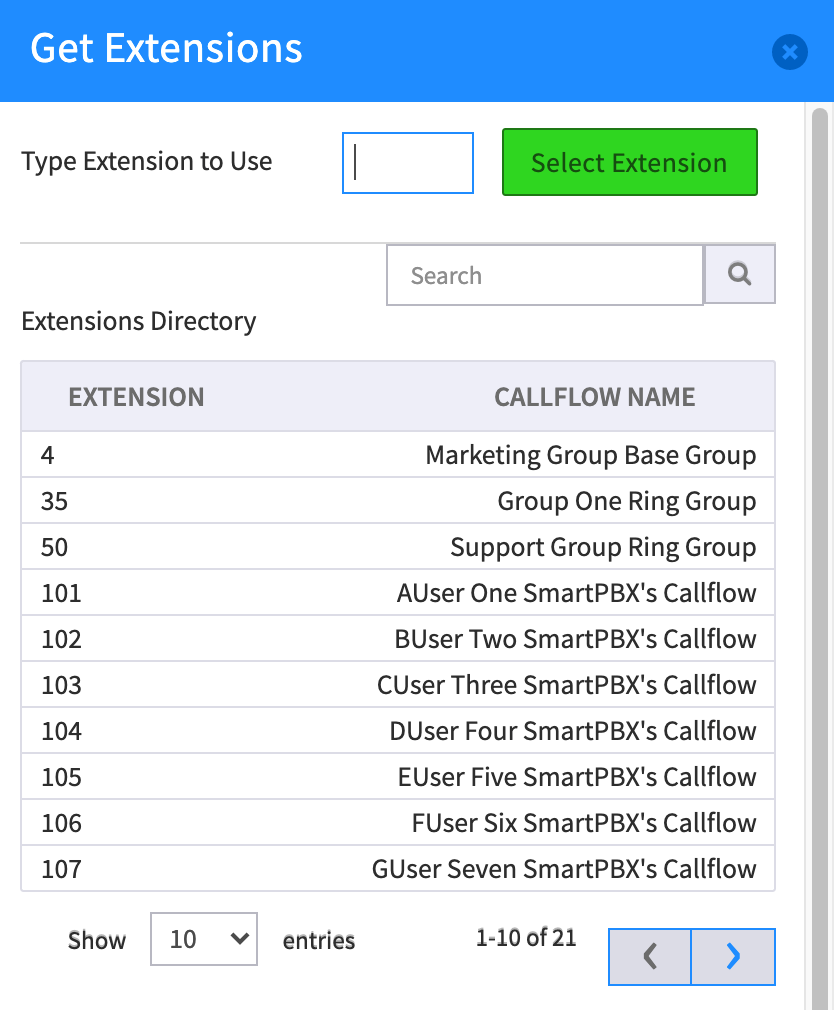
Your selection(s) will display in the black title bar and you are ready to add your actions!
NOTES:
- Your callflow cannot be saved until you add at least one action.
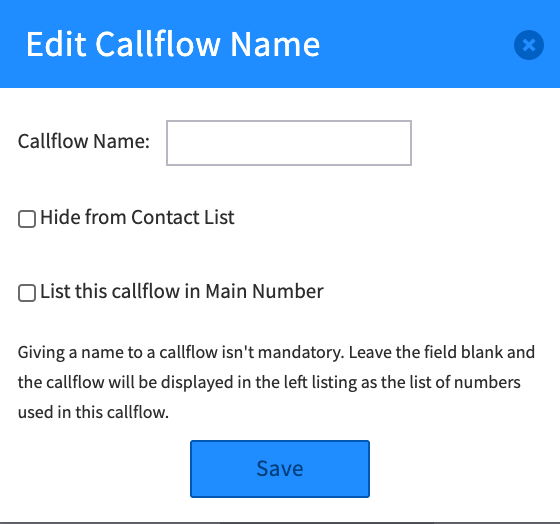
- When first saved, your callflow will display its name as the first extension number you have entered. If you want to change the name, select the edit icon at the top right of the blue callflow bar.Enter a unique name, and decide if you want it displayed as a “contact” and in SmartPBX’s main number list options.
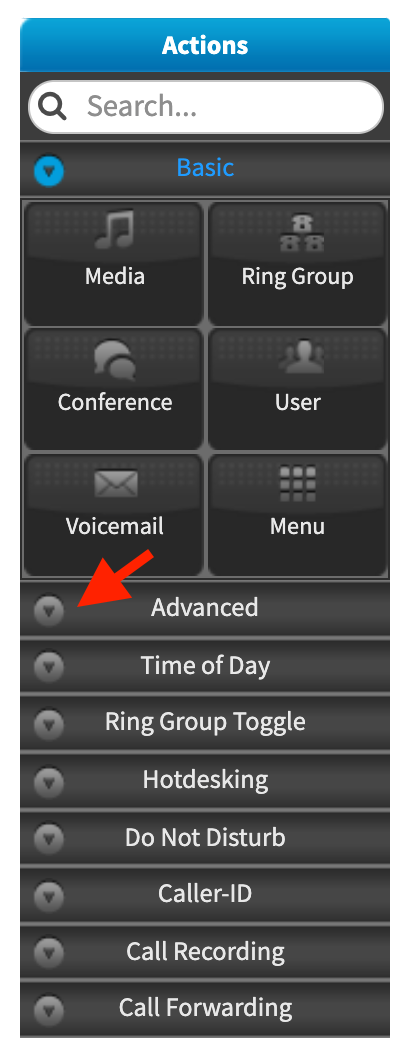
Next, review the Actions shown on the right menu bar.
NOTES
- The Basic Menu, with the most popular actions is displayed and open by default. To view additional actions available click on the drop down arrow of the eight additional topics.
- For a complete listing of the Actions available in this menu and the parameters they request, see below.
Drag the actions to your “palette” in the order you want the callflow to take. “Drop” it onto the last action you have identified, and it will connect below. Depending on the action you choose, you will need to enter additional information to a dialog box that will pop up.
- Some actions trigger dual dialog boxes to display, for example the “Menu” action allows you to enter several menu items.
- Make sure to save each dialog box entry! See notes above on how to name your callflow.
- To remove a block, click on the x at the top right.
Sample Callflow
Below is a sample that uses basic actions only. It provides a submenu set of options to go to a ring group, to a generic Support Voicemail box, or to a “home” voicemail box.
