comm.land User Guide
The following is a User Guide for comm.land 2.6 / 2.7 and its core workspaces. (Phone, Contacts, Conferences, Fax)
What’s new for comm.land 2.6
-
Re-designed and updated
-
External Websites
-
Chat Workspace
-
Dock Notifications for Phone Workspace
What’s new for comm.land 2.7
-
Click-to-Call with webphone
-
Basic call presence within webphone directory
-
Re-designed contacts workspace
The Dock, Workspaces, Apps and Websites
With comm.land, you have the power of Workspaces, Apps, and now Websites right at your fingertips.
What is a workspace?
Workspaces are a set of core features that always stay updated in the background, regardless of where you are working in comm.land.
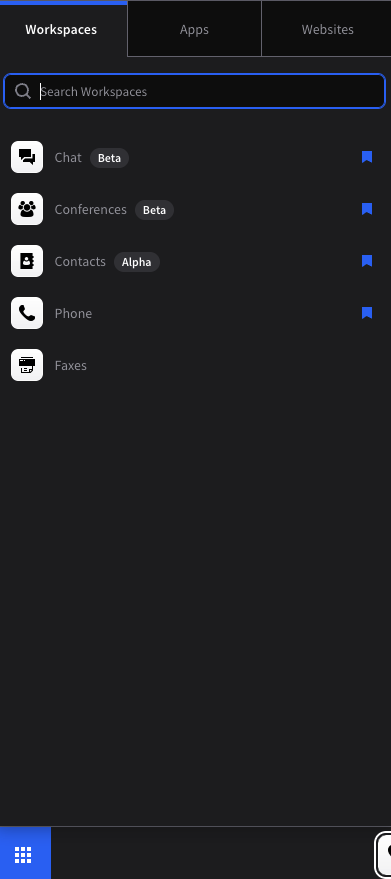
Current workspaces are as follows:
- Phone
- Contacts
- Conferences (Beta)
- Faxes
- Chat (if installed on cluster)
What is an app?
This is everything else! The apps that you know and love already can live right in comm.land.
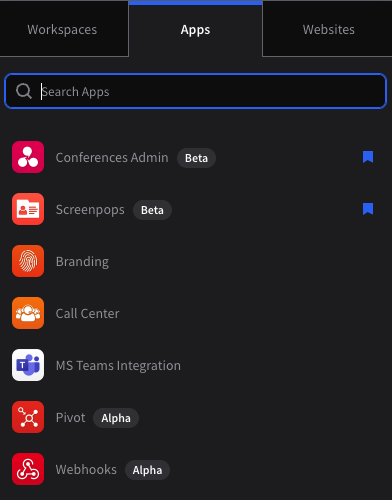
Accessing all your Apps, Workspaces and Websites
Simply hit the Dock Menu Button in the bottom left corner, and you will see 3 tabs – one for your Workspaces, Apps and a new 3rd tab for external websites.
Customizing your dock
You can customize your dock by pinning different Apps, Workspaces and Websites. You can pin up to 4 Workspaces, 4 Apps and 4 Websites to your dock. There is also space for a 5th Workspace and App, which will be the last used Workspace/App that is not pinned.

Configuring Websites
Add your own internal site, or any other website directly to comm.land with the new Websites feature.
To get started simply navigate to the website tab and select “+ Website)
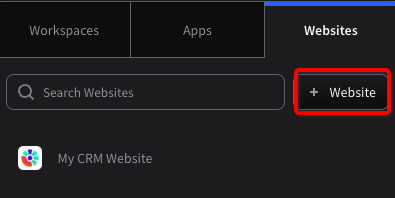
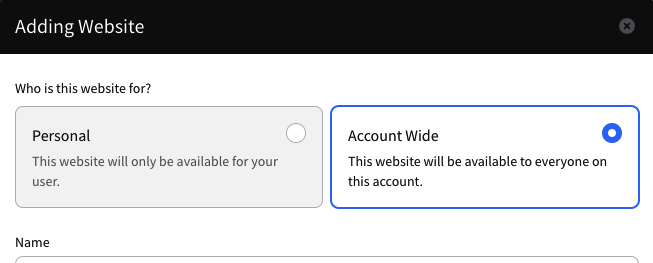
Users will be able to add websites that only they can see within comm.land
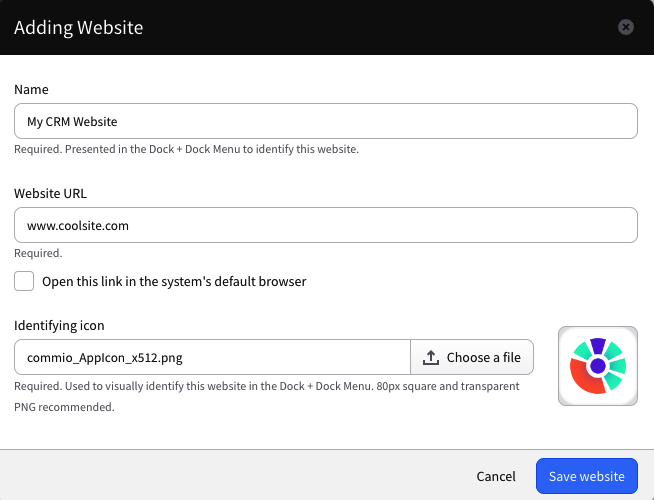
Admins will be able to add websites that only they can see AND account wide sites, that all users on the account will see and have access to. Regular users will be unable to edit or delete admin created sites.
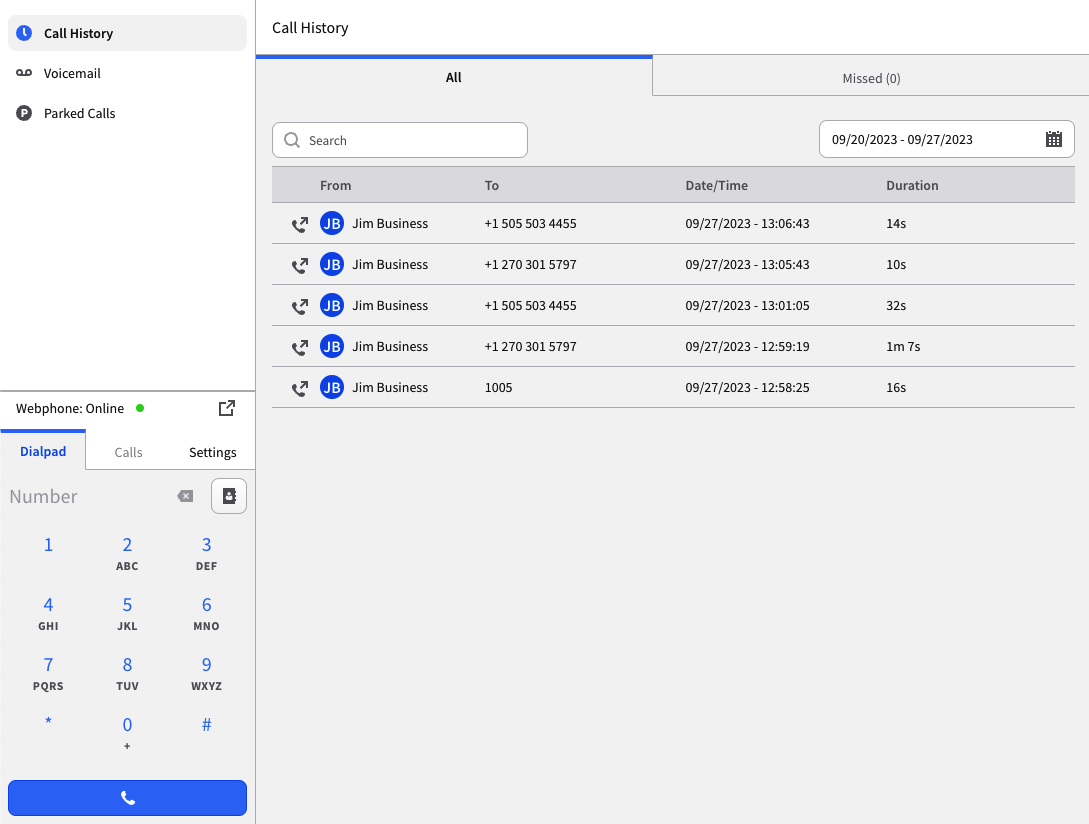
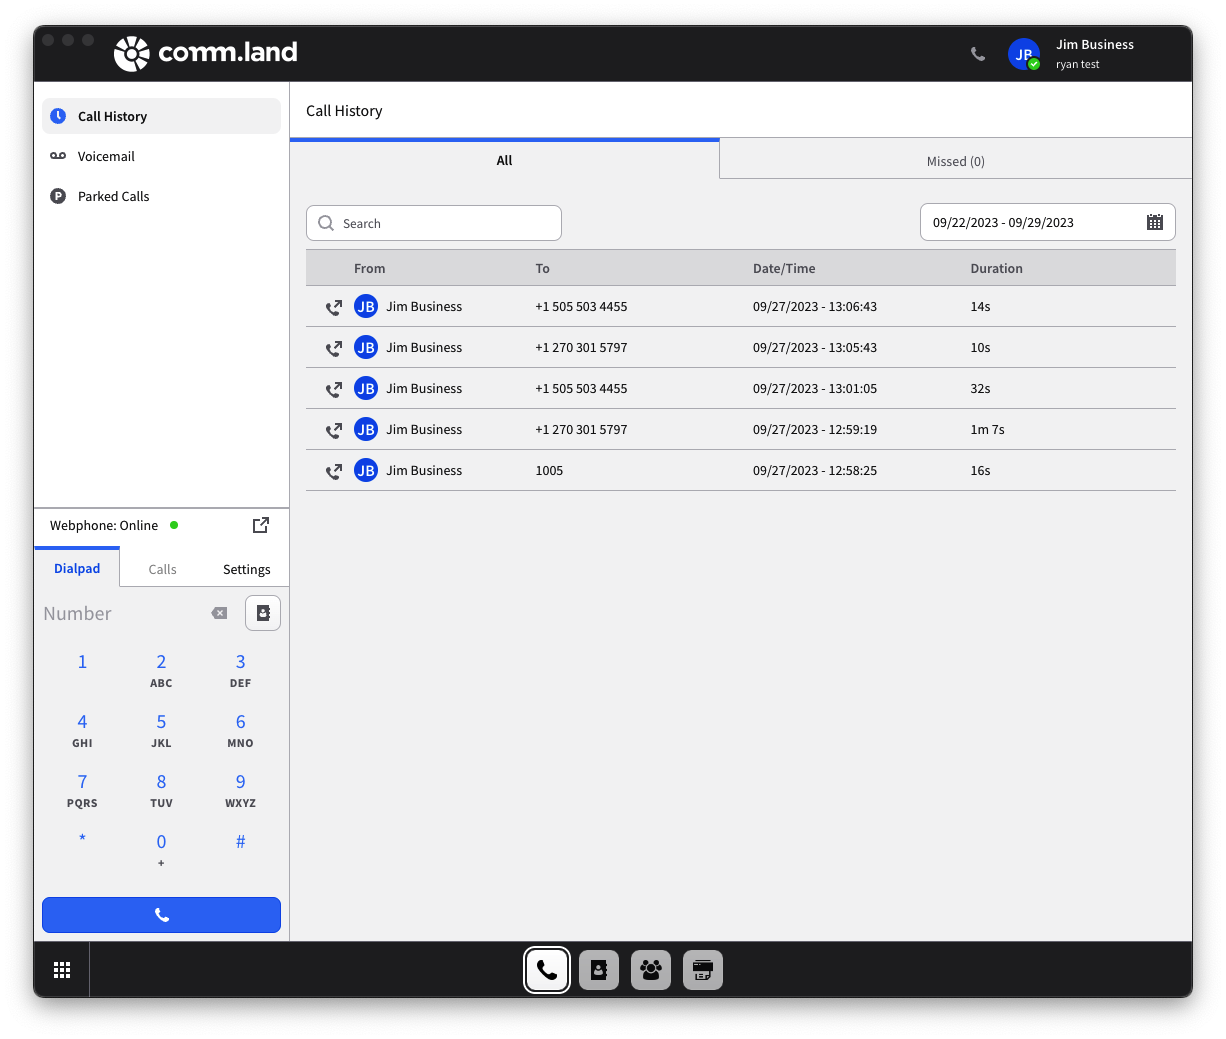
By default, the Phone Workspace will open with the Call History tab selected, you can select to view Call History, Voicemail, or Parked Calls to the right of the webphone in your Phone Workspace.
Webphone
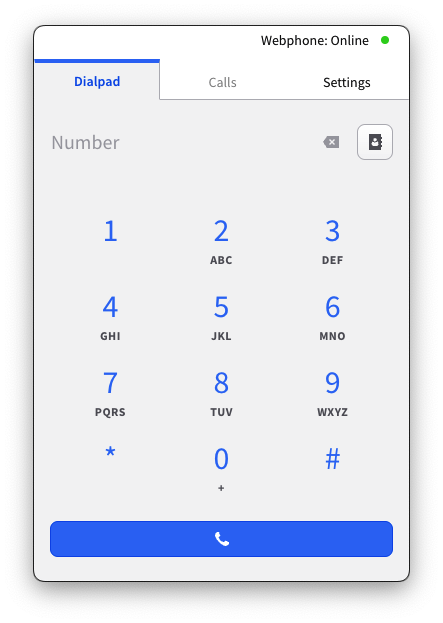
The webphone uses a tab system to access various phone functions. To make a call, dial a number or select the directory icon to see your internal directory.
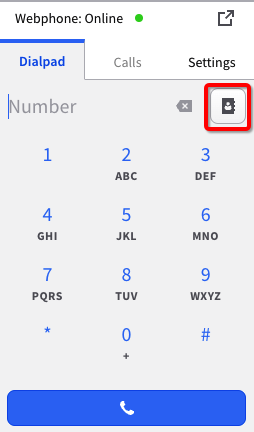
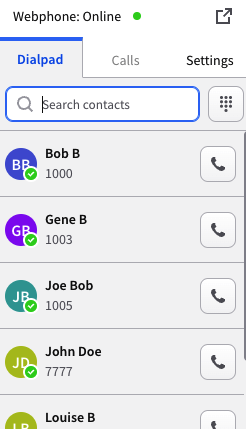
Once you make a call, you will see that you are moved to the Calls tab, and will see a calling card for your active call. In the calling card, the bottom has a set of call control buttons for you:
- In-Call Dial Pad
- Mute/Unmute
- Video
- Transfer
- Blind
- Call-Ahead
- Park
- Auto-assign spot
- Manually pick spot
- Screenshare (same account only)
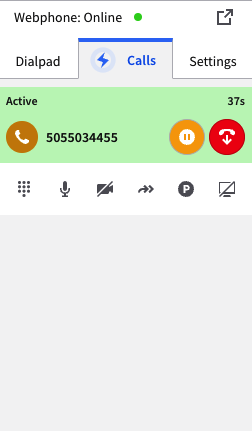
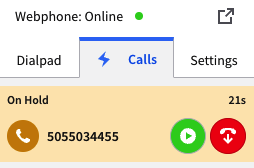
The calling card also has 2 larger buttons next to the caller, hold and hang up. When placing a call on hold you will notice the “Pause” button will turn into a “Resume” button. Your other call controls will also disappear.
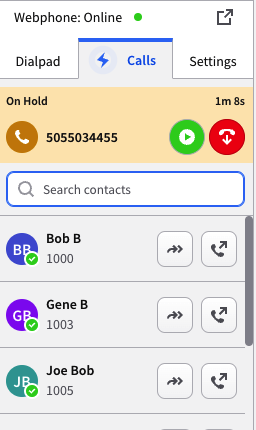
Whenever you move to another app or workspace within comm.land a pop out webphone will appear. You can also manually pop-out the webphone via the “Pop-out” button or access from any app or workspace via the “Phone” button at the top bar next to your name.


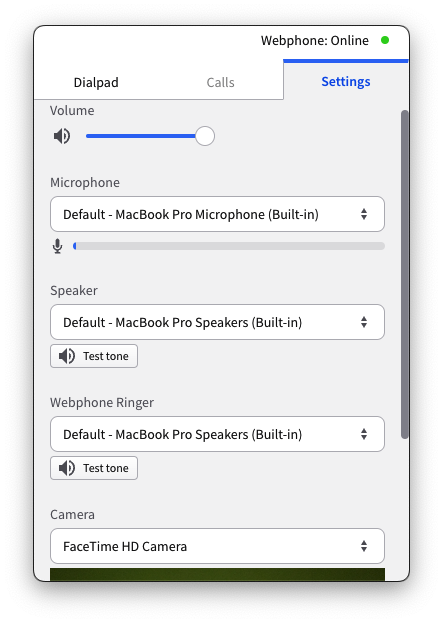
A settings tab also is available to control volume, mic, speaker, ringer and camera settings.
Call History
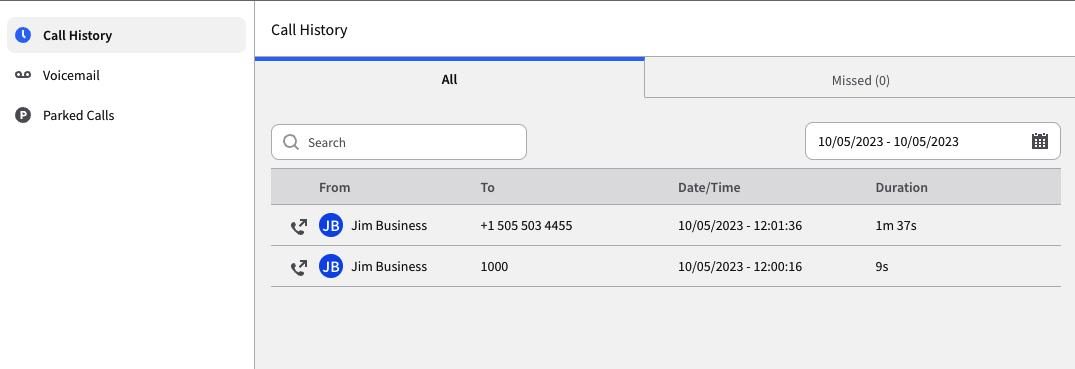
Quickly see your call history, with ability to search, and filter by date to find that call you need.
Voicemail

Visually see your voicemail, play it back, download, delete and even read your voicemail with ease.
Parked Calls
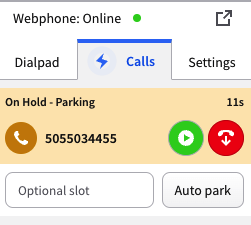
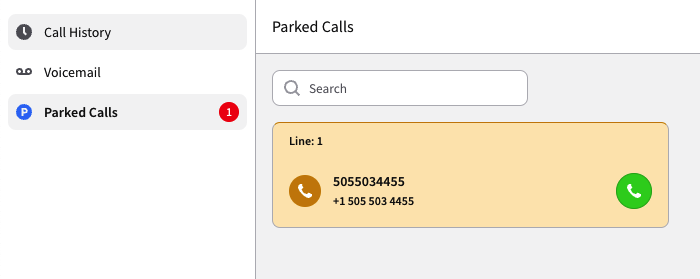
Upon pressing the “Park” icon - The caller will be placed on hold, you have the option to manually type in a parking spot, or you can simply hit “Auto park” and it will be assigned to the next available parking spot. Once a call is parked you can view and retrieve the call via the Parked Calls subsection of the phone workspace.
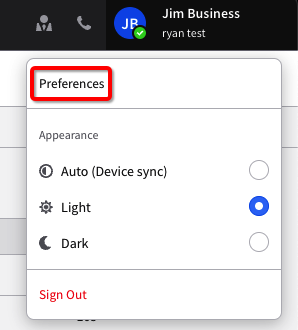
To access User Preferences, click on your name in the top right corner, select Preferences.
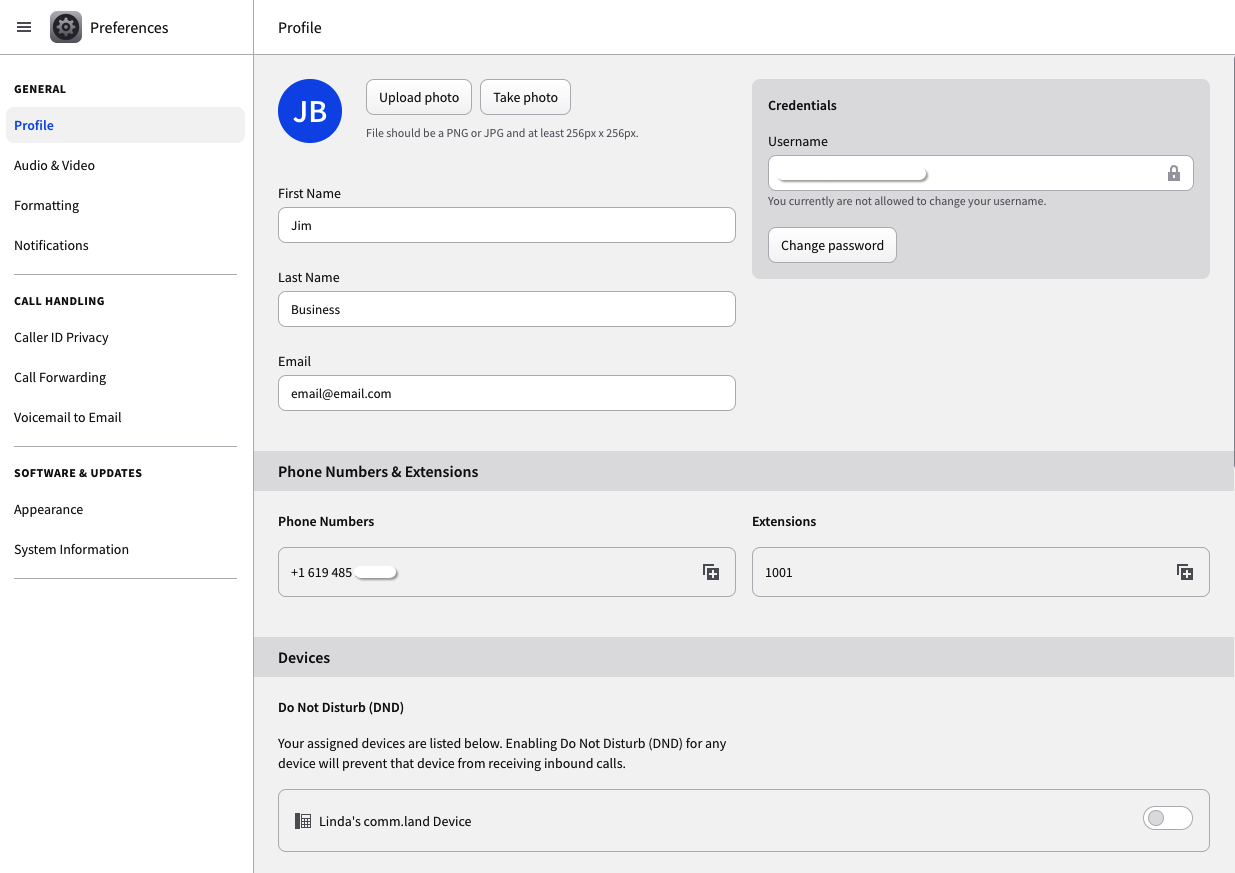
Profile
Once entering user preferences, you will land on the Profile page. You can do most of everything that is needed from the Profile page or have a quick view and shortcut to the section you will need from the Profile page. You can also quickly get to other sections in Preferences via the sidebar, which is laid out in categories on various items that you have control to change.
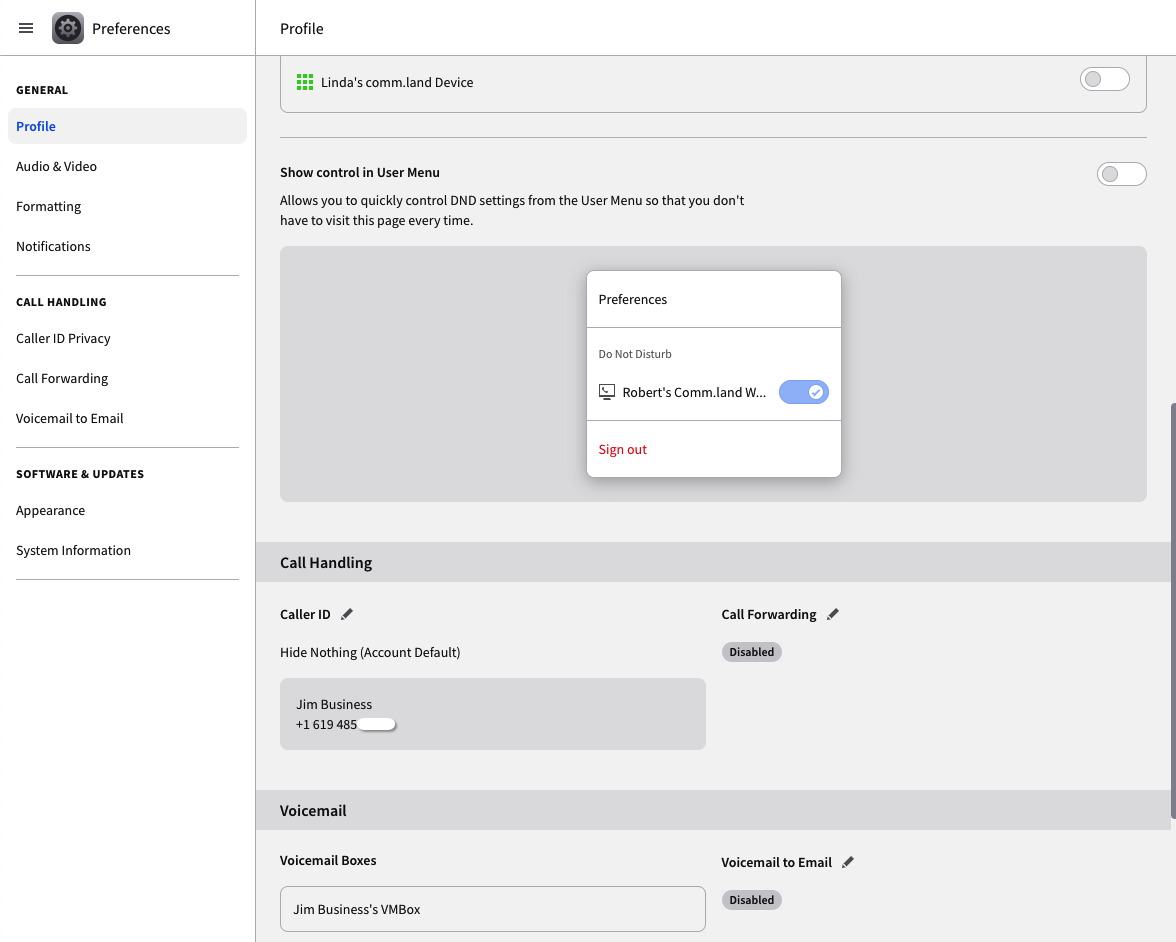
Menu
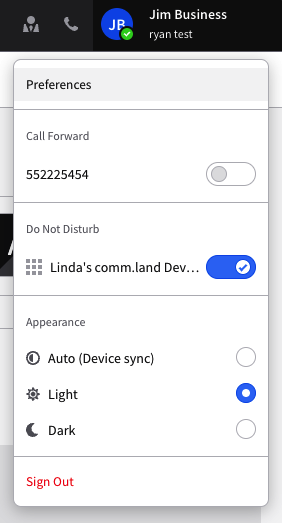
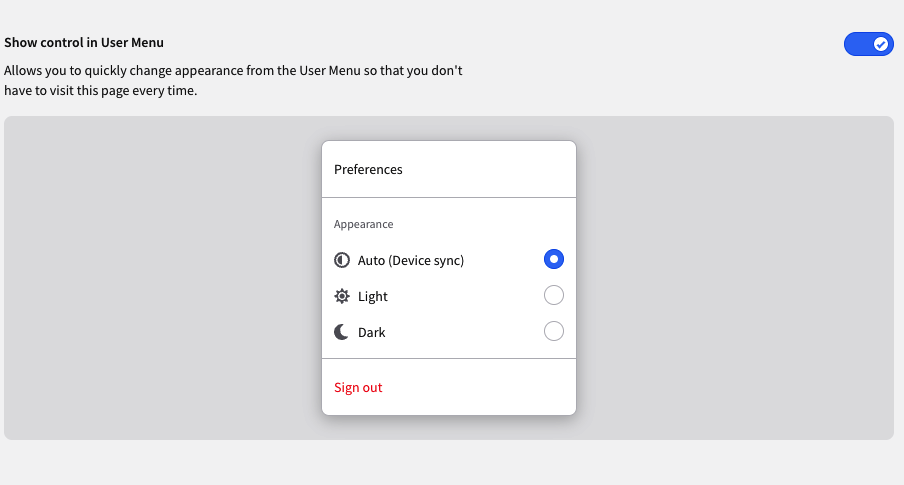
We added the ability to customize your user menu. Do Not Disturb, Call Forwarding, and Appearance settings allow you to add or remove quick control from your user menu.
Audio & Video
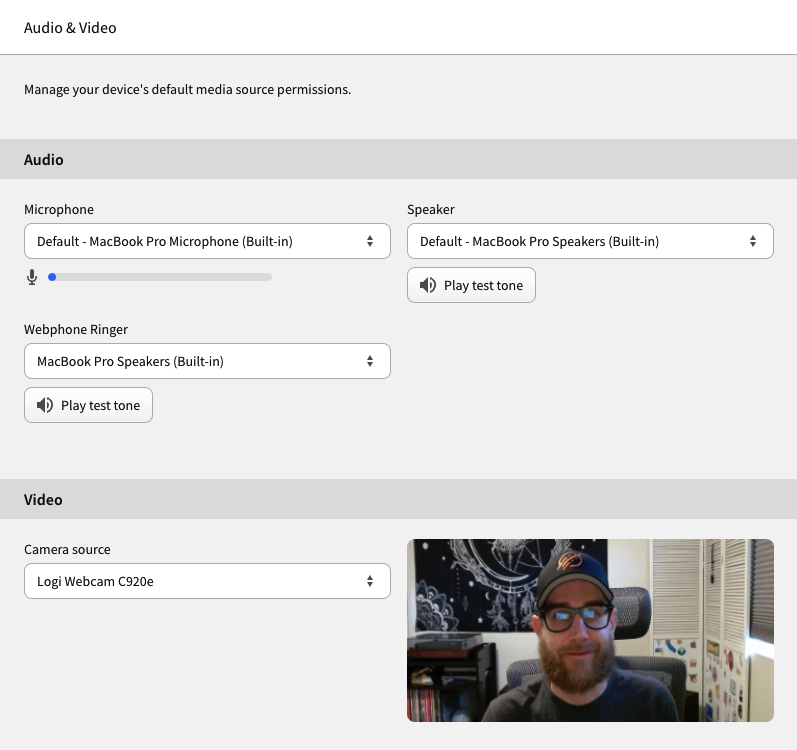
Set your default audio and video devices, these settings can also be access via the “settings” tab via the webphone.
- Microphone
- Set your default mic
- Speaker
- Set your default speaker for in-call audio.
- Webphone Ringer
- Set your default speaker for your ringer, this allows your ringer to come out of a different speaker than what you use for in-call.
- Camera Source
- Set your default camera for video conferences and calls.
Formatting Time & Date
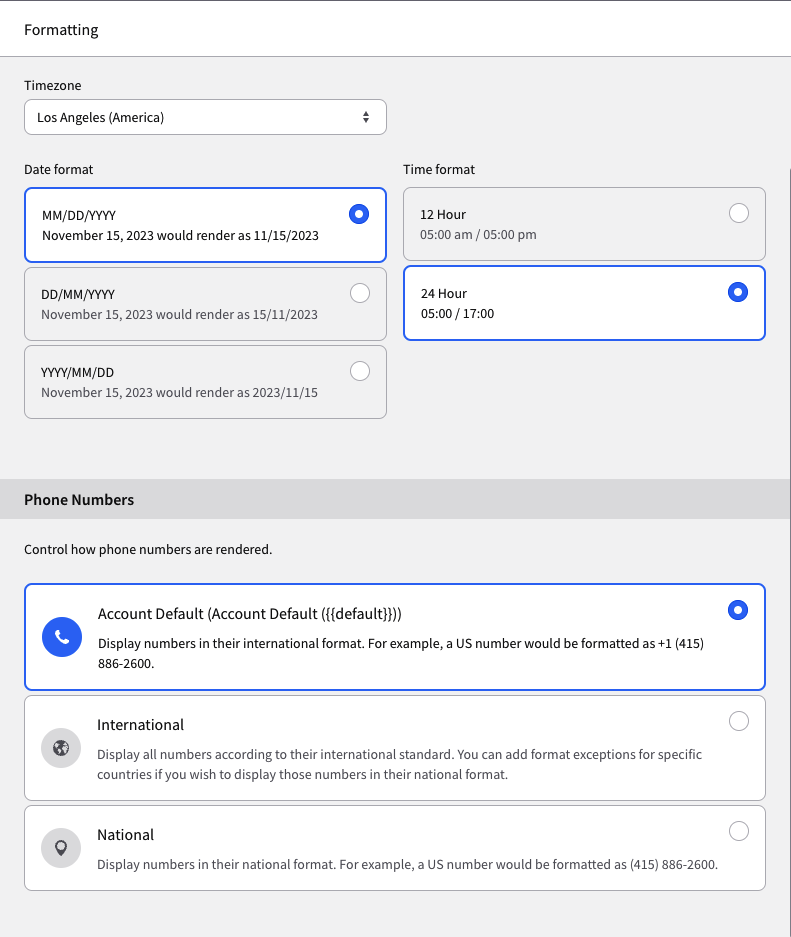
Setup your personal settings for formatting within comm.land
- Timezone
- Set your timezone
- Date/Time format
- Setup your preference for how dates/times read within comm.land
- Phone numbers
- Set how you would like phone numbers displayed to you.
Notifications
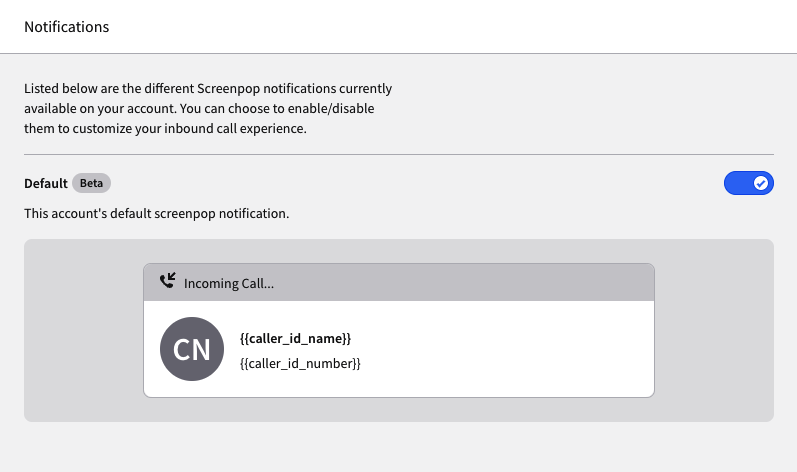
If an admin has setup screenpops on account, users can set screenpops to on or off here.
Caller ID Privacy
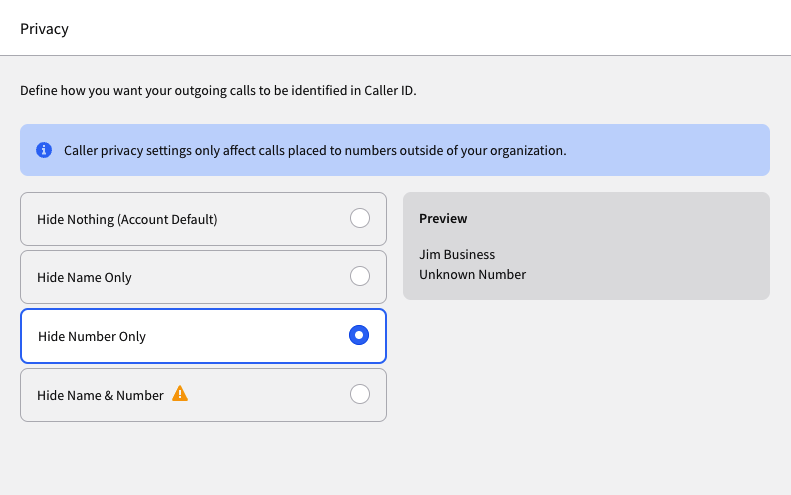
Set your caller ID settings and see how it will be displayed to outside callers.
Call Forwarding

Set/change your call forwarding.
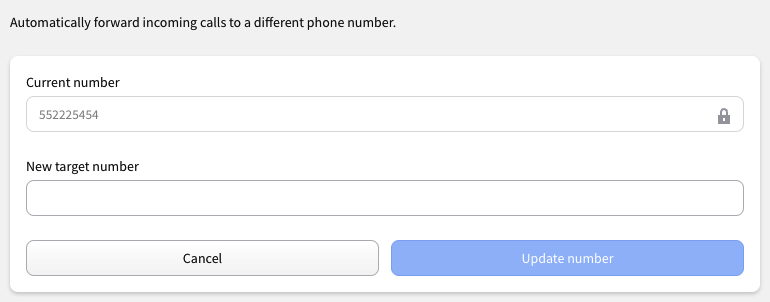
After enabling call forwarding, you will be presented with further options on how you would like to forward your call.
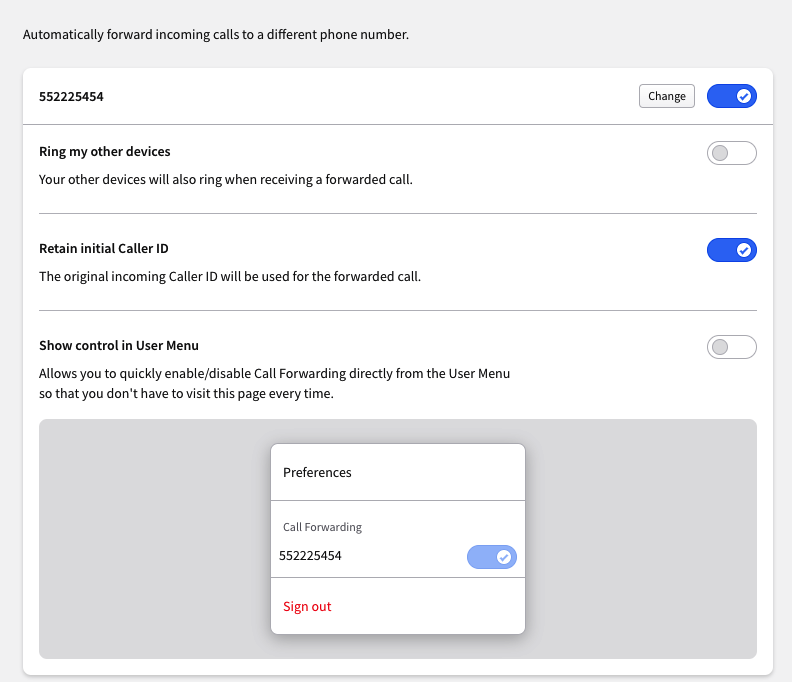
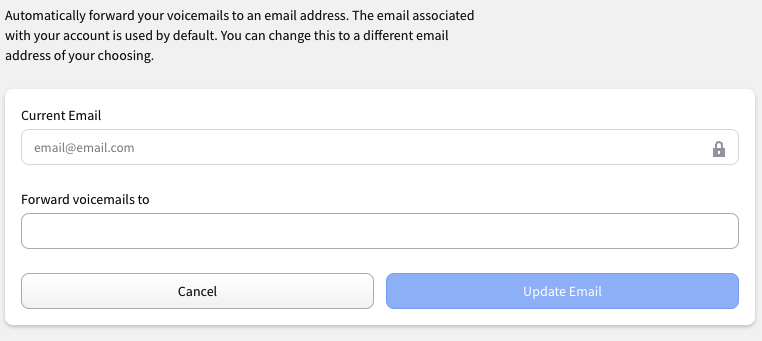
Voicemail to Email
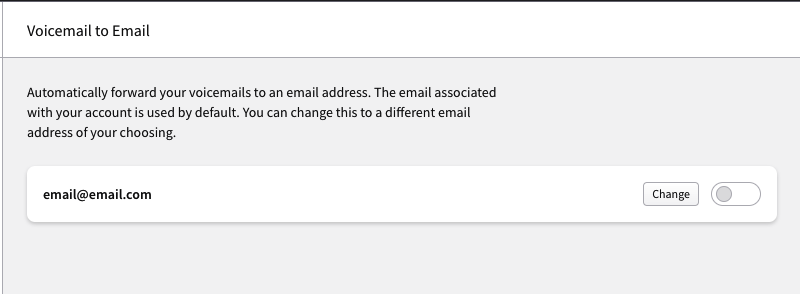
Change your email or turn on/off your voicemail to email.
Appearance
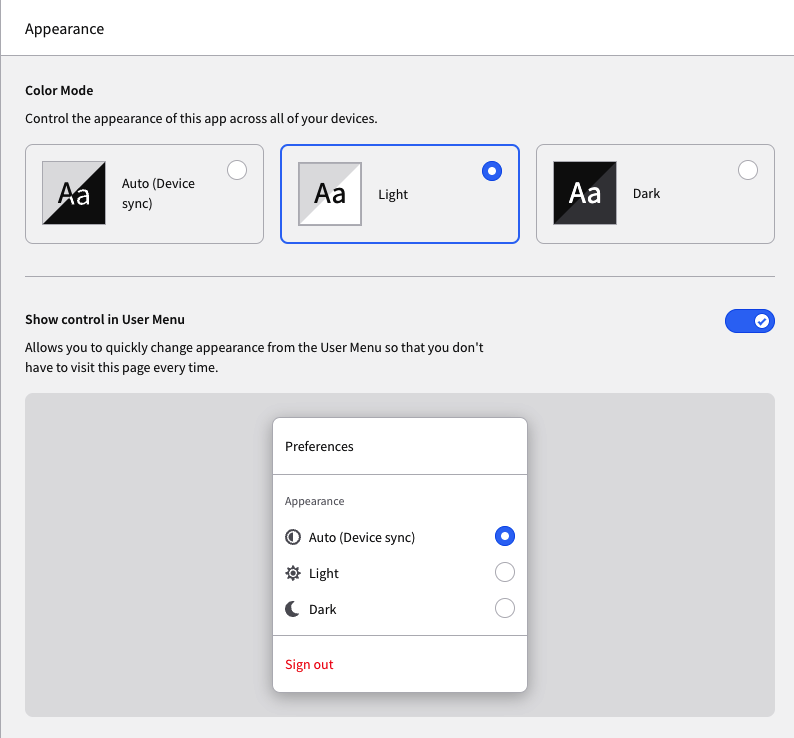
Control your appearance settings - set your dark/light mode preferences.

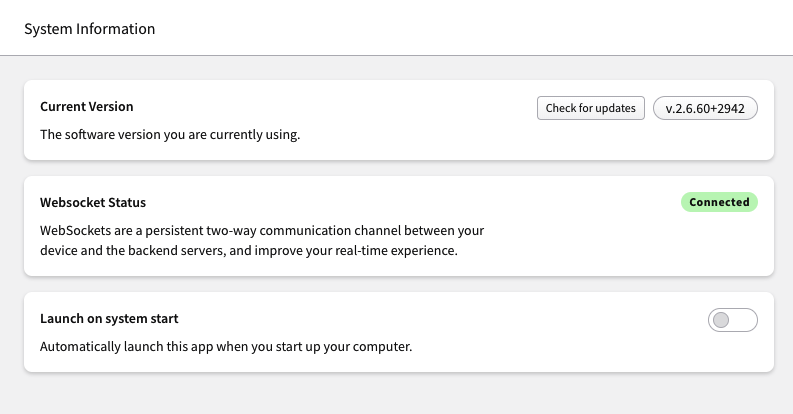
System Information
See important information about comm.land on your system.
Easily look through your internal directory, call or email directly from the contacts workspace.
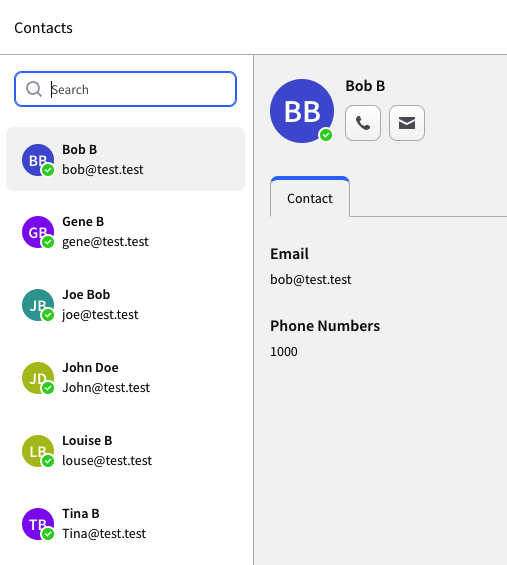
Contacts workspace 2.6
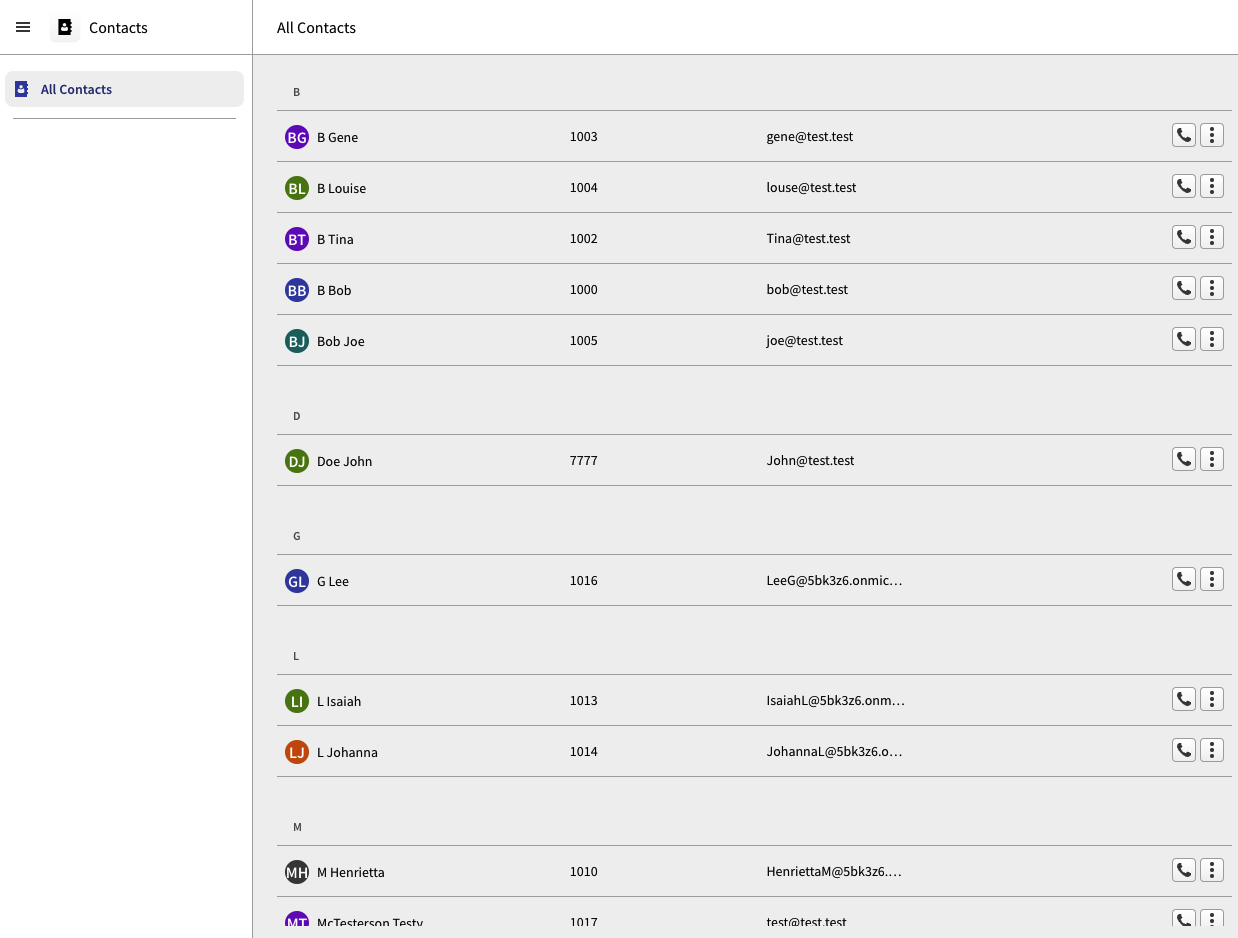
Contacts workspace 2.7
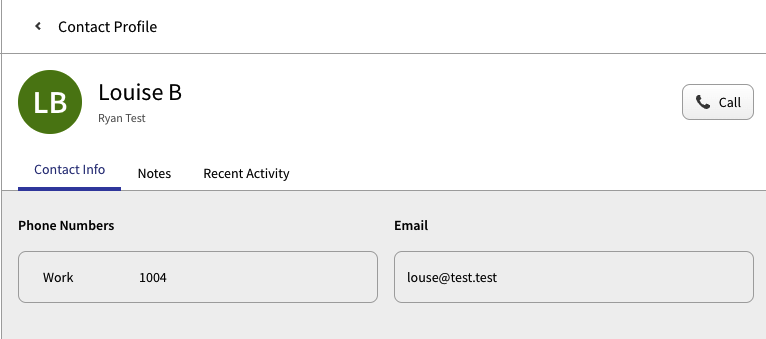
Contacts workspace 2.7
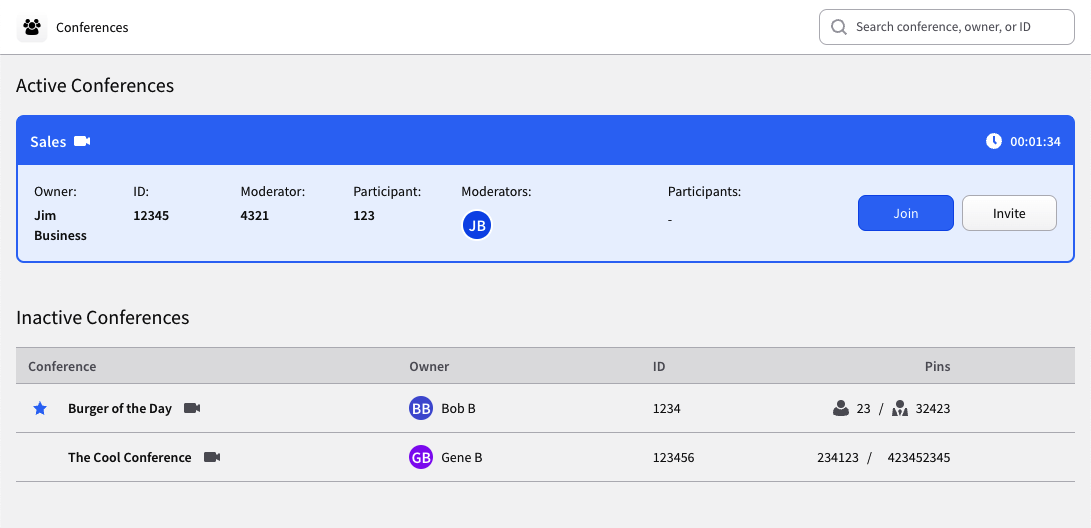
Upon entering the Conferences Workspace, you will see an overview of all the conferences on your account. Active conferences will be in a card with an overview about the conference along with quick access to join or invite others to the conference.

Favorite a conference! Your favorite conferences will always be up top Alphabetically. Quickly see and join your favorite conferences.
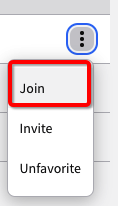
After selecting Join, you will be presented with a set of options to either join by phone or computer
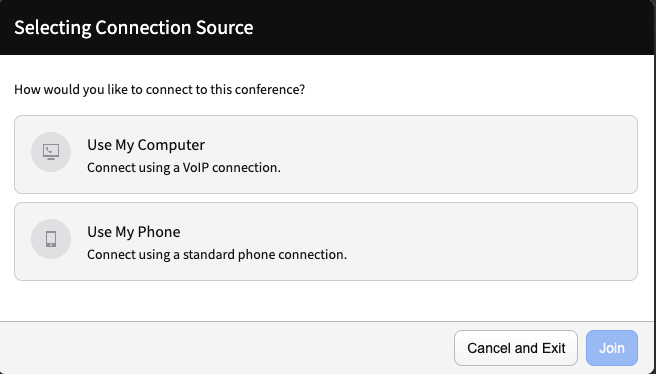
Selecting Use My Phone will provide you with the Call-in Numbers along with all the conference ID and Participant PIN that will be needed to call-in.
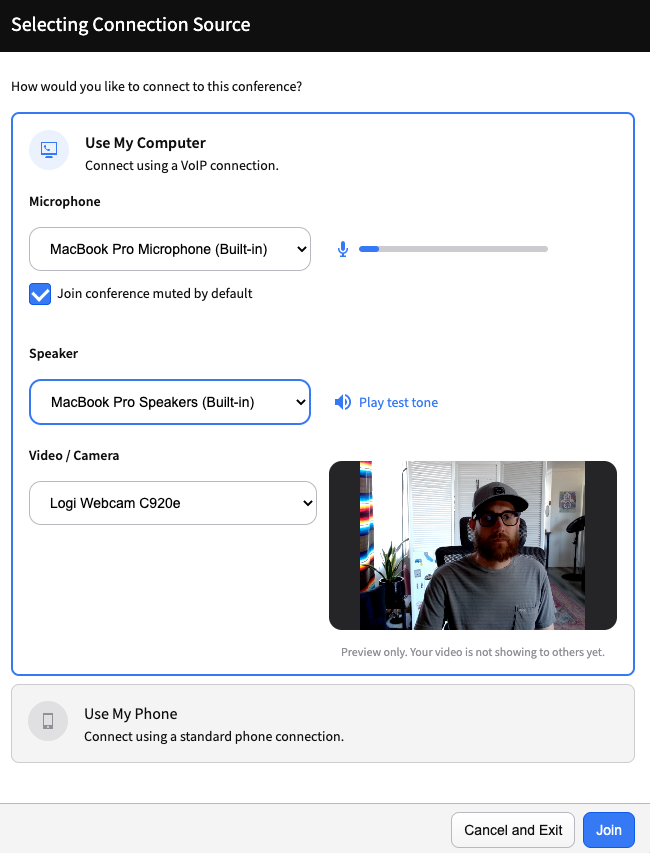
Selecting Use My Computer will present you with options to select a microphone, speaker and, if video is enabled on the conference, Video/Camera.
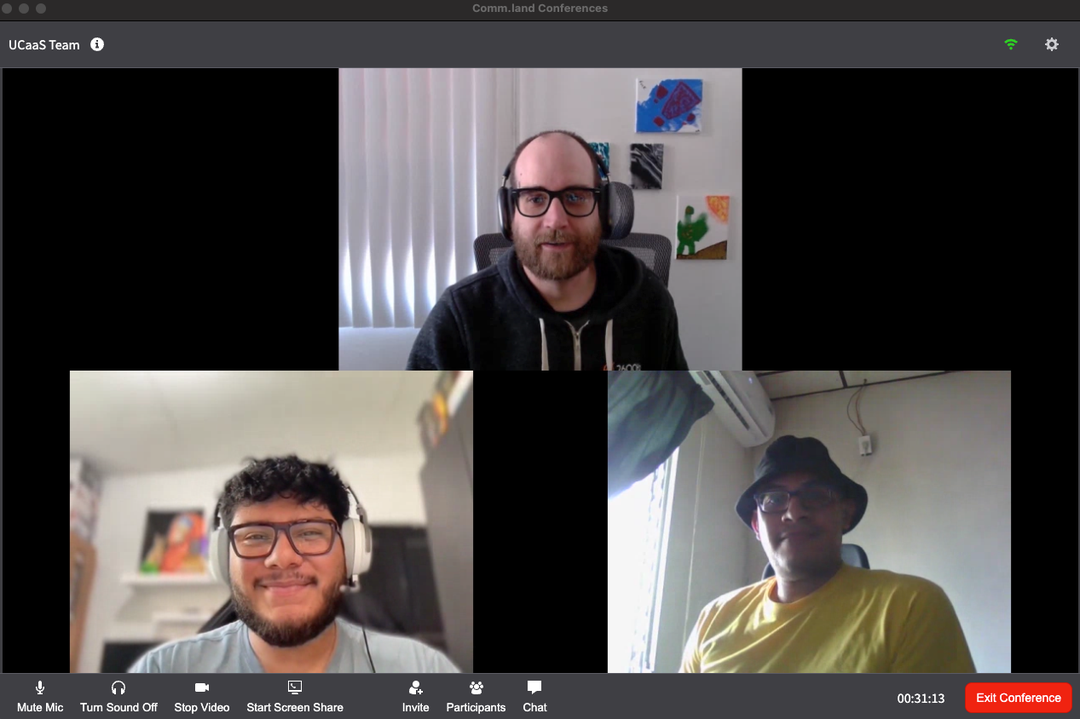
In video conferences you will have the following options.
For participants:

admins:

Conferences you are an admin of, you have extra options. You can force a layout on the screen, including locking it to 1 single user if needed for presenting. You also have the ability to lock or unlock the conference. Locked conferences will block all new users from joining, until an admin has unlocked the conference again. The ability to “Mute all” participants or “Deafen all” is also an extra feature available to conference admins.
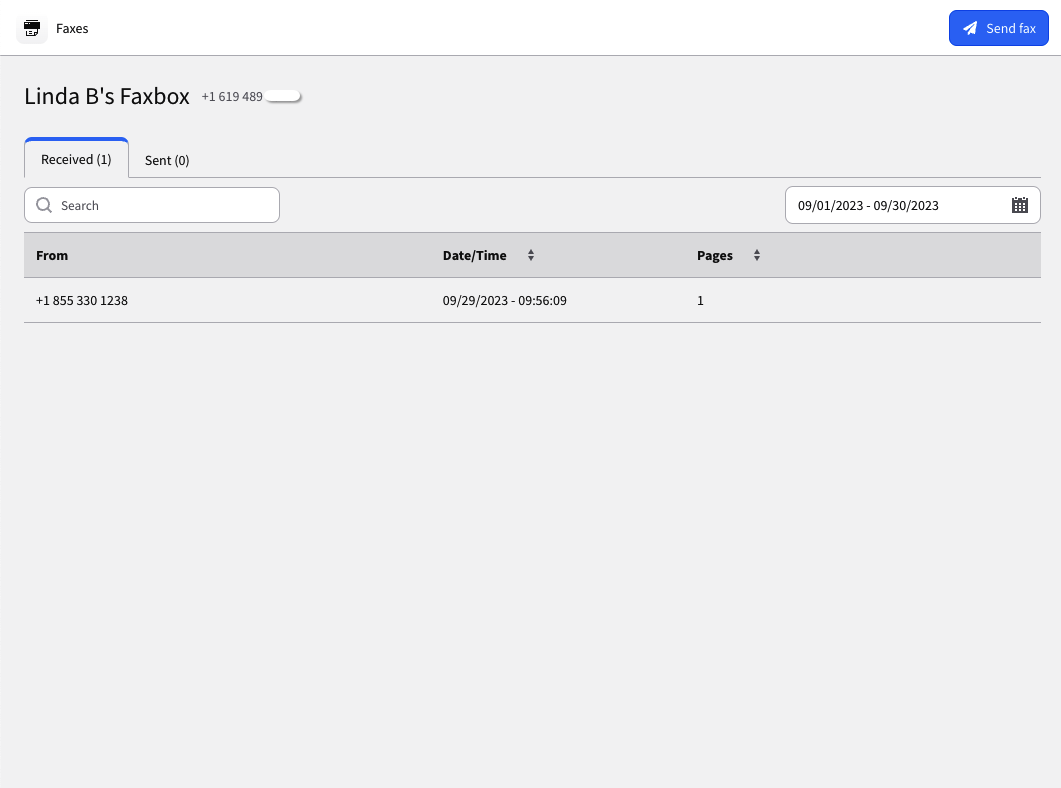

- See all your received and sent faxes in a new tabbed system.
- Download, view, delete.
- Filter by date or search through previous faxes with ease.
- To send a fax - click on the “Send fax” button in the top right corner.
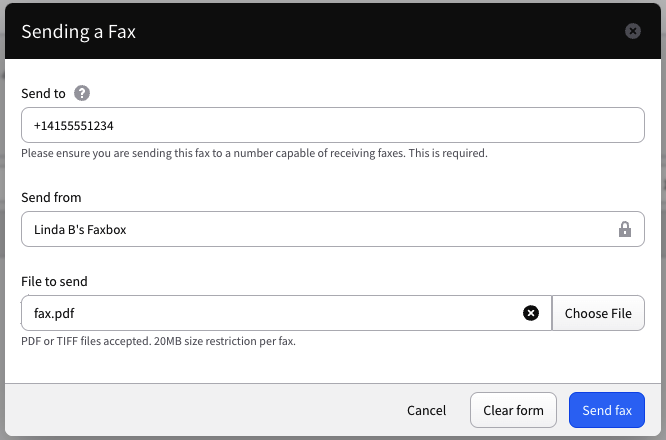
Once selecting send fax a new modal will appear.
Notes:
-
Sending size limit is a cluster specific setting, our helper text will now update based on that setting.
-
PDF or TIFF files only
-
Faxing is in black and white.
-
The country code must be included (example: +1, +52, +44, +503 etc.) following E.164 standards
