monster.ui.generateAppLayout()
Syntax
monster.ui.generateAppLayout(thisArg, options);
Parameters
| Key | Description | Type | Default | Required |
|---|---|---|---|---|
thisArg | Context of the app invoking the helper. | Object | true | |
options | Object(#/options) | true |
options
| Key | Description | Type | Default | Required |
|---|---|---|---|---|
appType | Define wrapper behavior. | `String(‘default' | 'fullscreen' | 'docked’)` |
forceNavbar | Render navbar even when only one tab exists (overrides hideNavbar when true). | Boolean | false | false |
hideNavbar | Hide navbar even when multiple tabs (more than 1) are defined. | Boolean | false | false |
menus | Array | true | ||
menus.[] | Object(#/menu) | true |
menu
| Key | Description | Type | Default | Required |
|---|---|---|---|---|
pull | Floating direction. | `String(‘left' | 'right’)` | left |
tabs | Array | true | ||
tabs.[] | Object(#/tab) | true |
tab
| Key | Description | Type | Default | Required |
|---|---|---|---|---|
text | Tab menu label (mandatory if more than on item in tabs). | String | false | |
callback | Callback on click (mandatory if no menus property). | Function | false | |
onClick | Execute before callback. | Function | false | |
layout | Define layout type for this tab. | `String(‘fullscreen' | 'docked’)` | |
menus | Array | false | ||
menus.[] | Object(#/menu) | false |
Description
The monster.ui.generateAppLayout() method generates a consistent markup to wrap the content of your Monster app. It also generates the navbar menu of the app and handles tab clicks and animations. The goal of this method is to empower developers by giving them the basics (app navbar, tabs handling) so they can just an start coding the core of their app.
The markup generated will looks like this:
<div id="{appName}_app_container" class="app-layout">
  <div class="app-header">
    <div class="app-navbar-bg">
      <div class="app-navbar-wrapper">
        <nav class="app-navbar monster-navbar">
          /* app navbar */
        </nav>
      </div>
    </div>
    <div class="app-subnav-bg">
      <div class="app-subnav-wrapper">
        <nav class="app-subnav monster-navbar">
          /* app subnav */
        </nav>
      </div>
    </div>
  </div>
  <div class="app-content-wrapper">
    /* app content */
  </div>
</div>
The monster-navbar contains the navbar and subnav of the application, depending on the options passed to the method.
Customization
appType
An app can have three different types: default, fullscreen and docked. Those types will only impact the markup and styling of the generated layout.
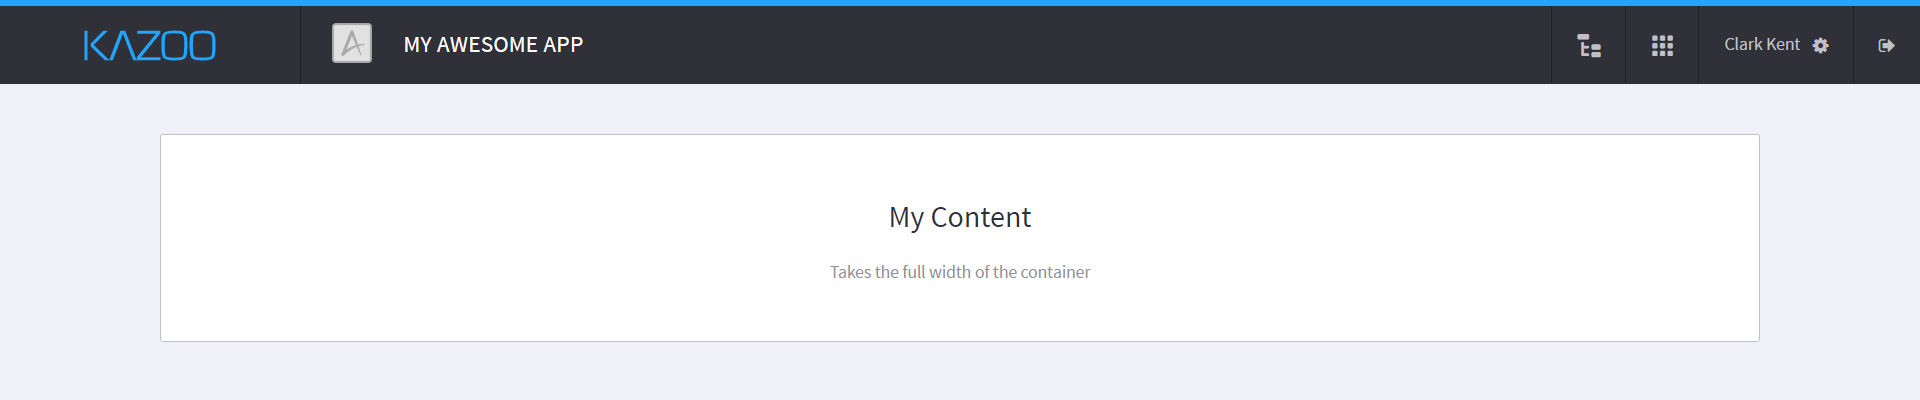
default
Maximum width of 1280px with 20px of on each sides to keep it from hitting the sides on smaller screens.
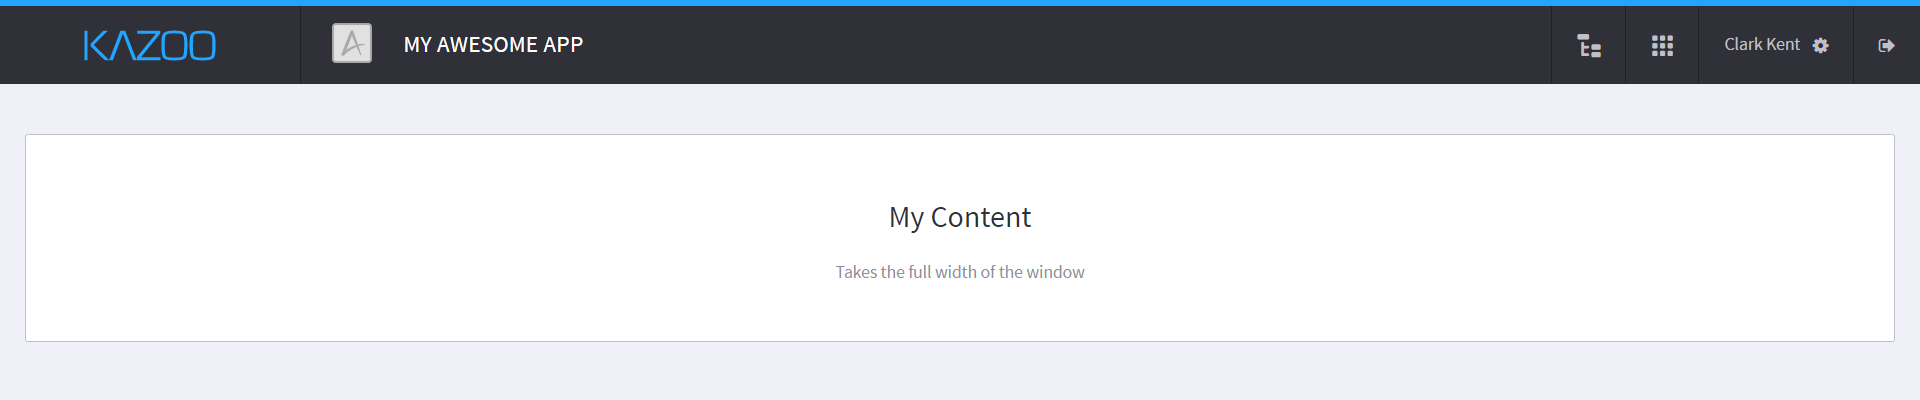
fullscreen
Takes the full width of the window minus the 20px of padding on each side.
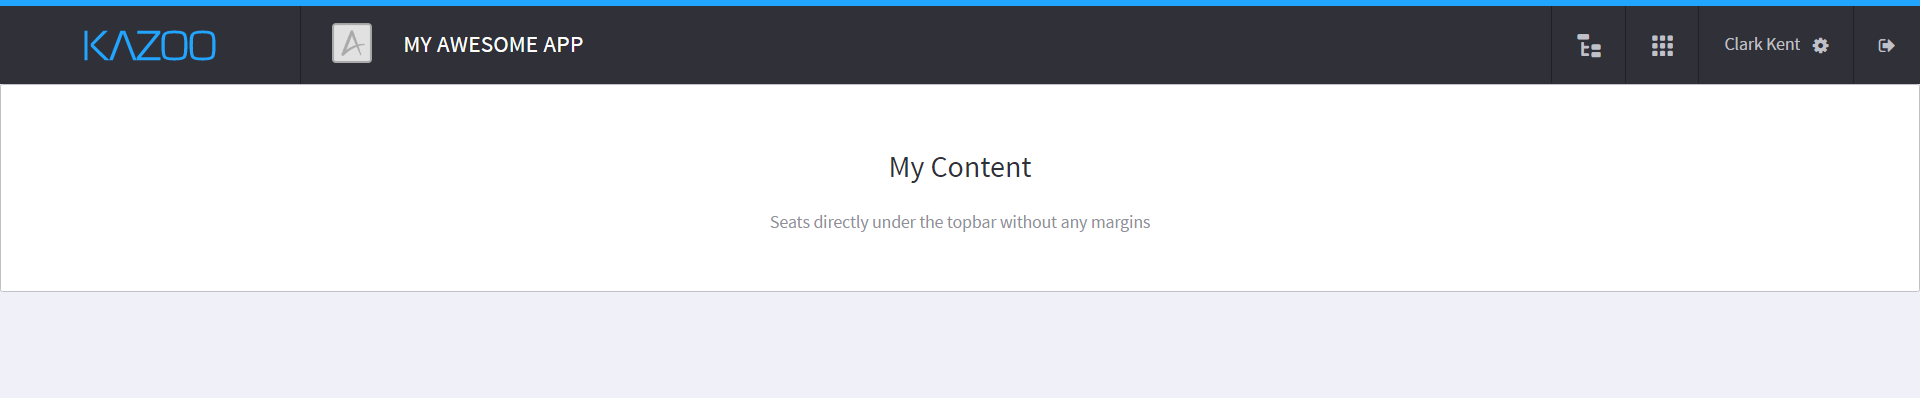
docked
No margin or padding around the wrapper, the content will be right next to the topbar and take full size of the window.
Examples
Generate layout with navbar and menus

monster.ui.generateAppLayout(app, {
  menus: [{
    tabs: [{
      text: 'Home',
      callback: function() {}
    }, {
      text: 'List',
      callback: function() {}
    }]
  }, {
    tabs: [{
      text: 'Settings',
      callback: function() {}
    }]
  }, {
    tabs: [{
      text: 'Q&A',
      callback: function() {}
    }, {
      text: 'Support',
      callback: function() {}
    }]
  }]
});
The concept of multiple menus is simply used to group tabs together with a separator between them.
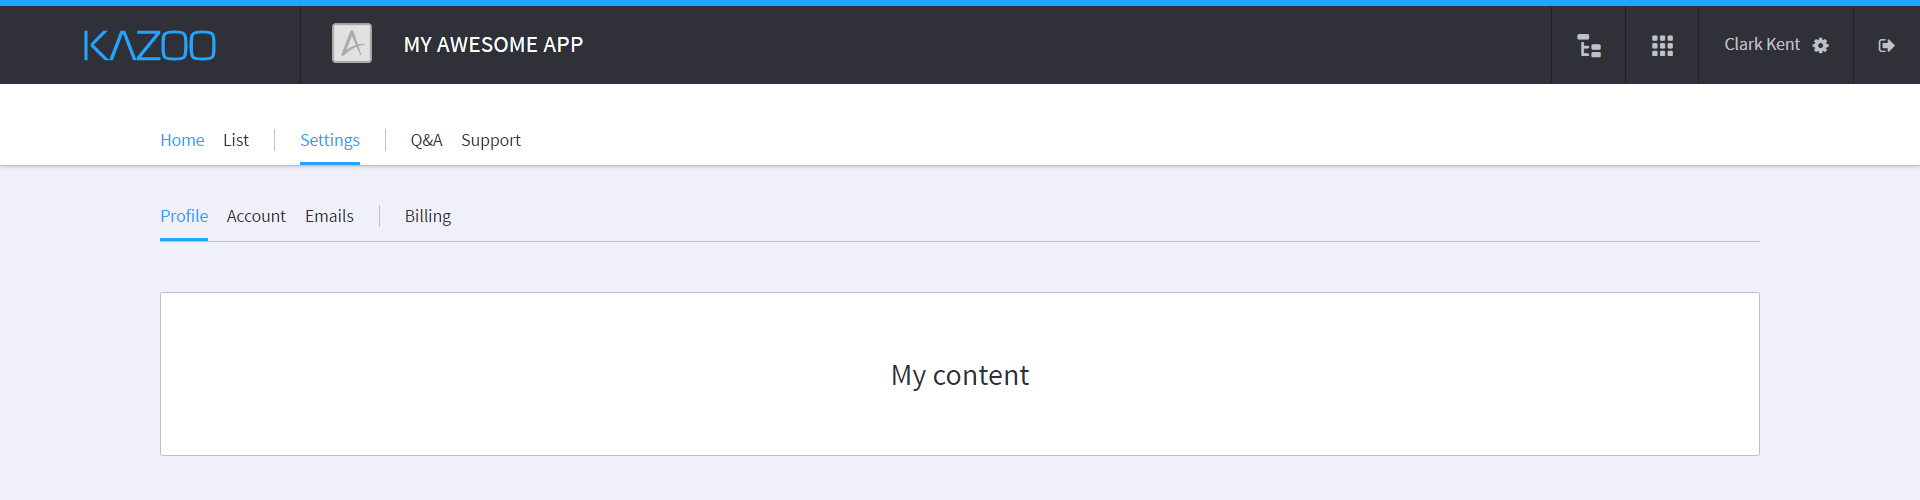
Generate layout with navbar and sub-menus

monster.ui.generateAppLayout(app, {
  menus: [{
    tabs: [{
      text: 'Settings',
      menus: [{
        tabs: [{
          text: 'Profile',
          callback: function() {}
        }, {
          text: 'Account',
          callback: function() {}
        }, {
          text: 'Emails',
          callback: function() {}
        }]
      }, {
        tabs: [{
          text: 'Billing',
          callback: function() {}
        }]
      }]
    }]
  }, {
    tabs: [{
      text: 'Q&A',
      callback: function() {}
    }, {
      text: 'Support',
      callback: function() {}
    }]
  }]
});
When a menu has sub-menus, the callback of the first sub-menu will be used as its default callback.
Generate layout with navbar and menus pulled right

monster.ui.generateAppLayout(app, {
  menus: [{
    pull: 'right',
    tabs: [{
      text: 'Q&A',
      callback: function() {}
    }, {
      text: 'Support',
      callback: function() {}
    }]
  }]
});
Generate layout without navbar

monster.ui.generateAppLayout(app, {
  menus: [{
    tabs: [{
      callback: function() {}
    }]
  }]
});
Since only one tab was defined, no navbar will be rendered.